Good morning! Before I show you my dining room redo, I thought I’d give you a peek into the process. My original transformation of this dining set included staining the wood as well as reupholstering the chairs in the heavy red and gold print you see below. It was exactly the formal look I wanted at the time. Andy and I are going for a lighter look now – more creams, tans, and whites with some green accents and plants. With our courtyard slowly going online we wanted a “bring the outdoors in” feel. I still want elegance inside and a rustic feel outside. Making that transition as you walk into the house will be more about a uniform color scheme than a uniform style. In any case, let’s start with the dining room!
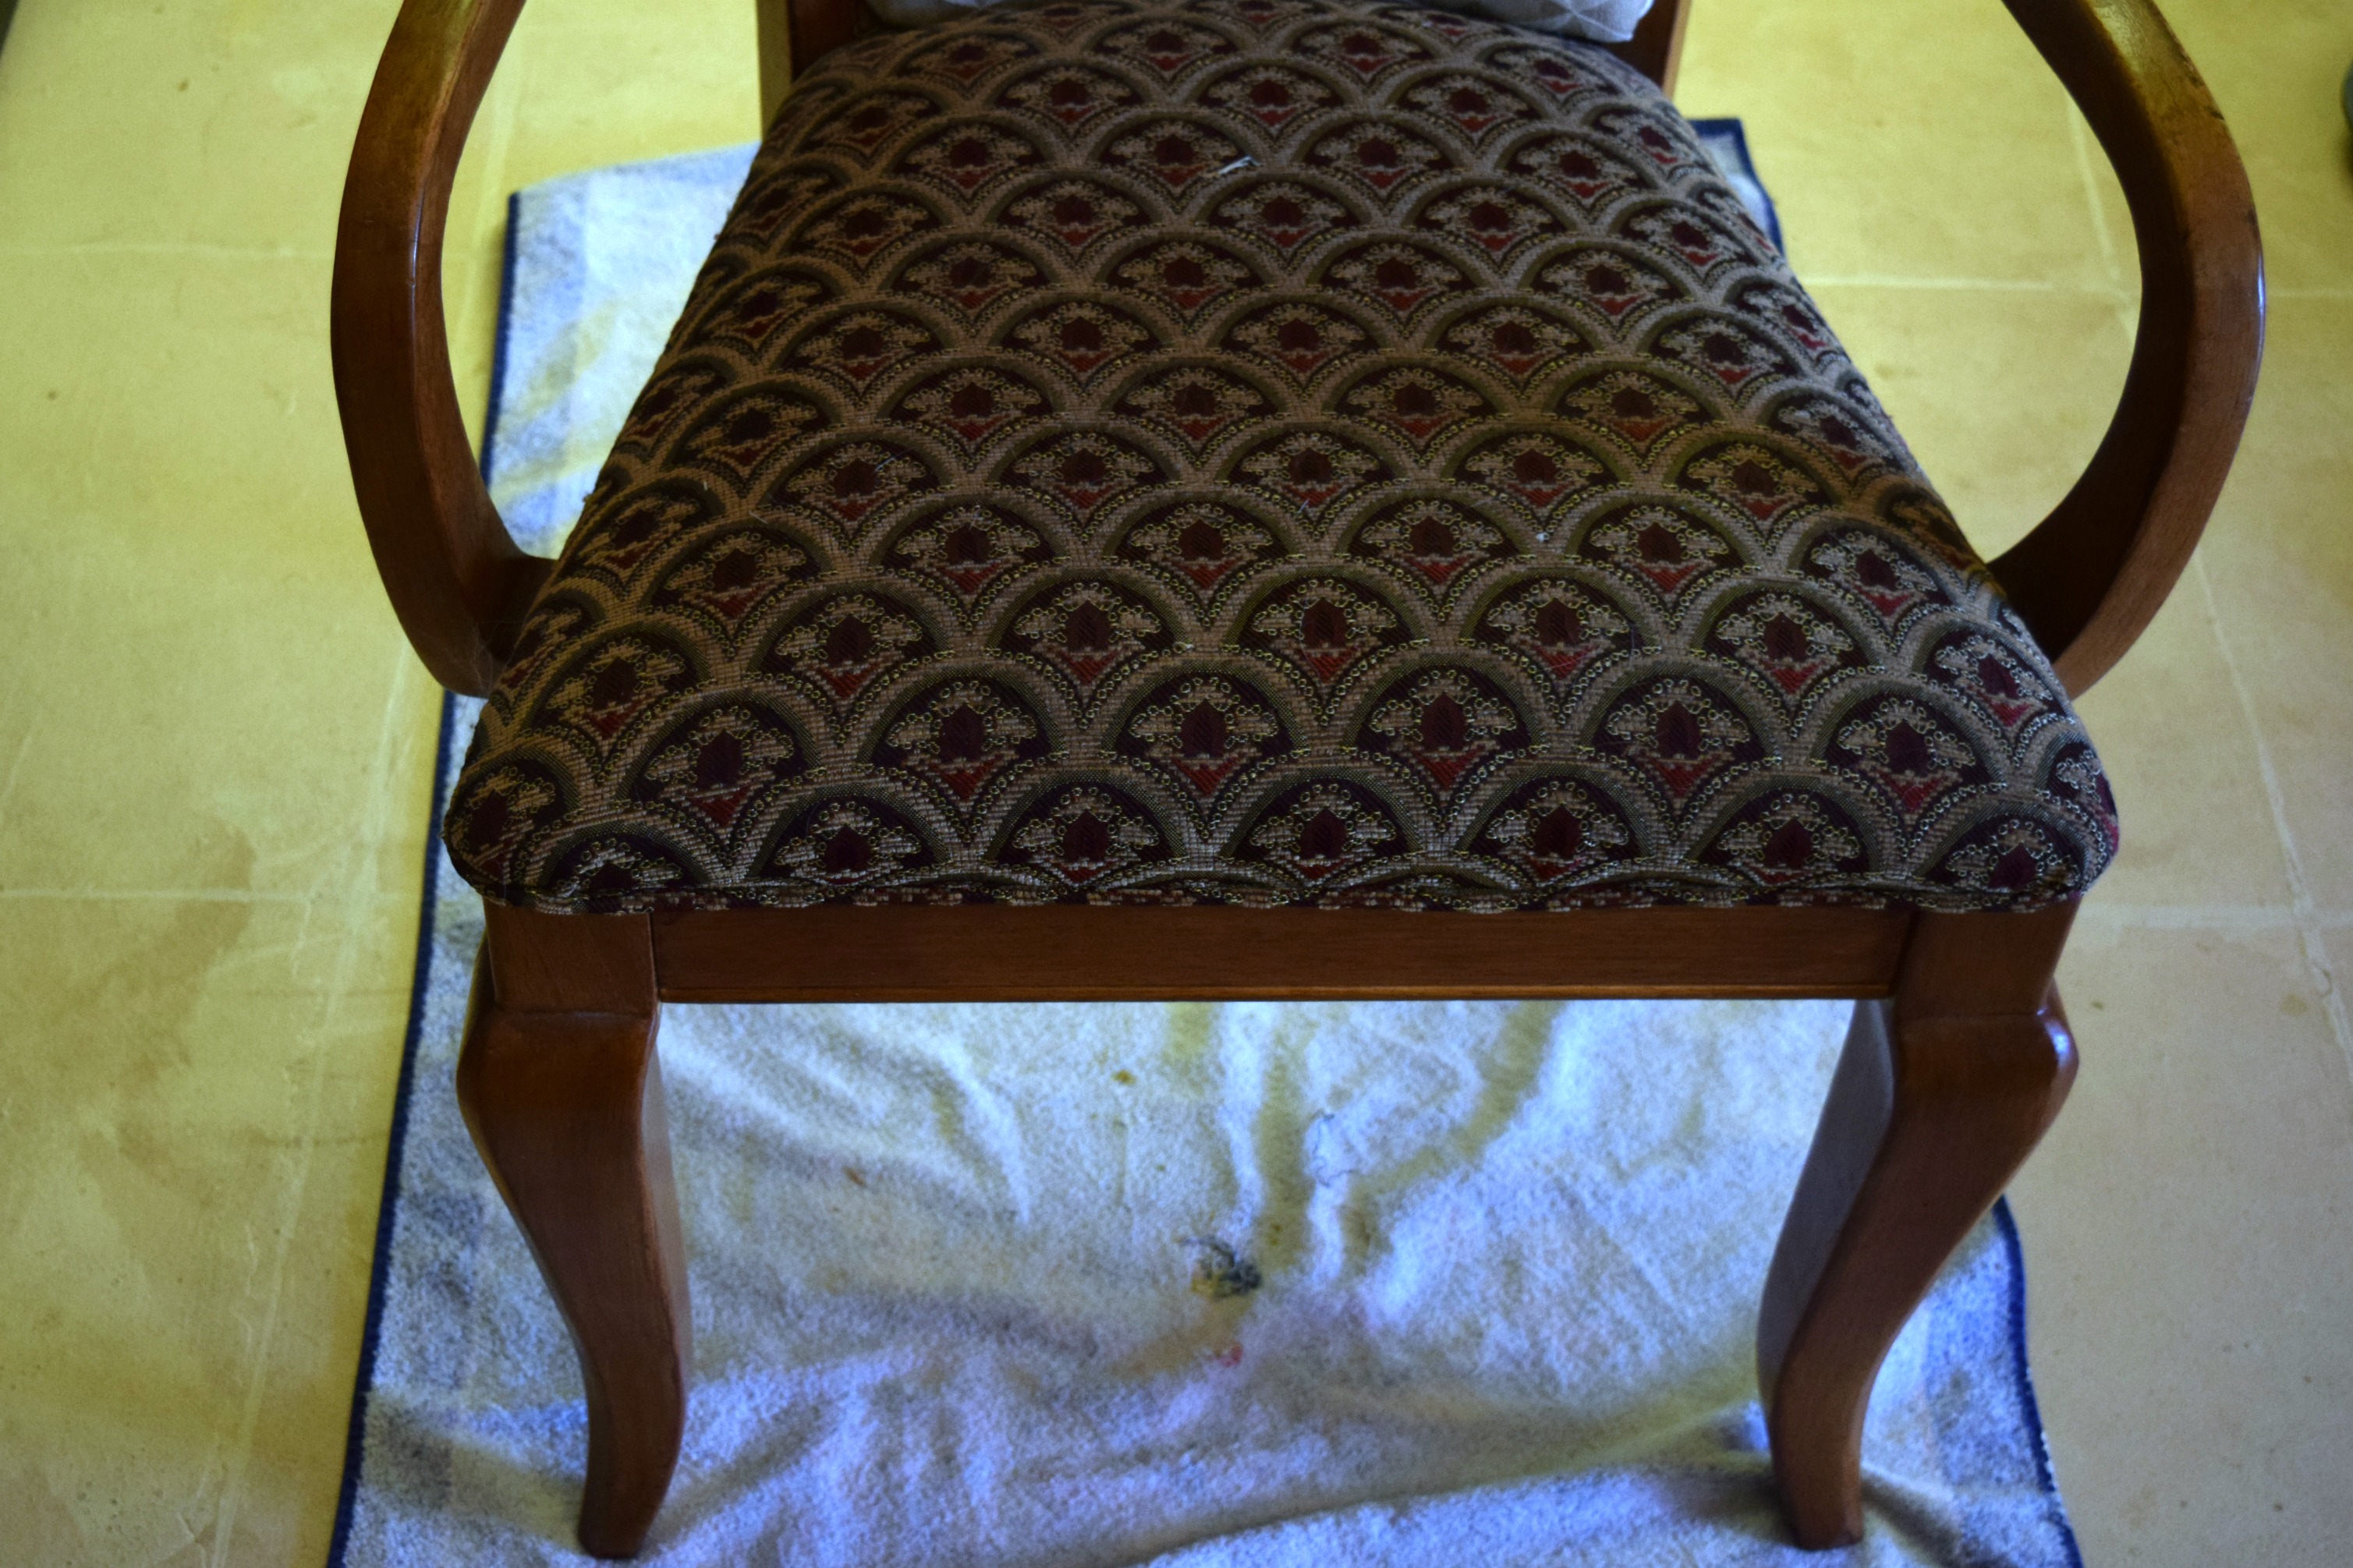
Here again is the chair before I started the latest project. The wood was originally lighter and the cushions were covered in a black stripe. I stained and recovered them several years ago to what you see here. You’ll see the original striped fabric and some hints of the original stain when I take the chair apart.

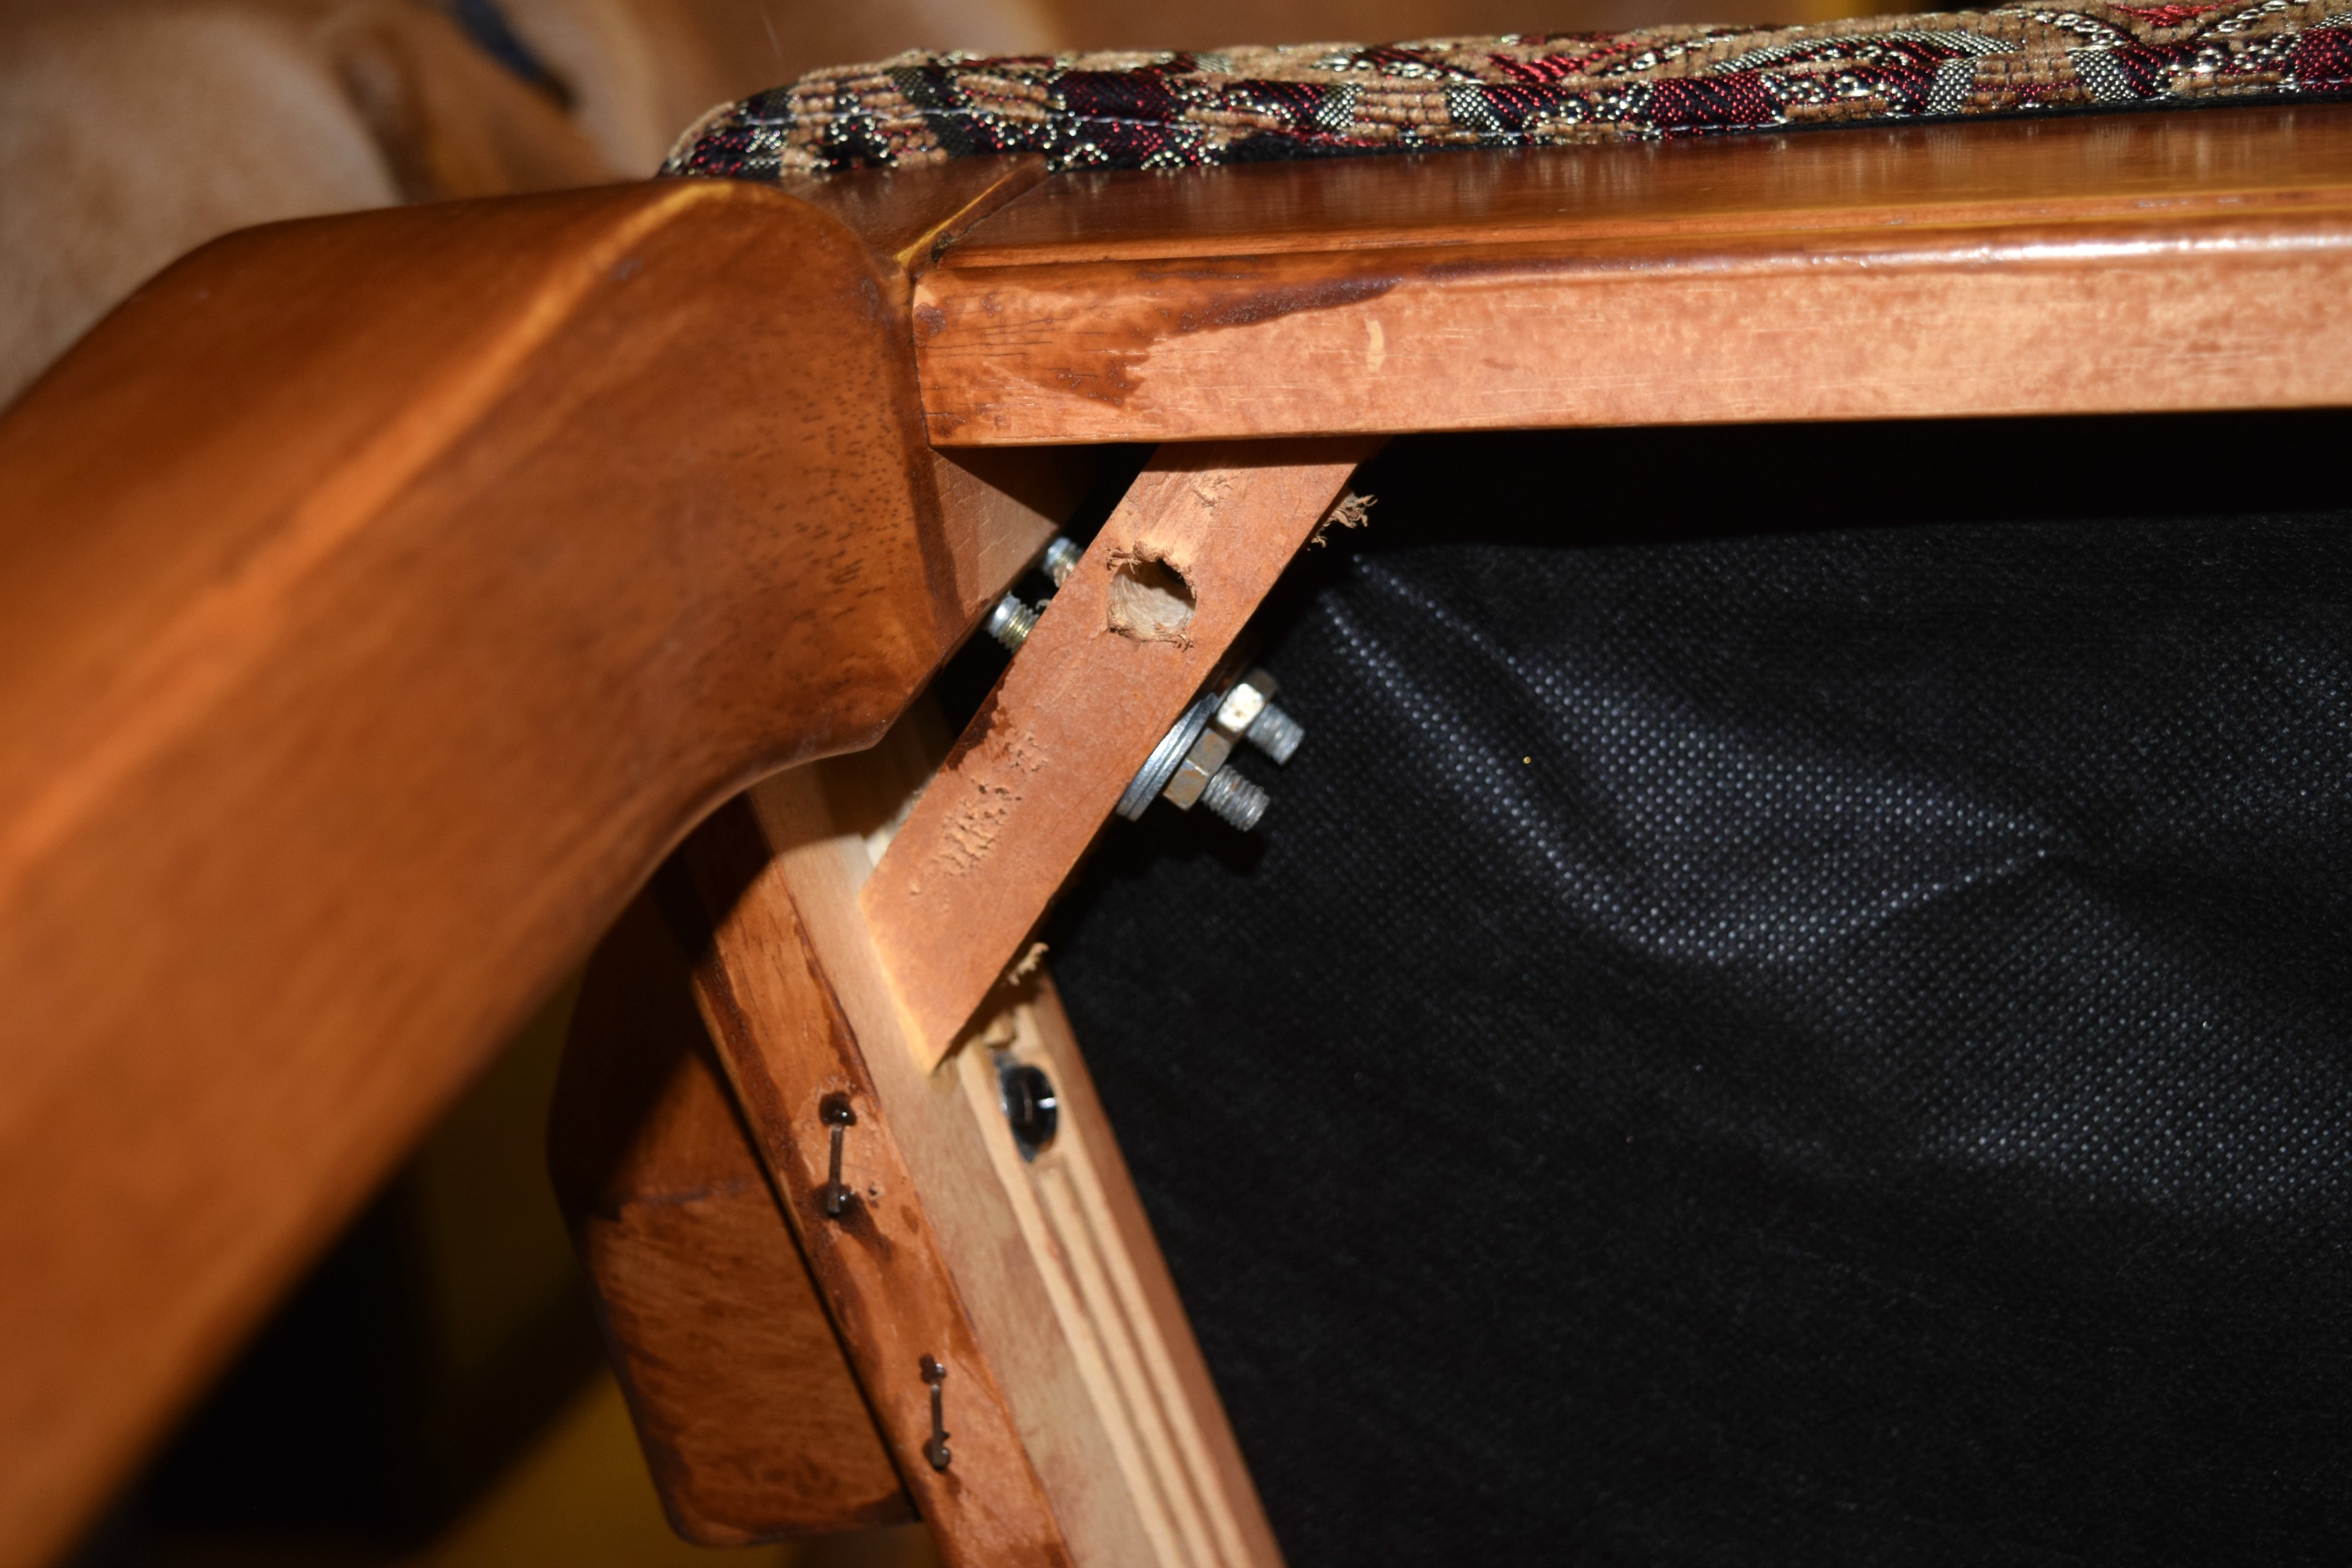
This is obviously the underside of the chair. Once you turn it over there is no great mystery. It’s held to the frame by four screws. I took those out to remove the cushion. After that, recovering the base was a breeze.
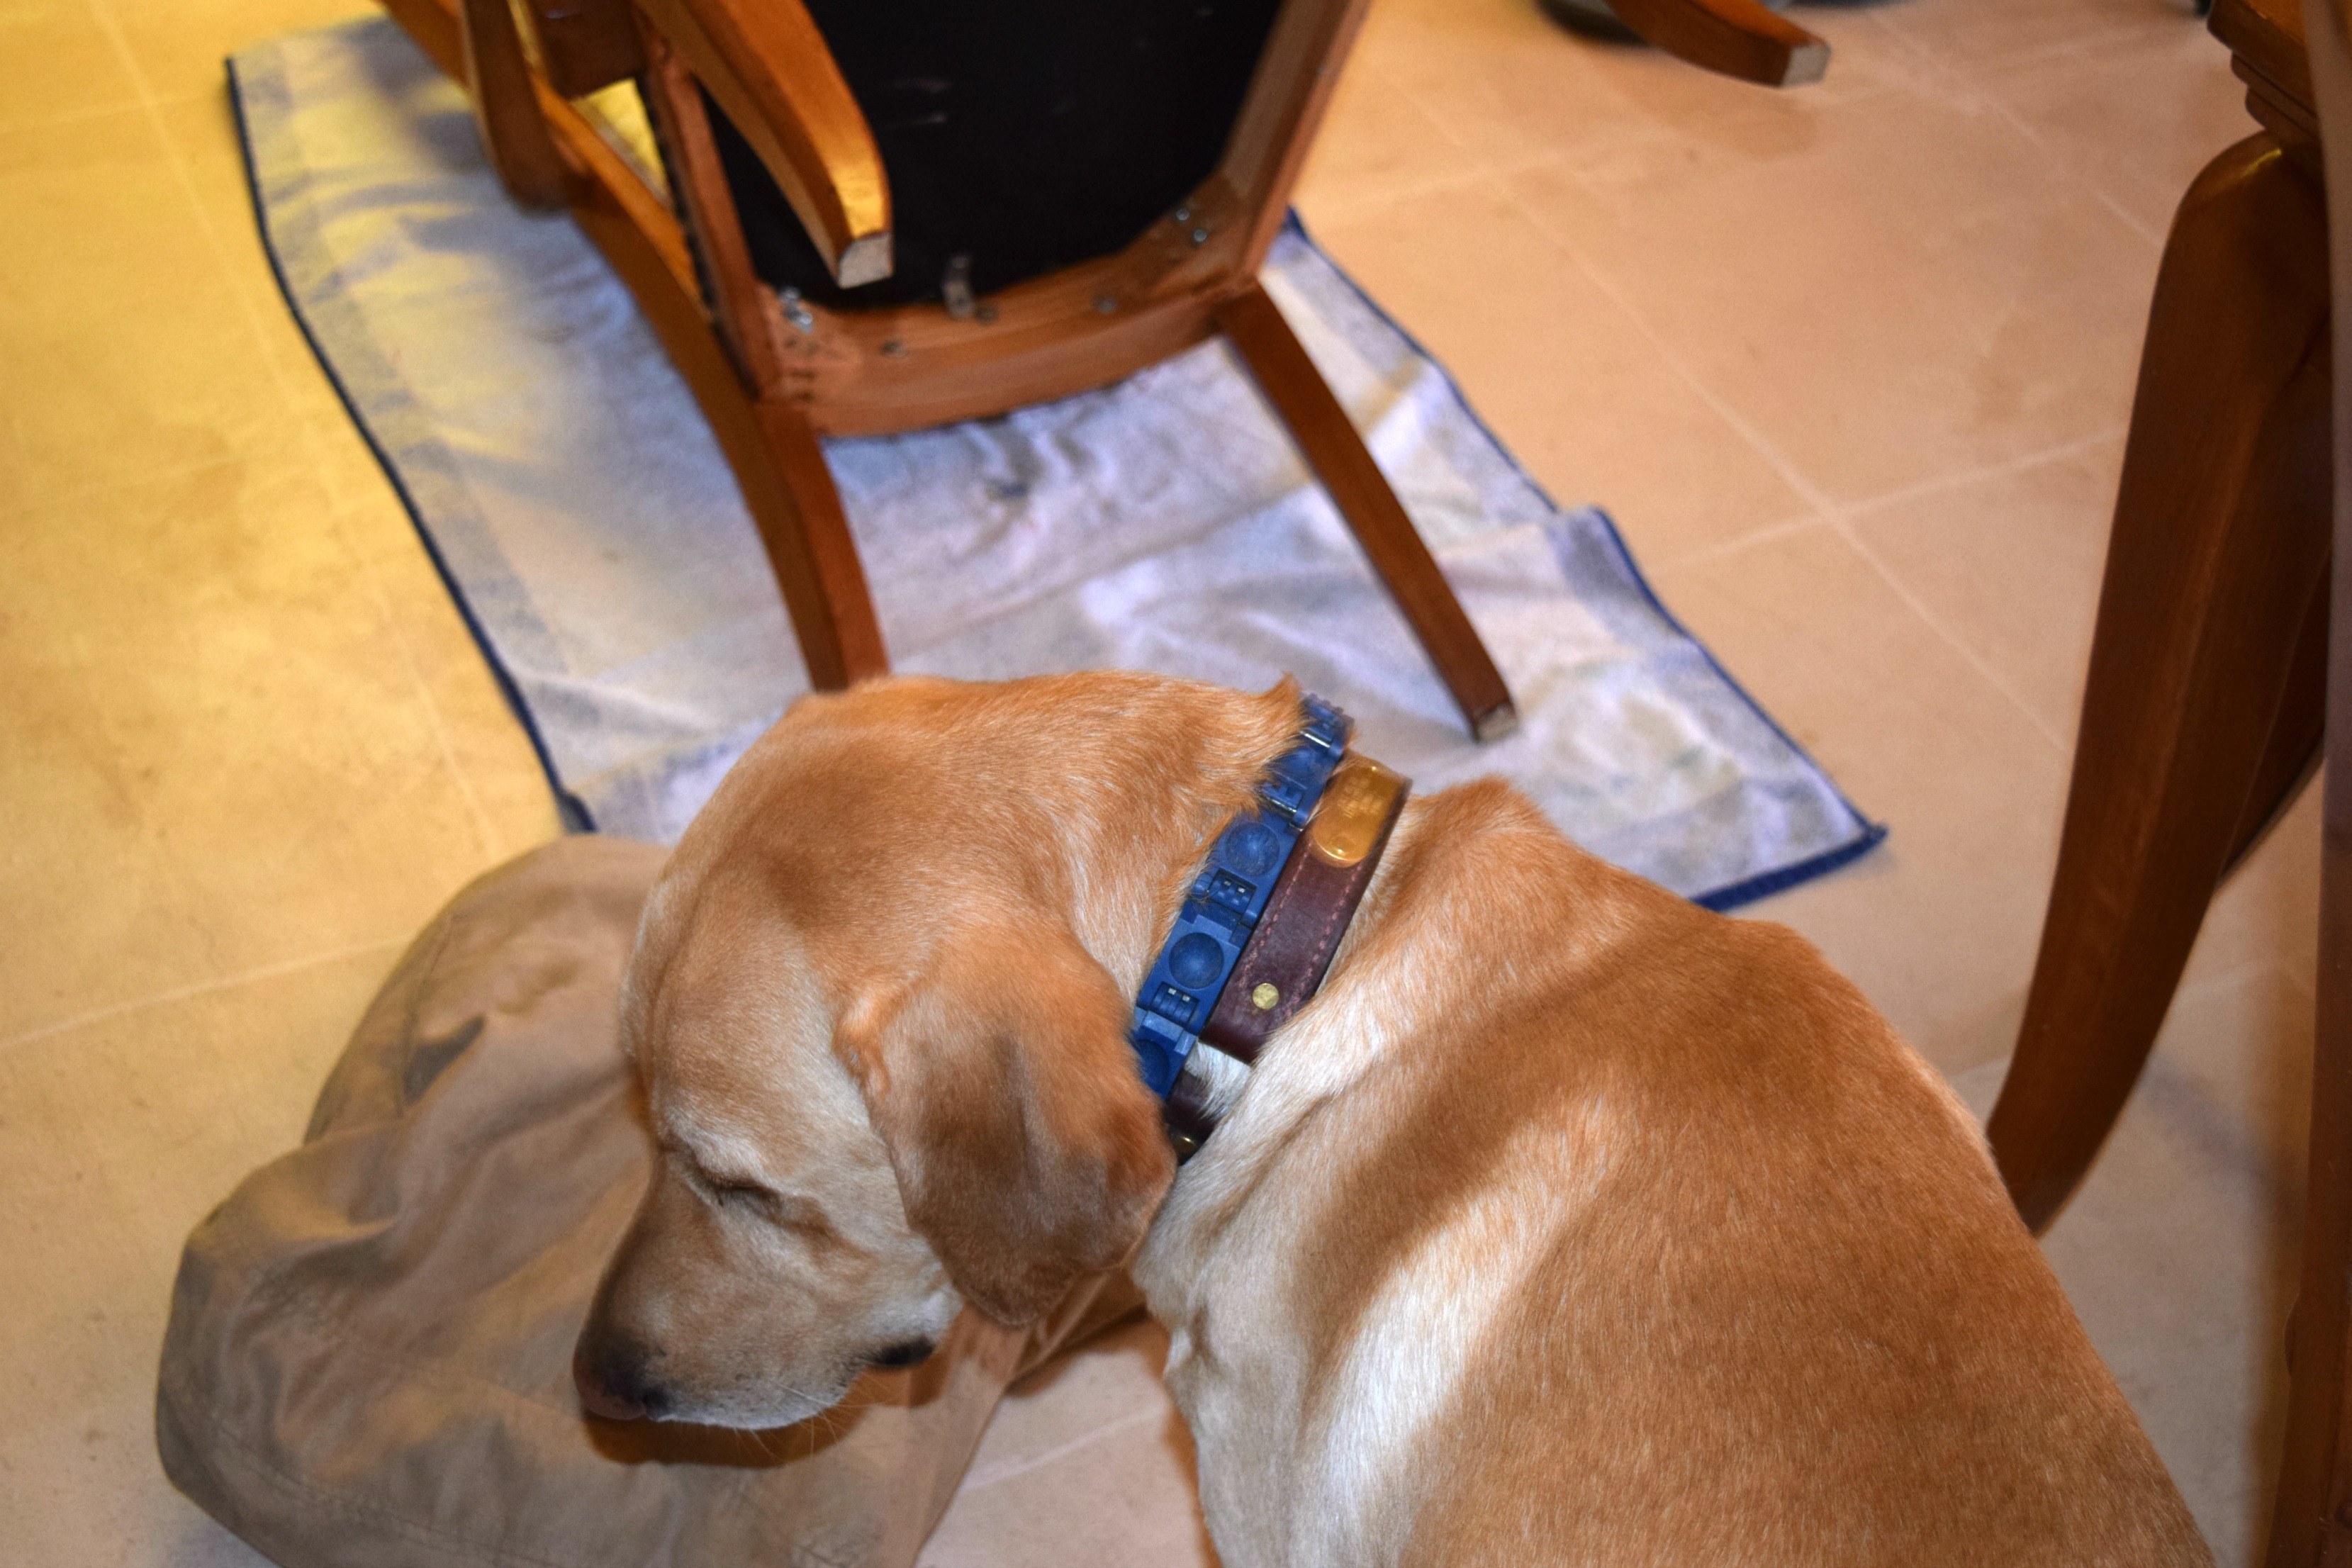
No home project is complete without a little help from Tanner. He likes to stick his nose into everything.
Once the cushions were free I removed the finish lining I had kept after round one. Like the original upholstery work when the chair was new, the lining was attached with heavy duty staples. I took that off so I could attach it again after applying the new fabric. Even though you don’t see the bottom of the chair, the lining gives the job a more finished look.
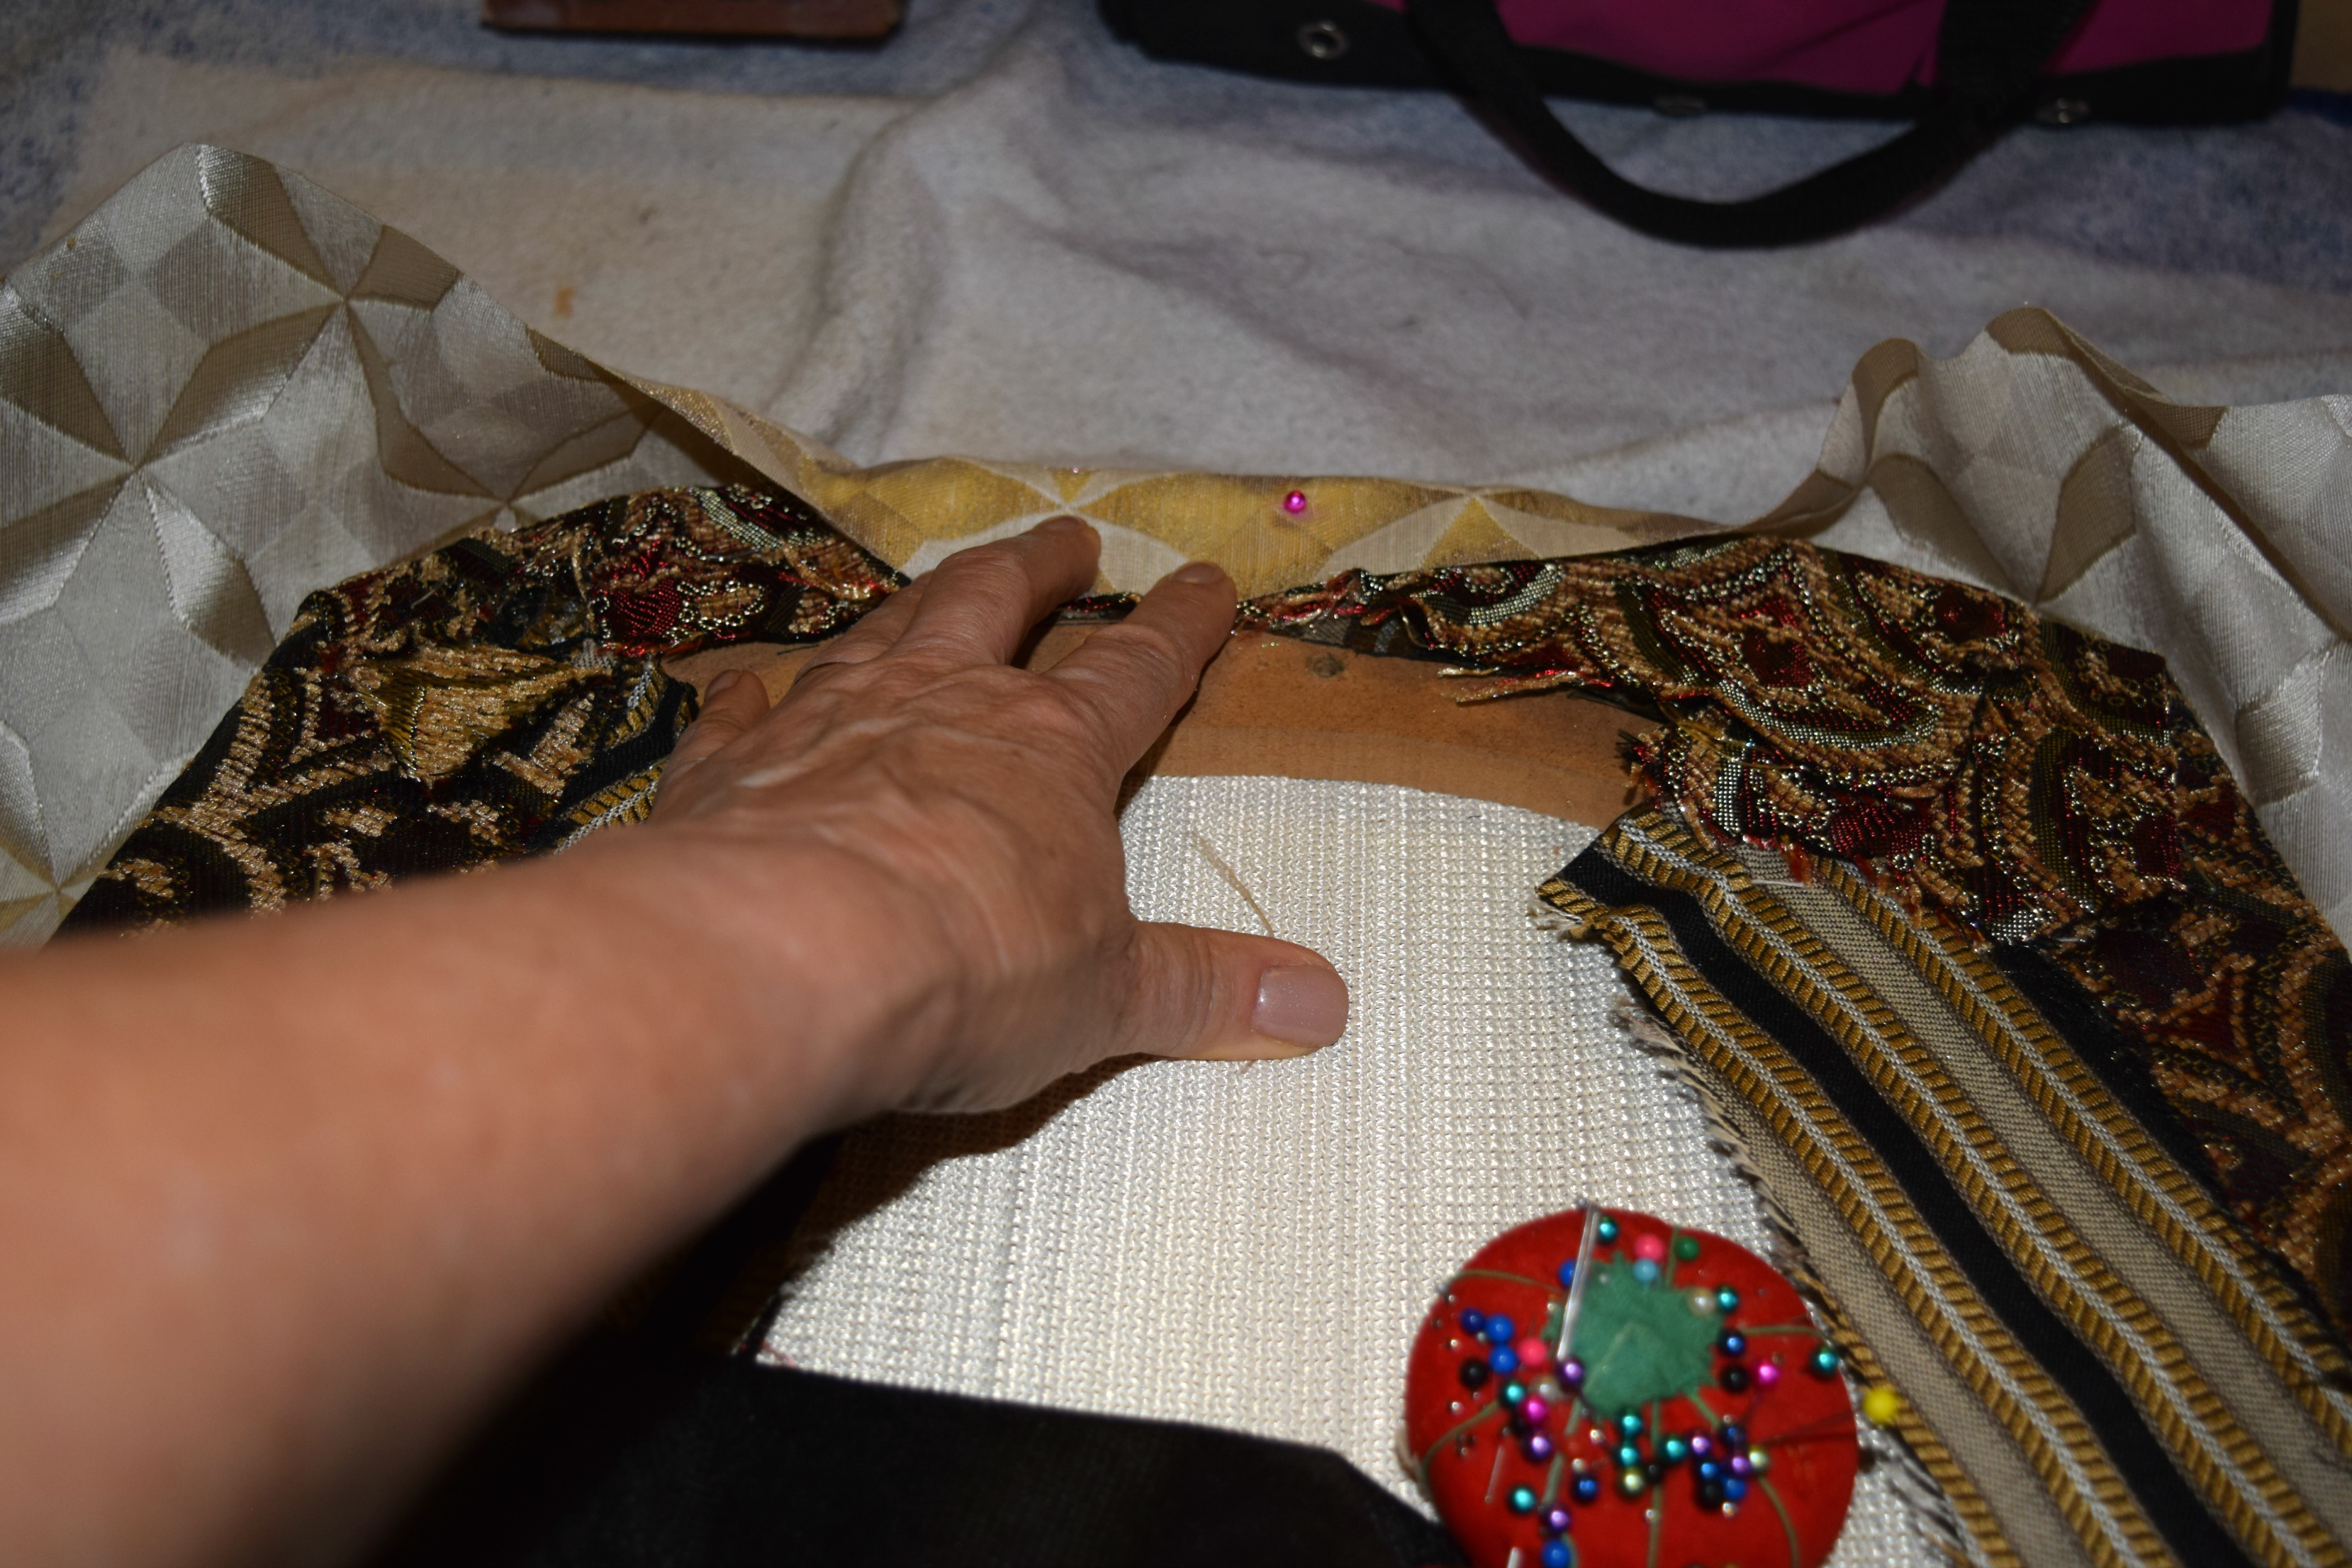
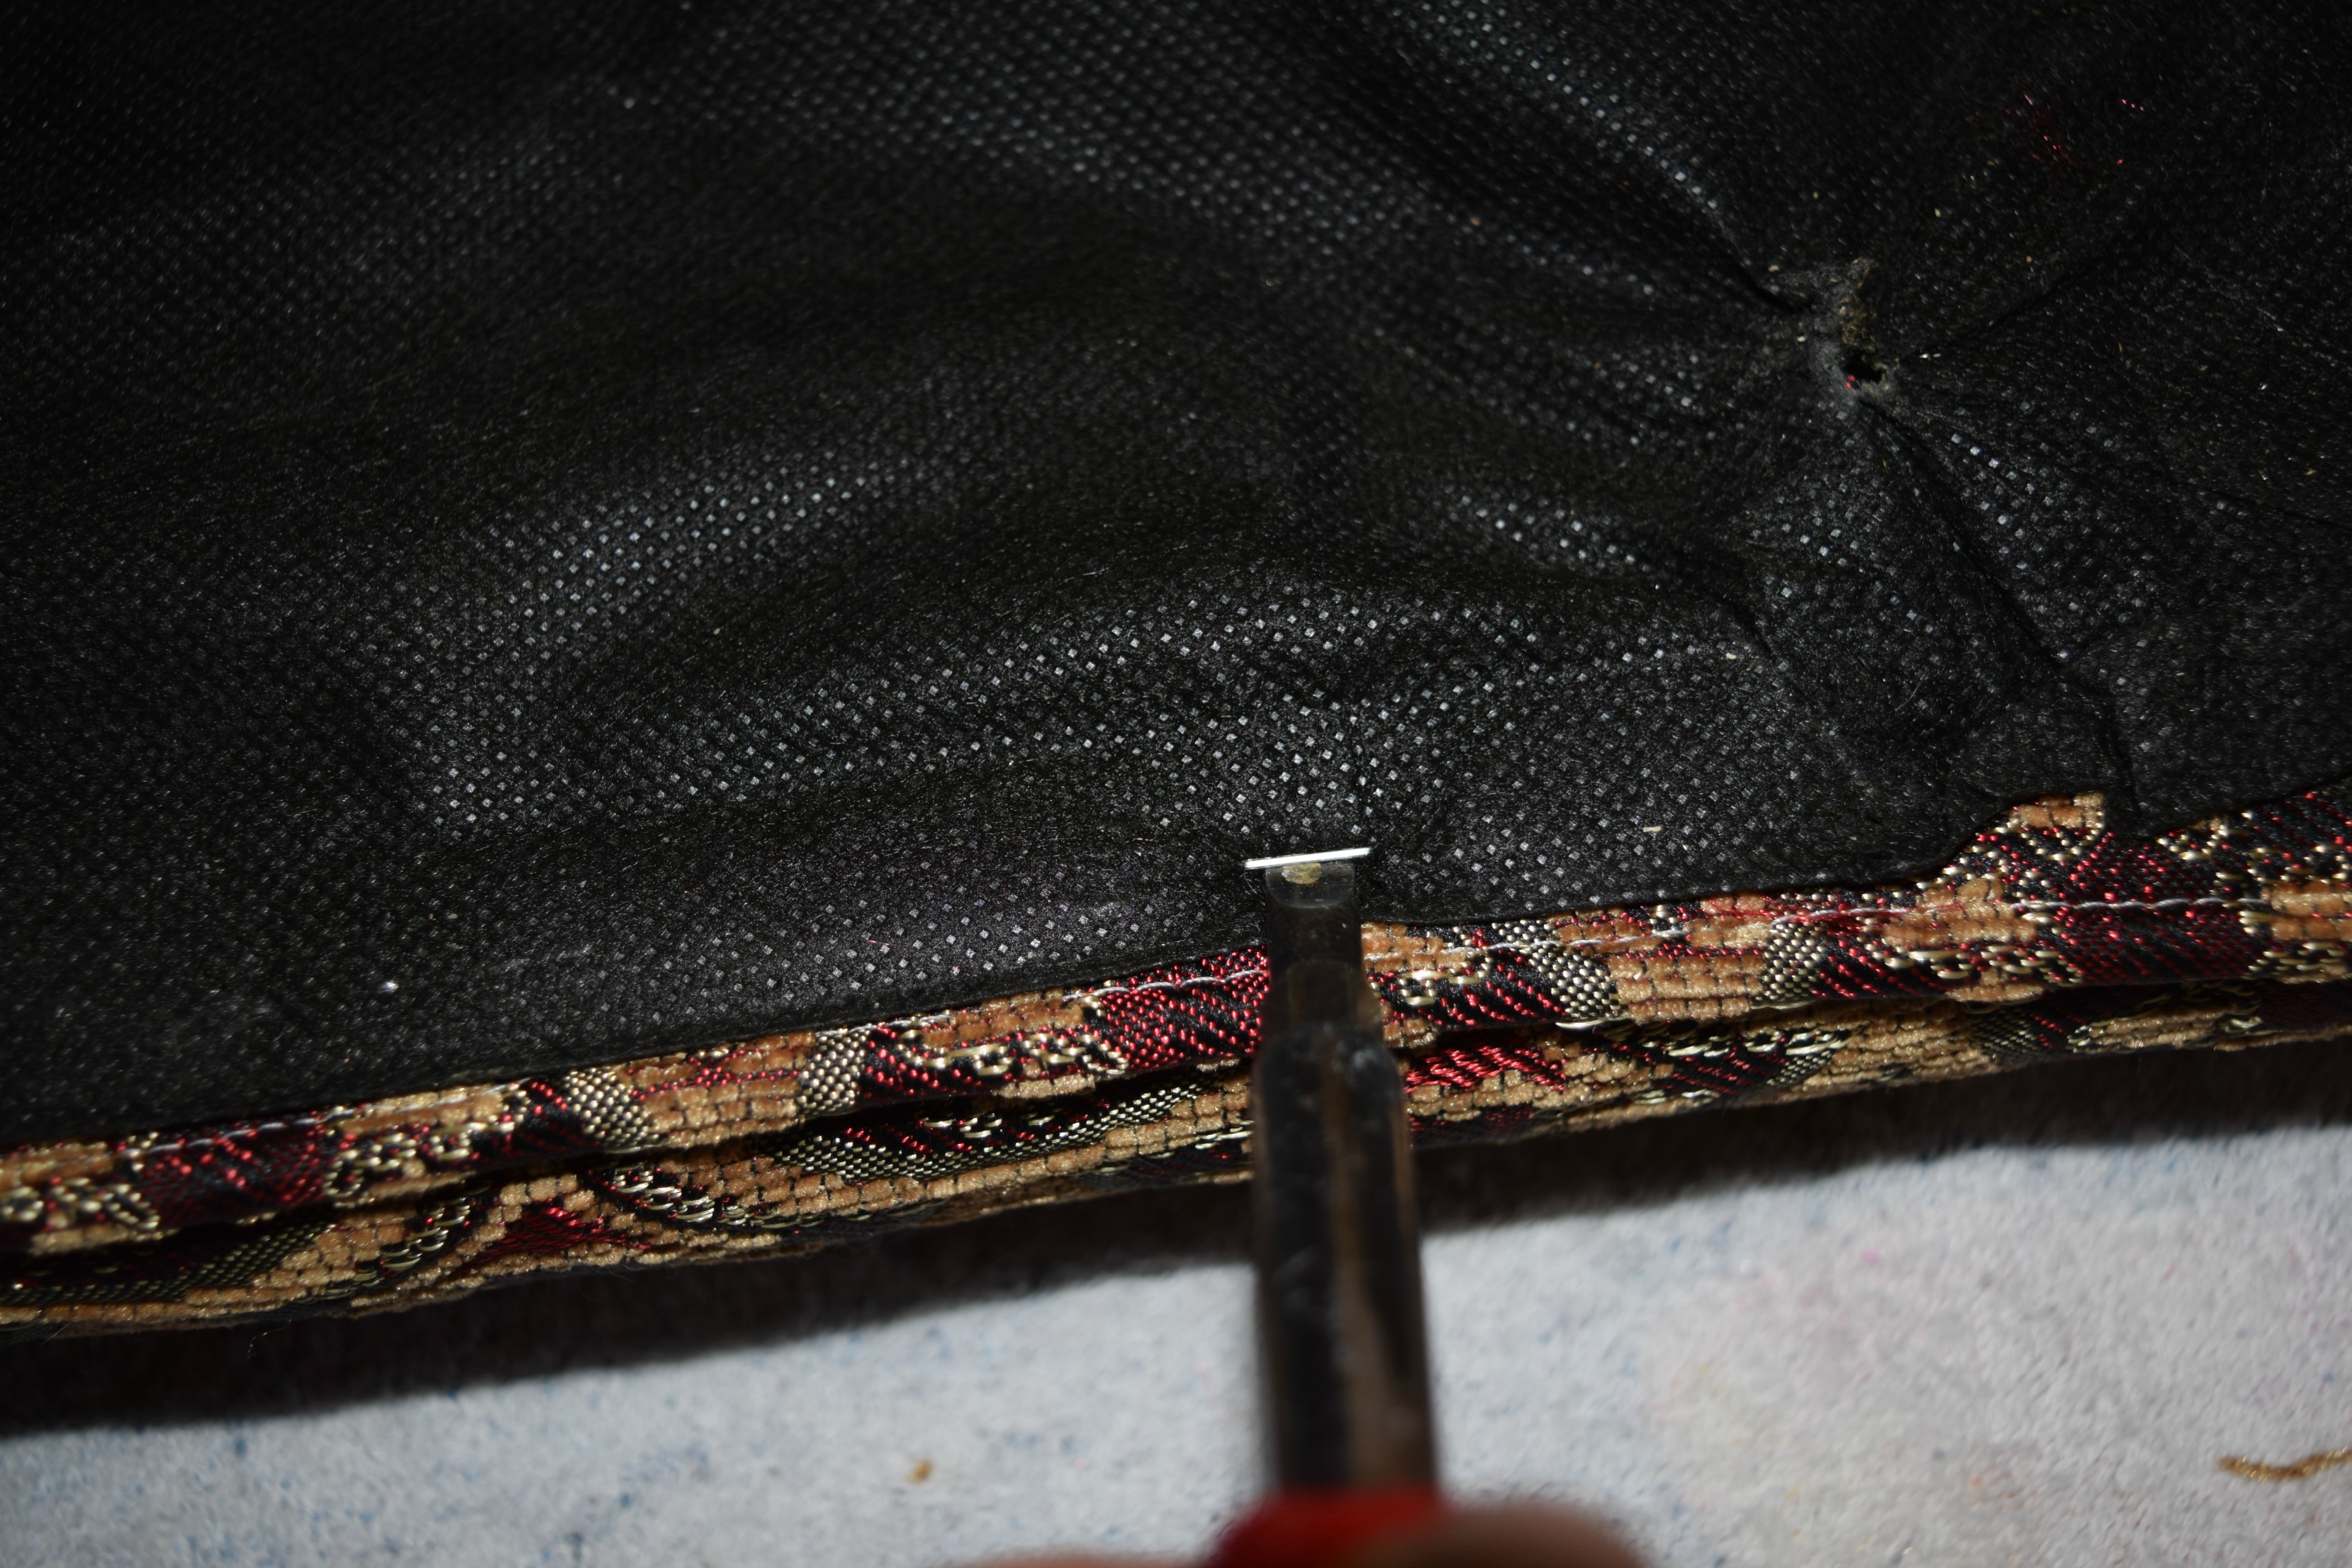
Once the black lining was removed, I attached the new fabric by turning the cushion right-side up, lining up the fabric pattern, pinning it into place, then flipping the cushion upside-down and pinning around the perimeter. I’d suggest longer pins for this process. You can see the original striped fabric in this photo. I chose to leave it on the cushion as well as the more recent fabric I was replacing. It gives the chair a little extra cushion. If I cover them again I’ll probably remove at least one layer of fabric. There’s a point where it will get too think to manage.
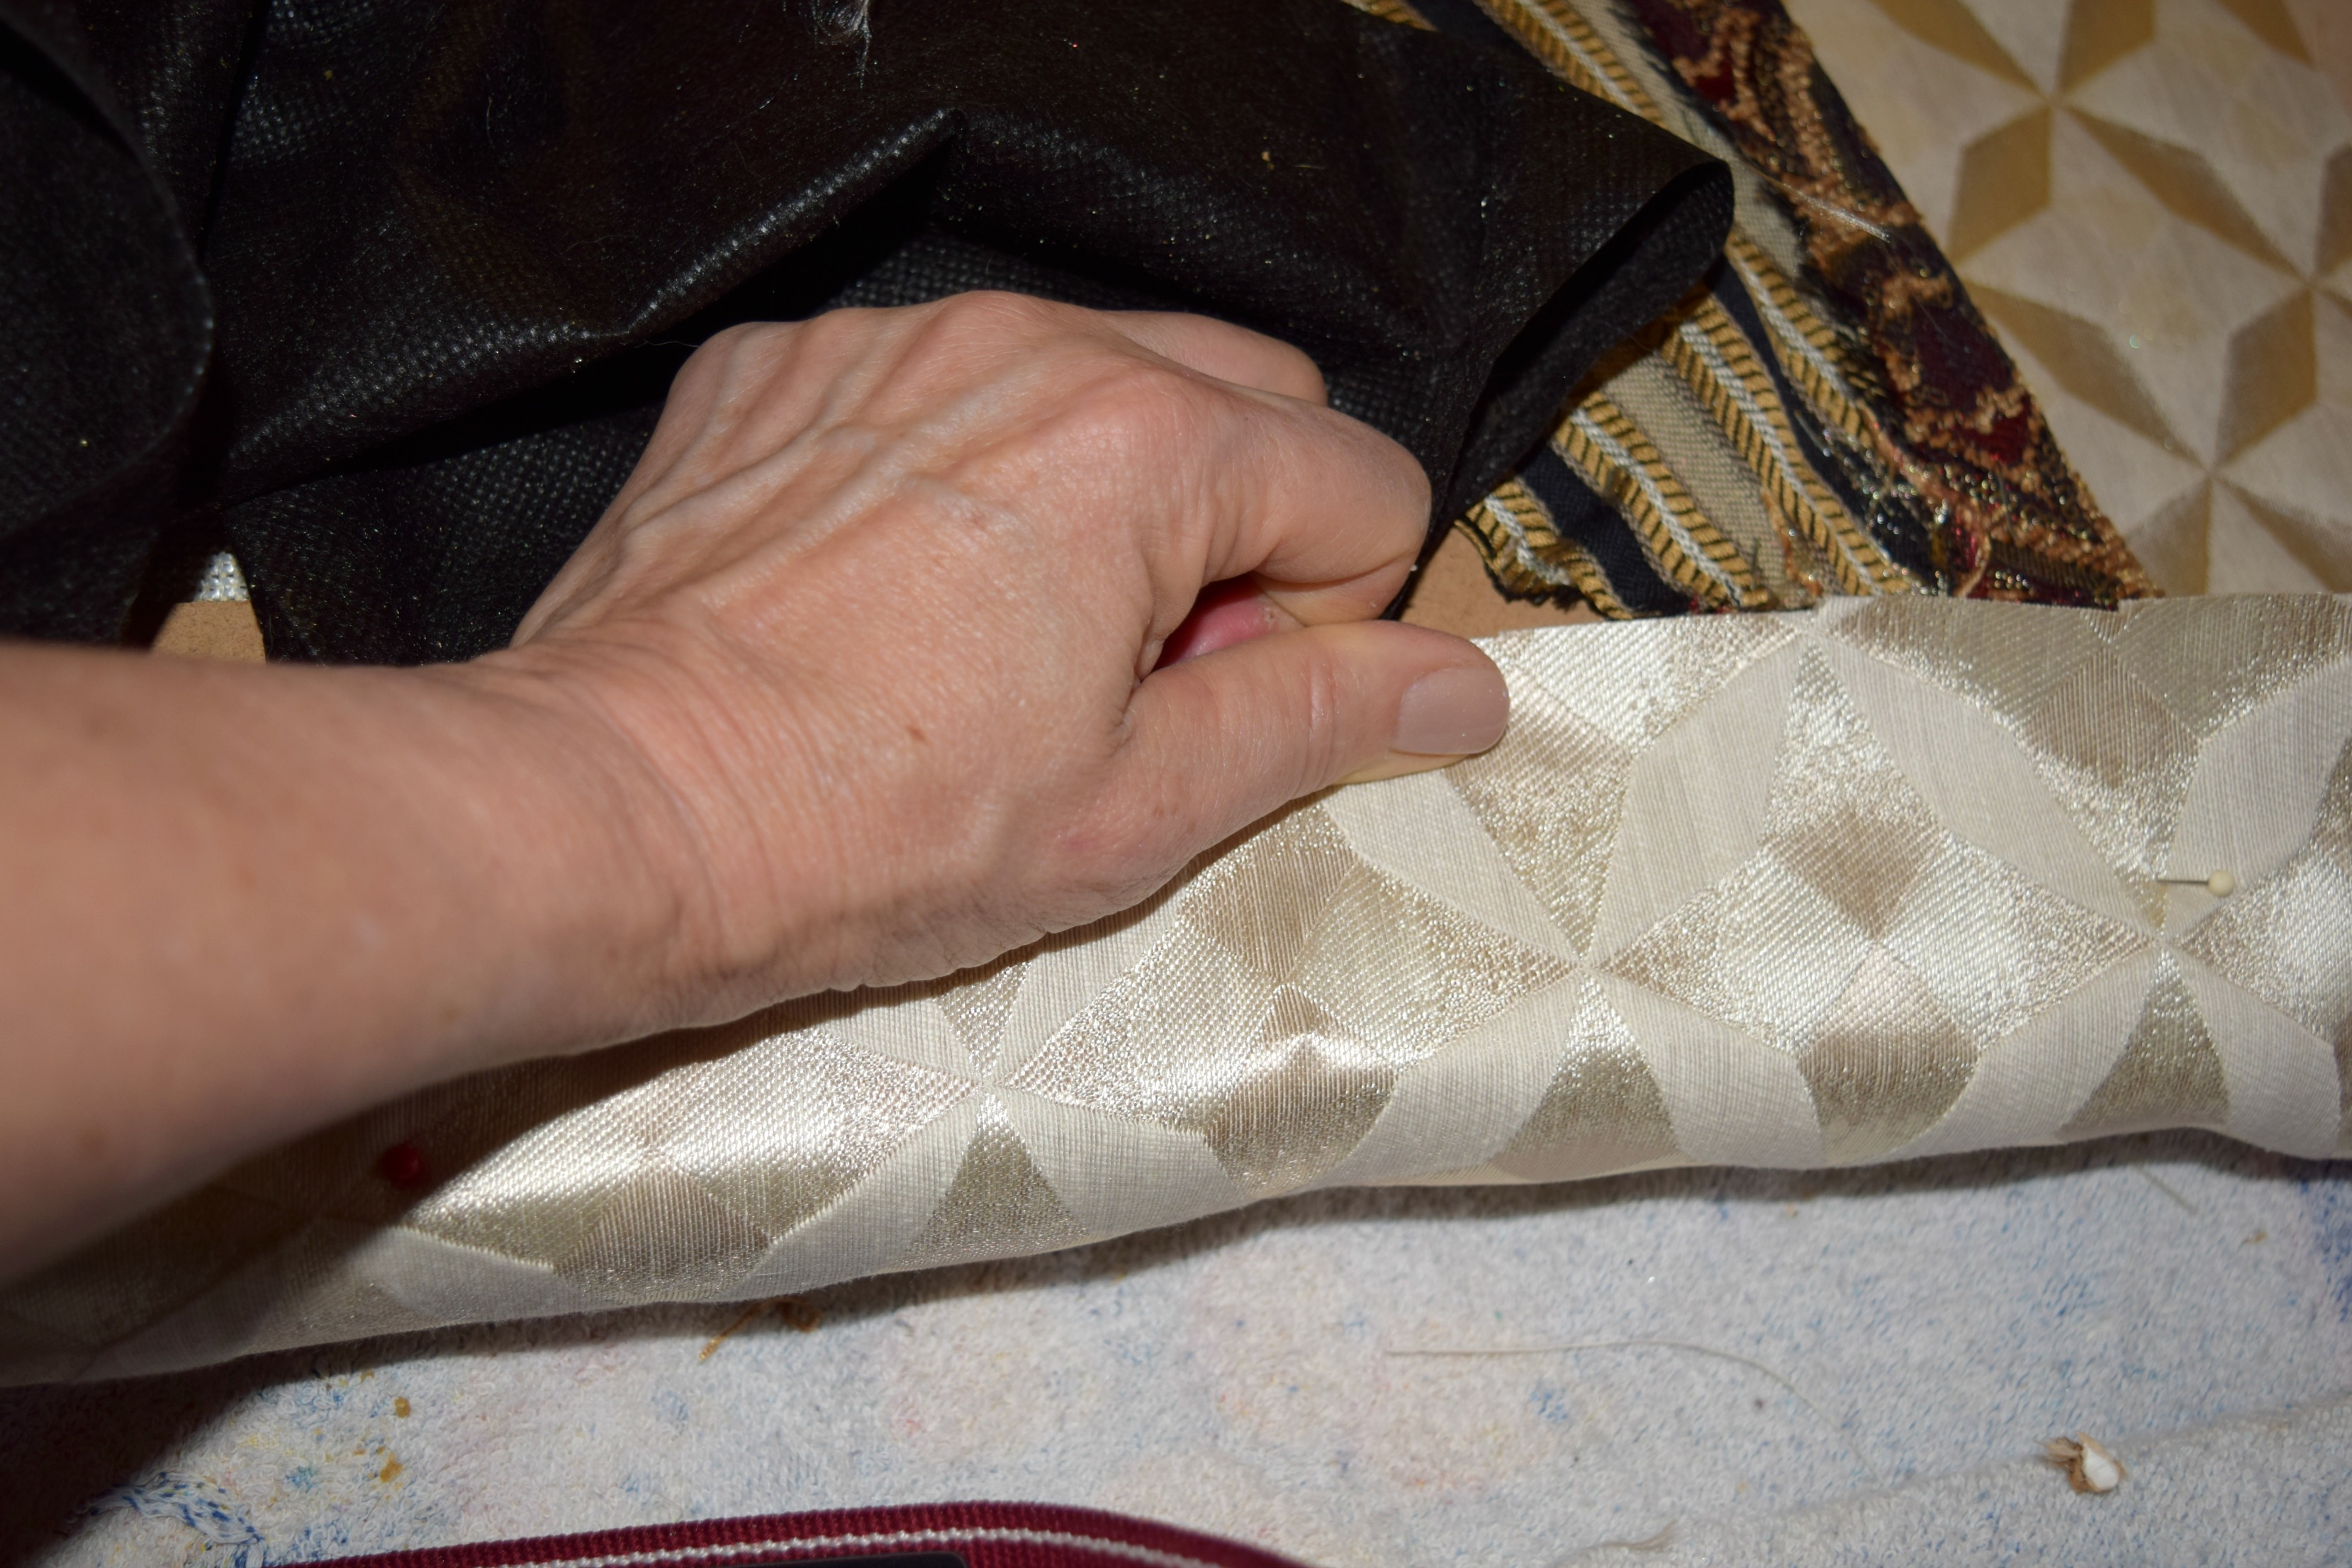
When you’re ready to attach the fabric, pull it tight across the cushion. Although I had pulled it tight to pin it, I wanted the fabric that much more taut. The first signs of an amateur job is fabric with too much give across the cushion and patterns not lined up symmetrically. It looks as bad an ill-fitting dress with mismatched stripes. Make sure your fabric is centered on the cushion. If your chair has a back rest cushion, make sure the patterns in the fabric match up to the seat cushion.
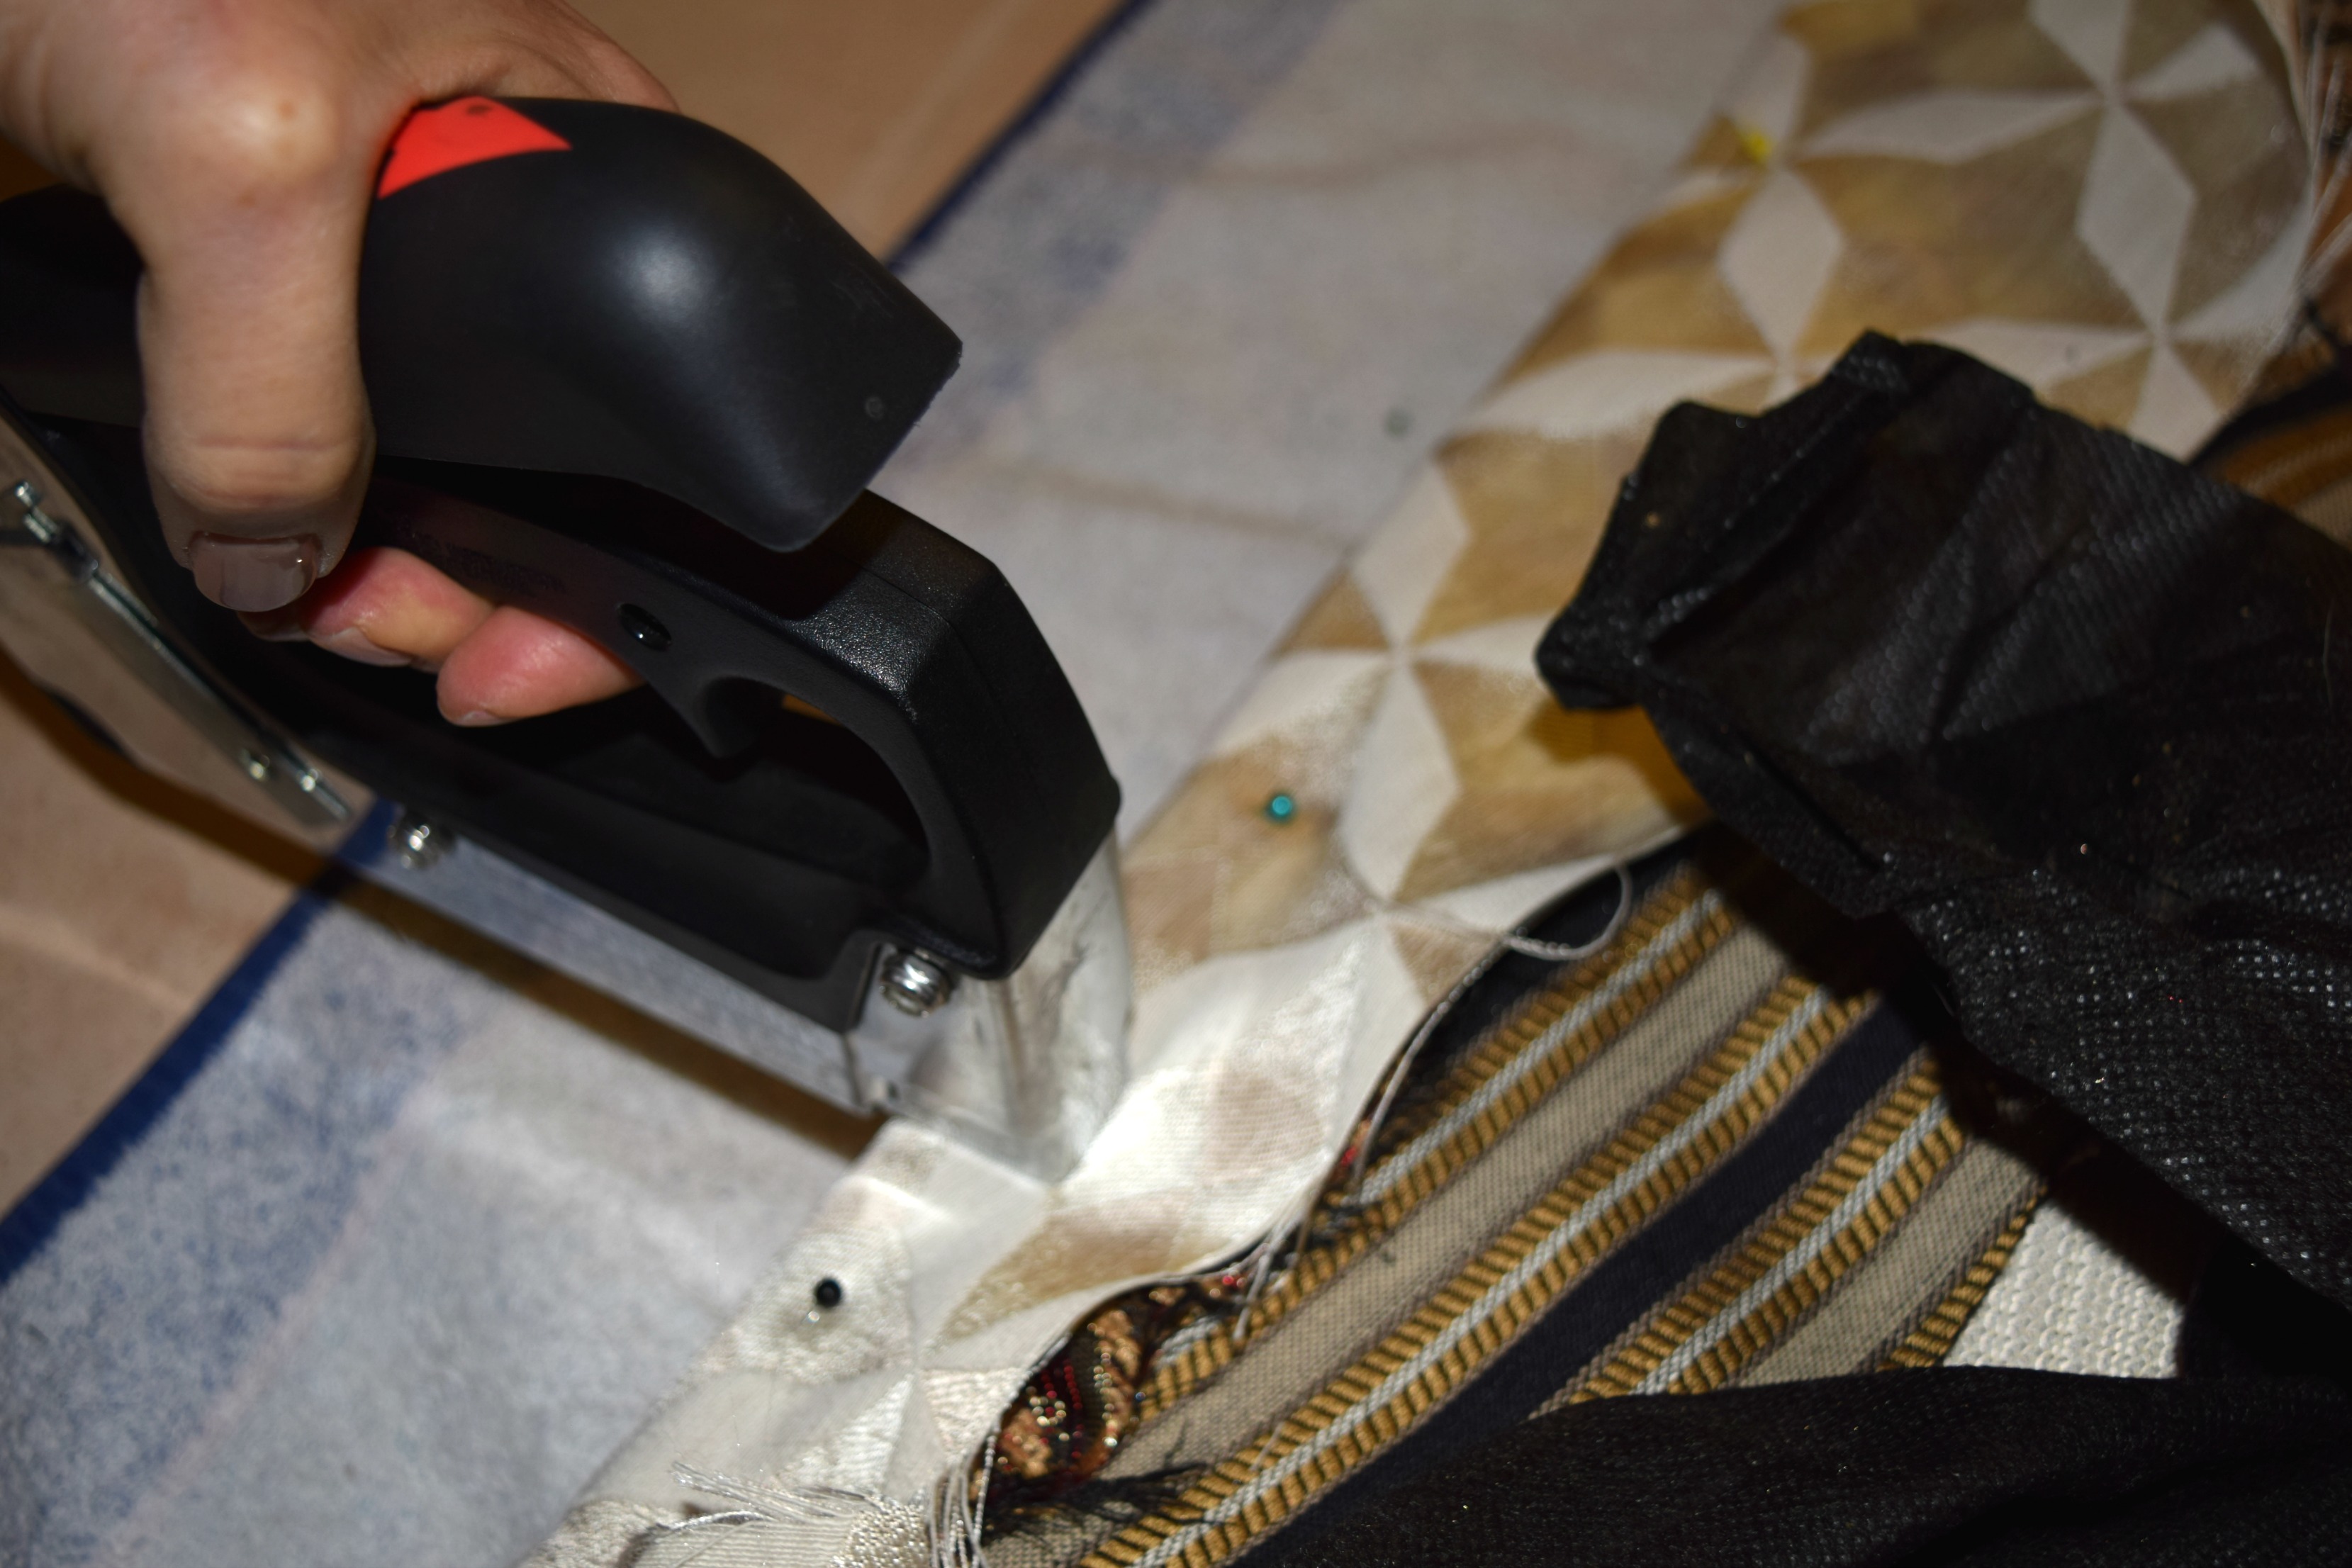
Once the fabric is tight, you can either hold it or re-pin it and start stapling. I used a heavy duty stapler with staples long enough to go through the fabric and into the underlying wood of the frame. I usually hold the fabric, but here I’ve got a staple gun in one hand and the camera in the other so I had to make do by using more pins.
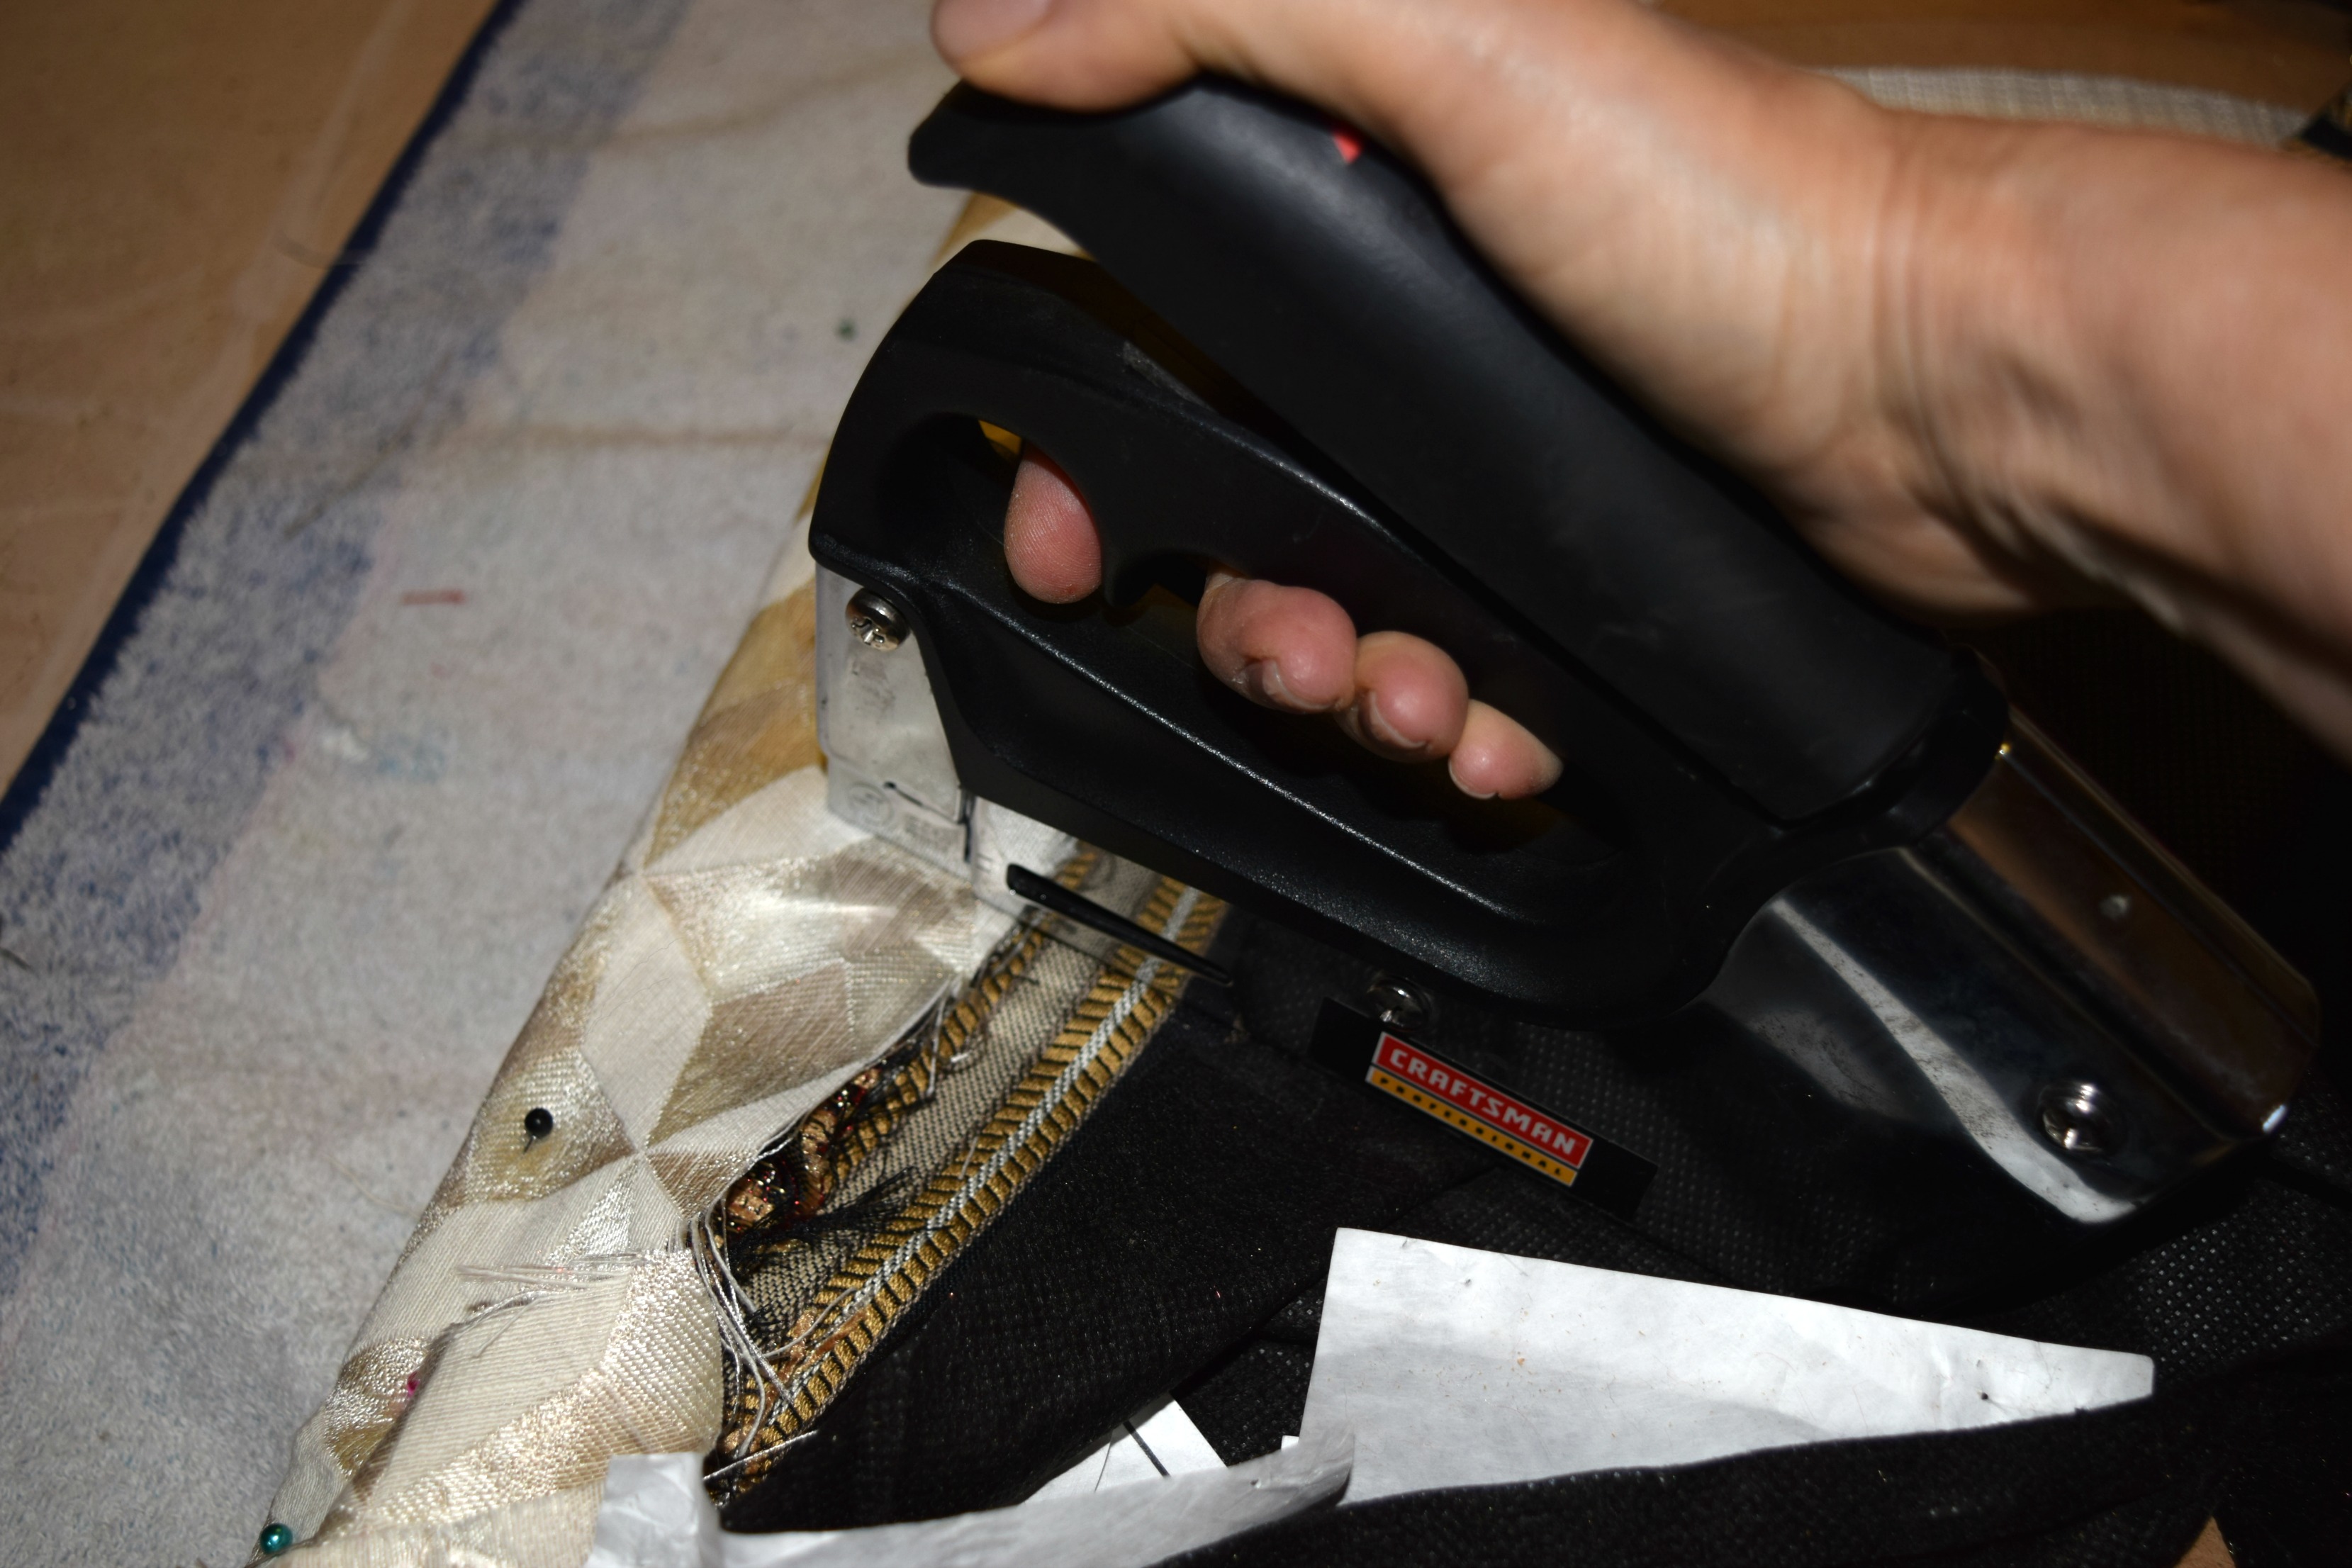
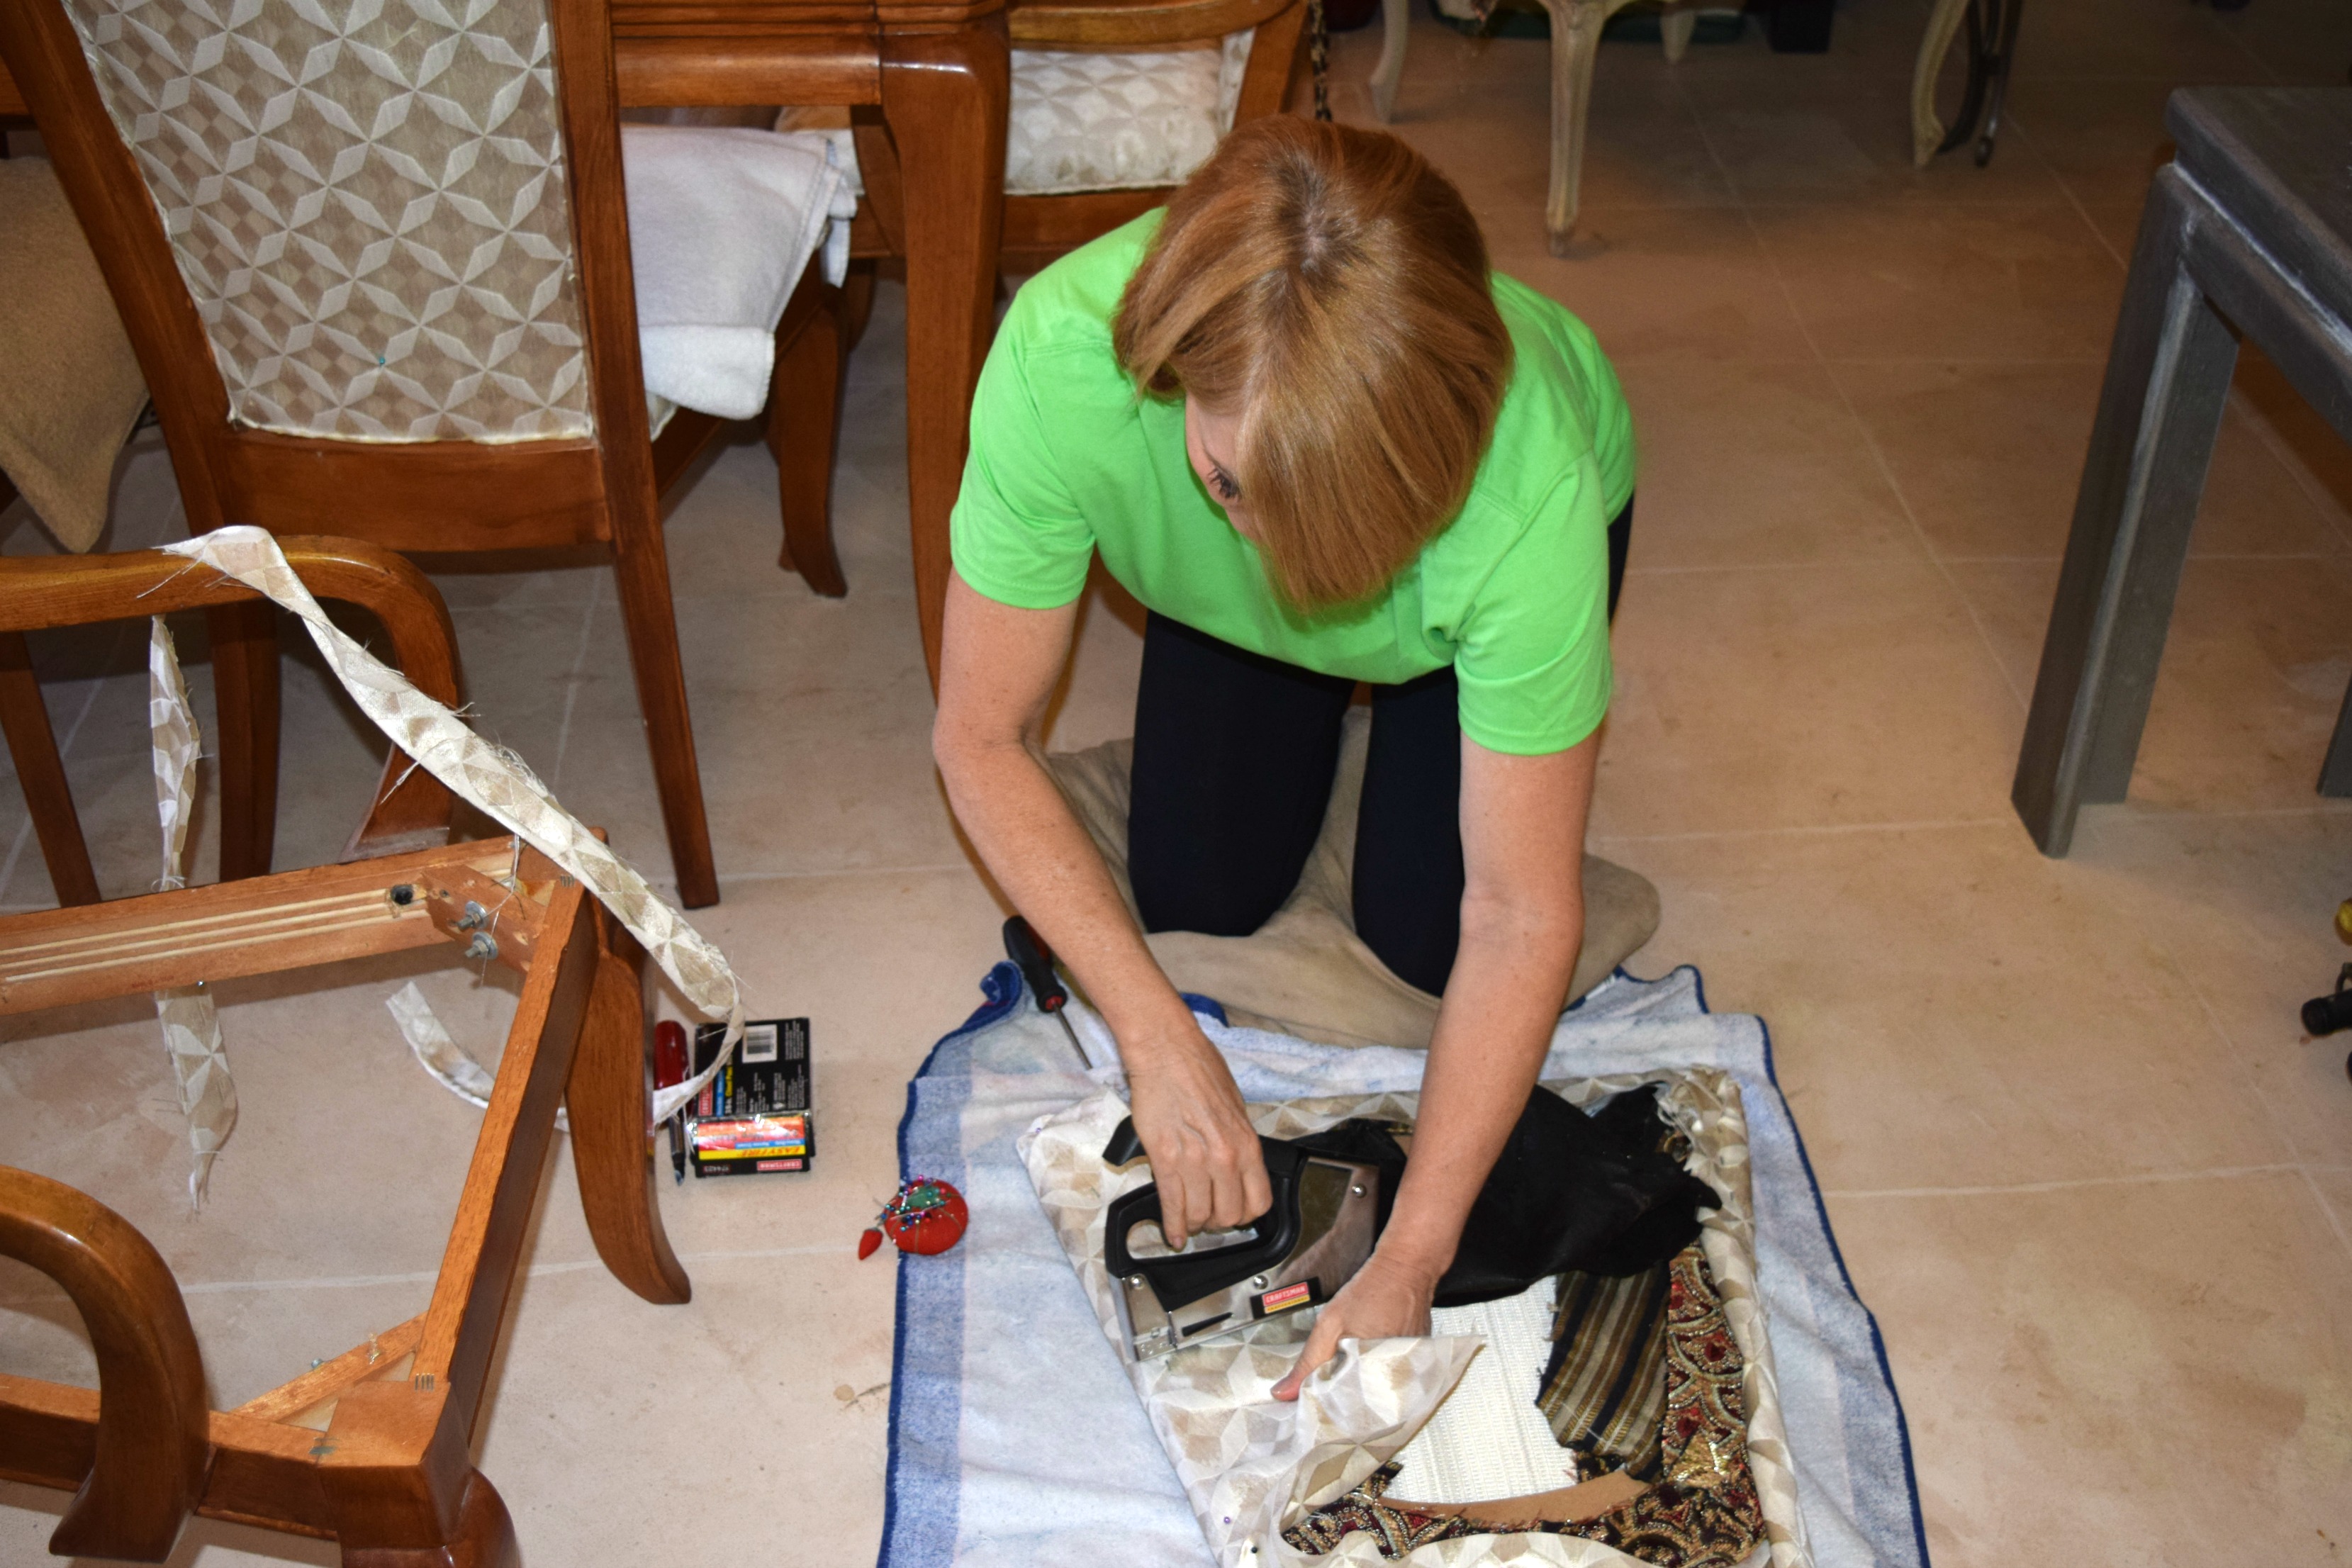
Continue pulling and stapling until you’ve attached the fabric all around the cushion. After that if you want a more finished, tailored look, you can add piping. I made my piping in the fabric of the cushions, but I’ve often seen them made with a contrast trim or no piping it at. Making your own is a time-consuming task but it makes a big difference to the overall look of the chair. You can see the piping I made hanging on the chair frame above. There is enough of an edge to attach it to the underside of the cushion. Once the main fabric is secured to the cushion, staple the piping around the chair, taking care to place the piping so it shows when the cushion is replaced but does not stick out beyond the cushion itself. My chairs also have a back cushion which I covered in the same manner as the seat. The back cushions are secured to the chair frame by small upholstery nails.
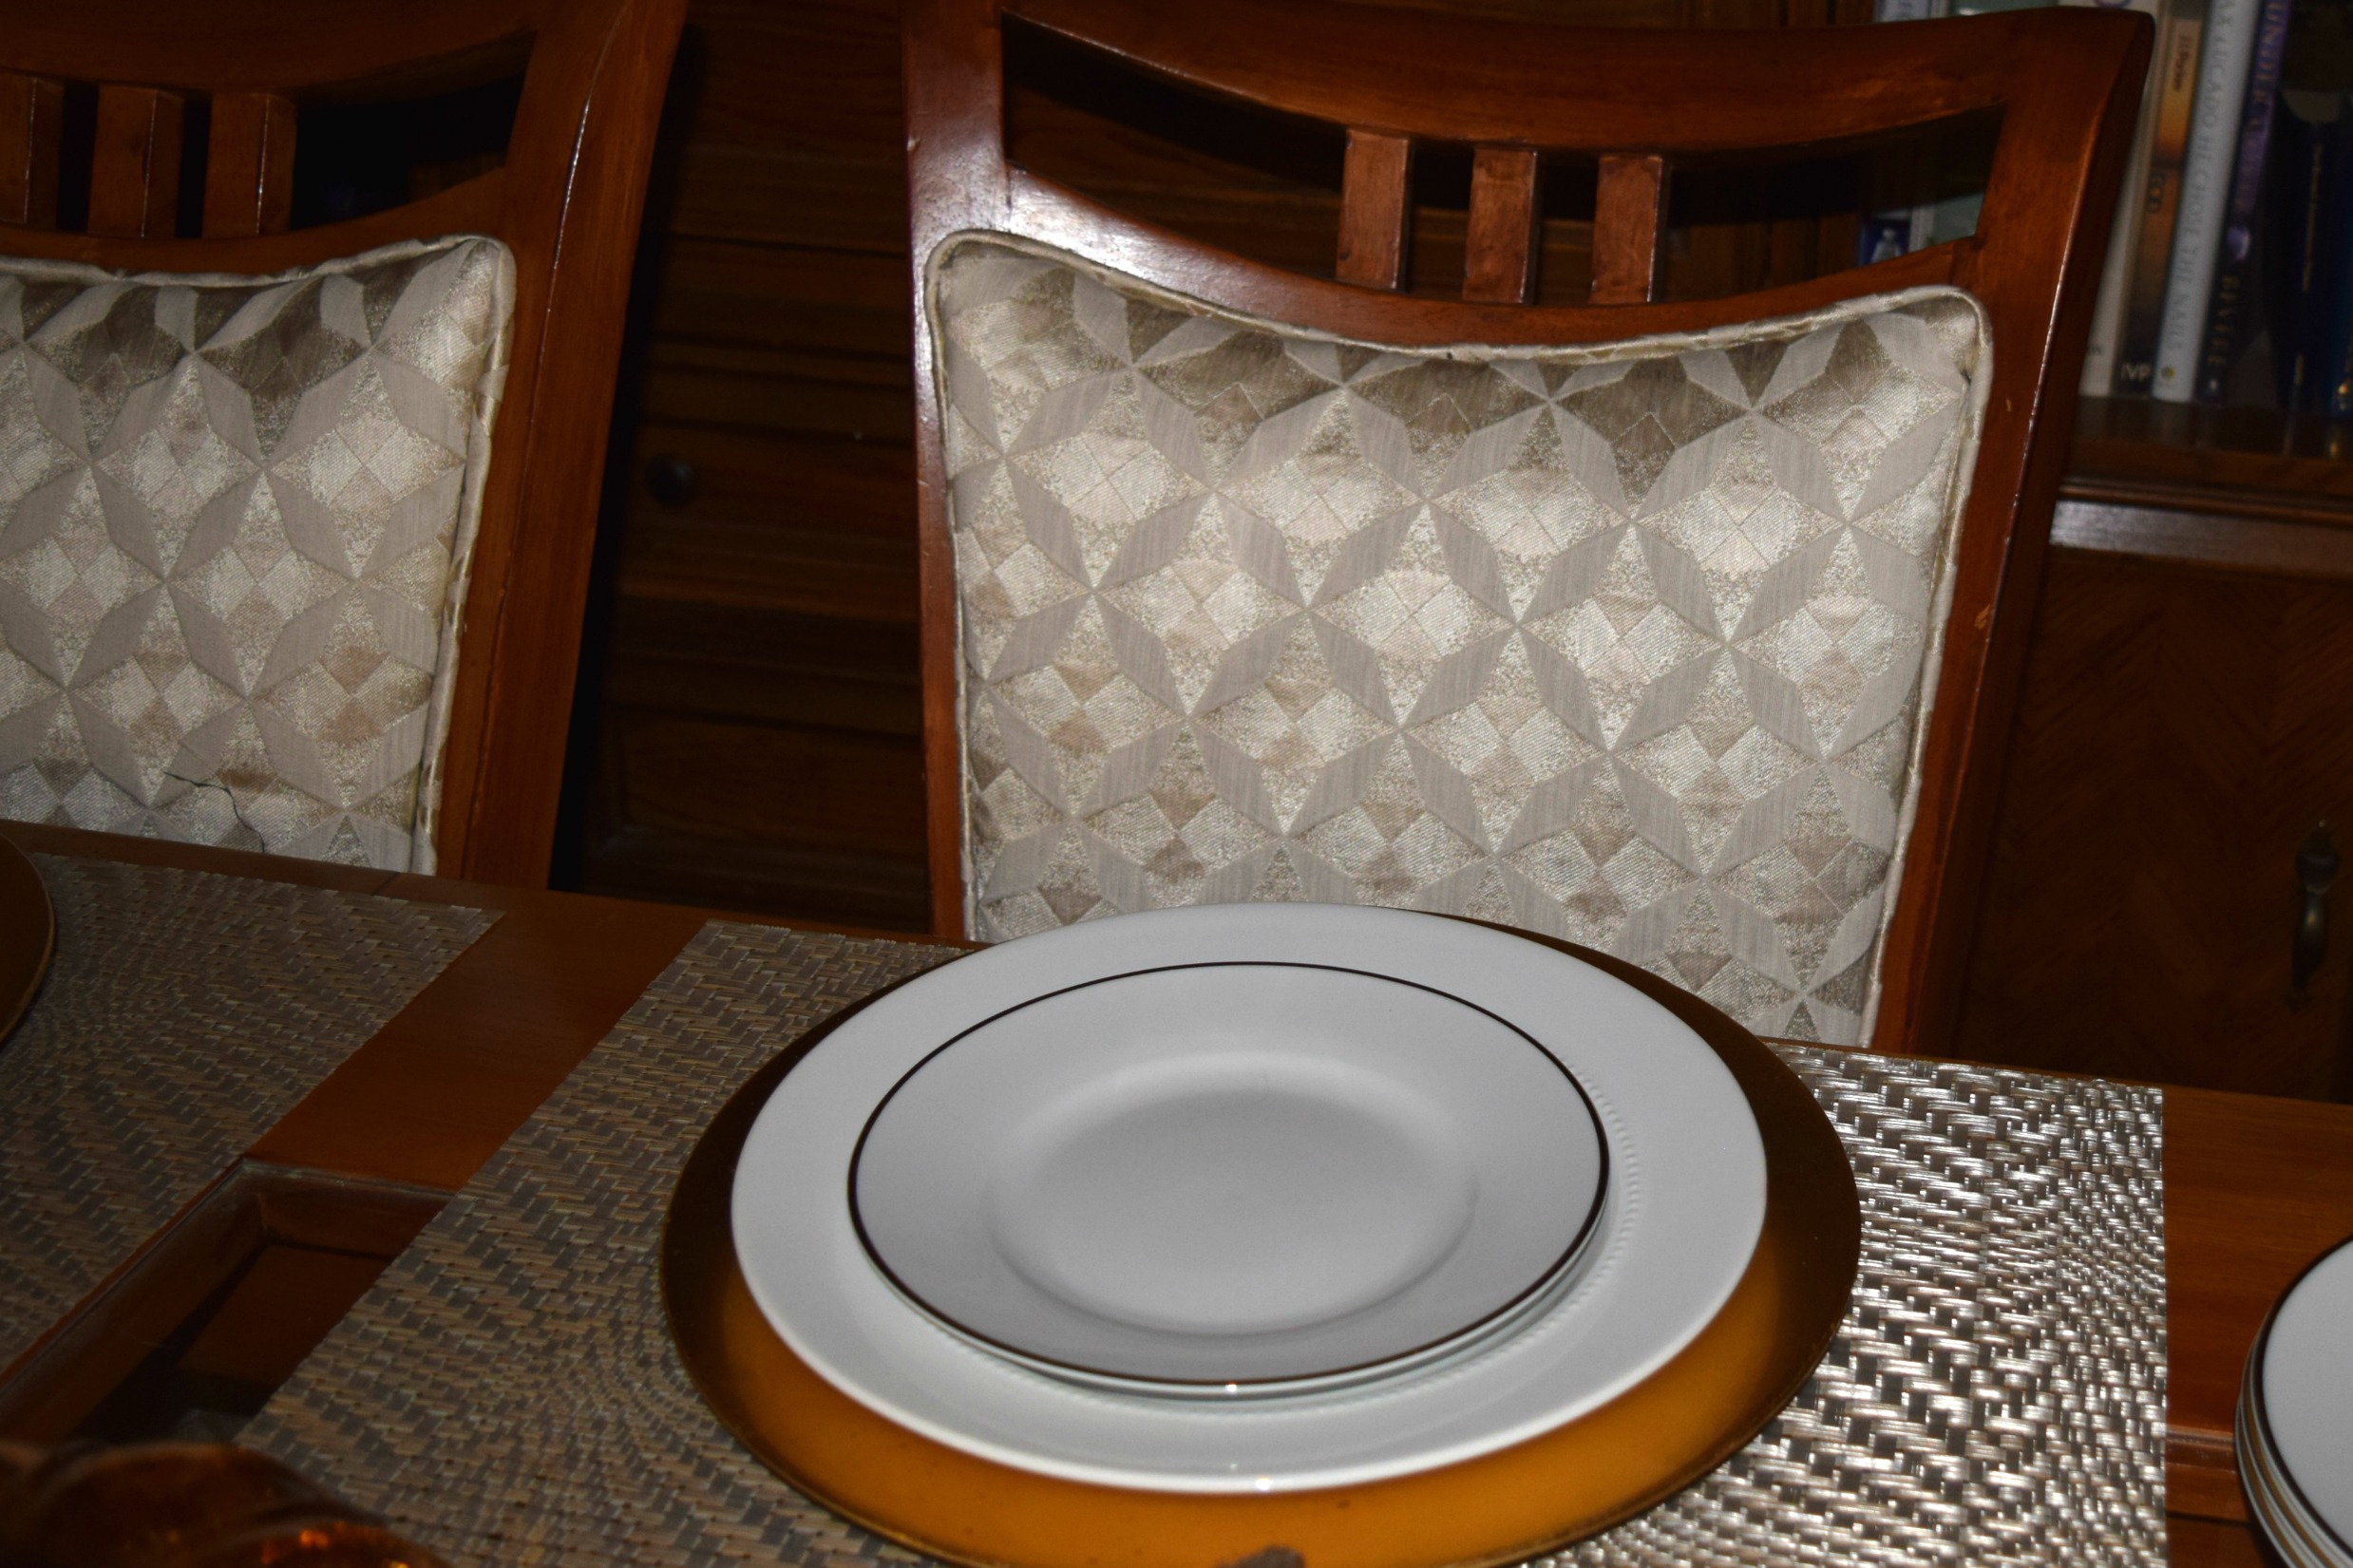
Above you see the finished chairs. In truth I’m not that happy with the piping. I didn’t get the perfectly professional look I wanted but it’s reasonable for now. I plan to adjust it some time soon, but I got to the point where I needed a break from this project. The thicker fabric in the first redo made for a rounder edge and was more forgiving, I guess. In retrospect, I probably need a large piece of cord inside the fabric.
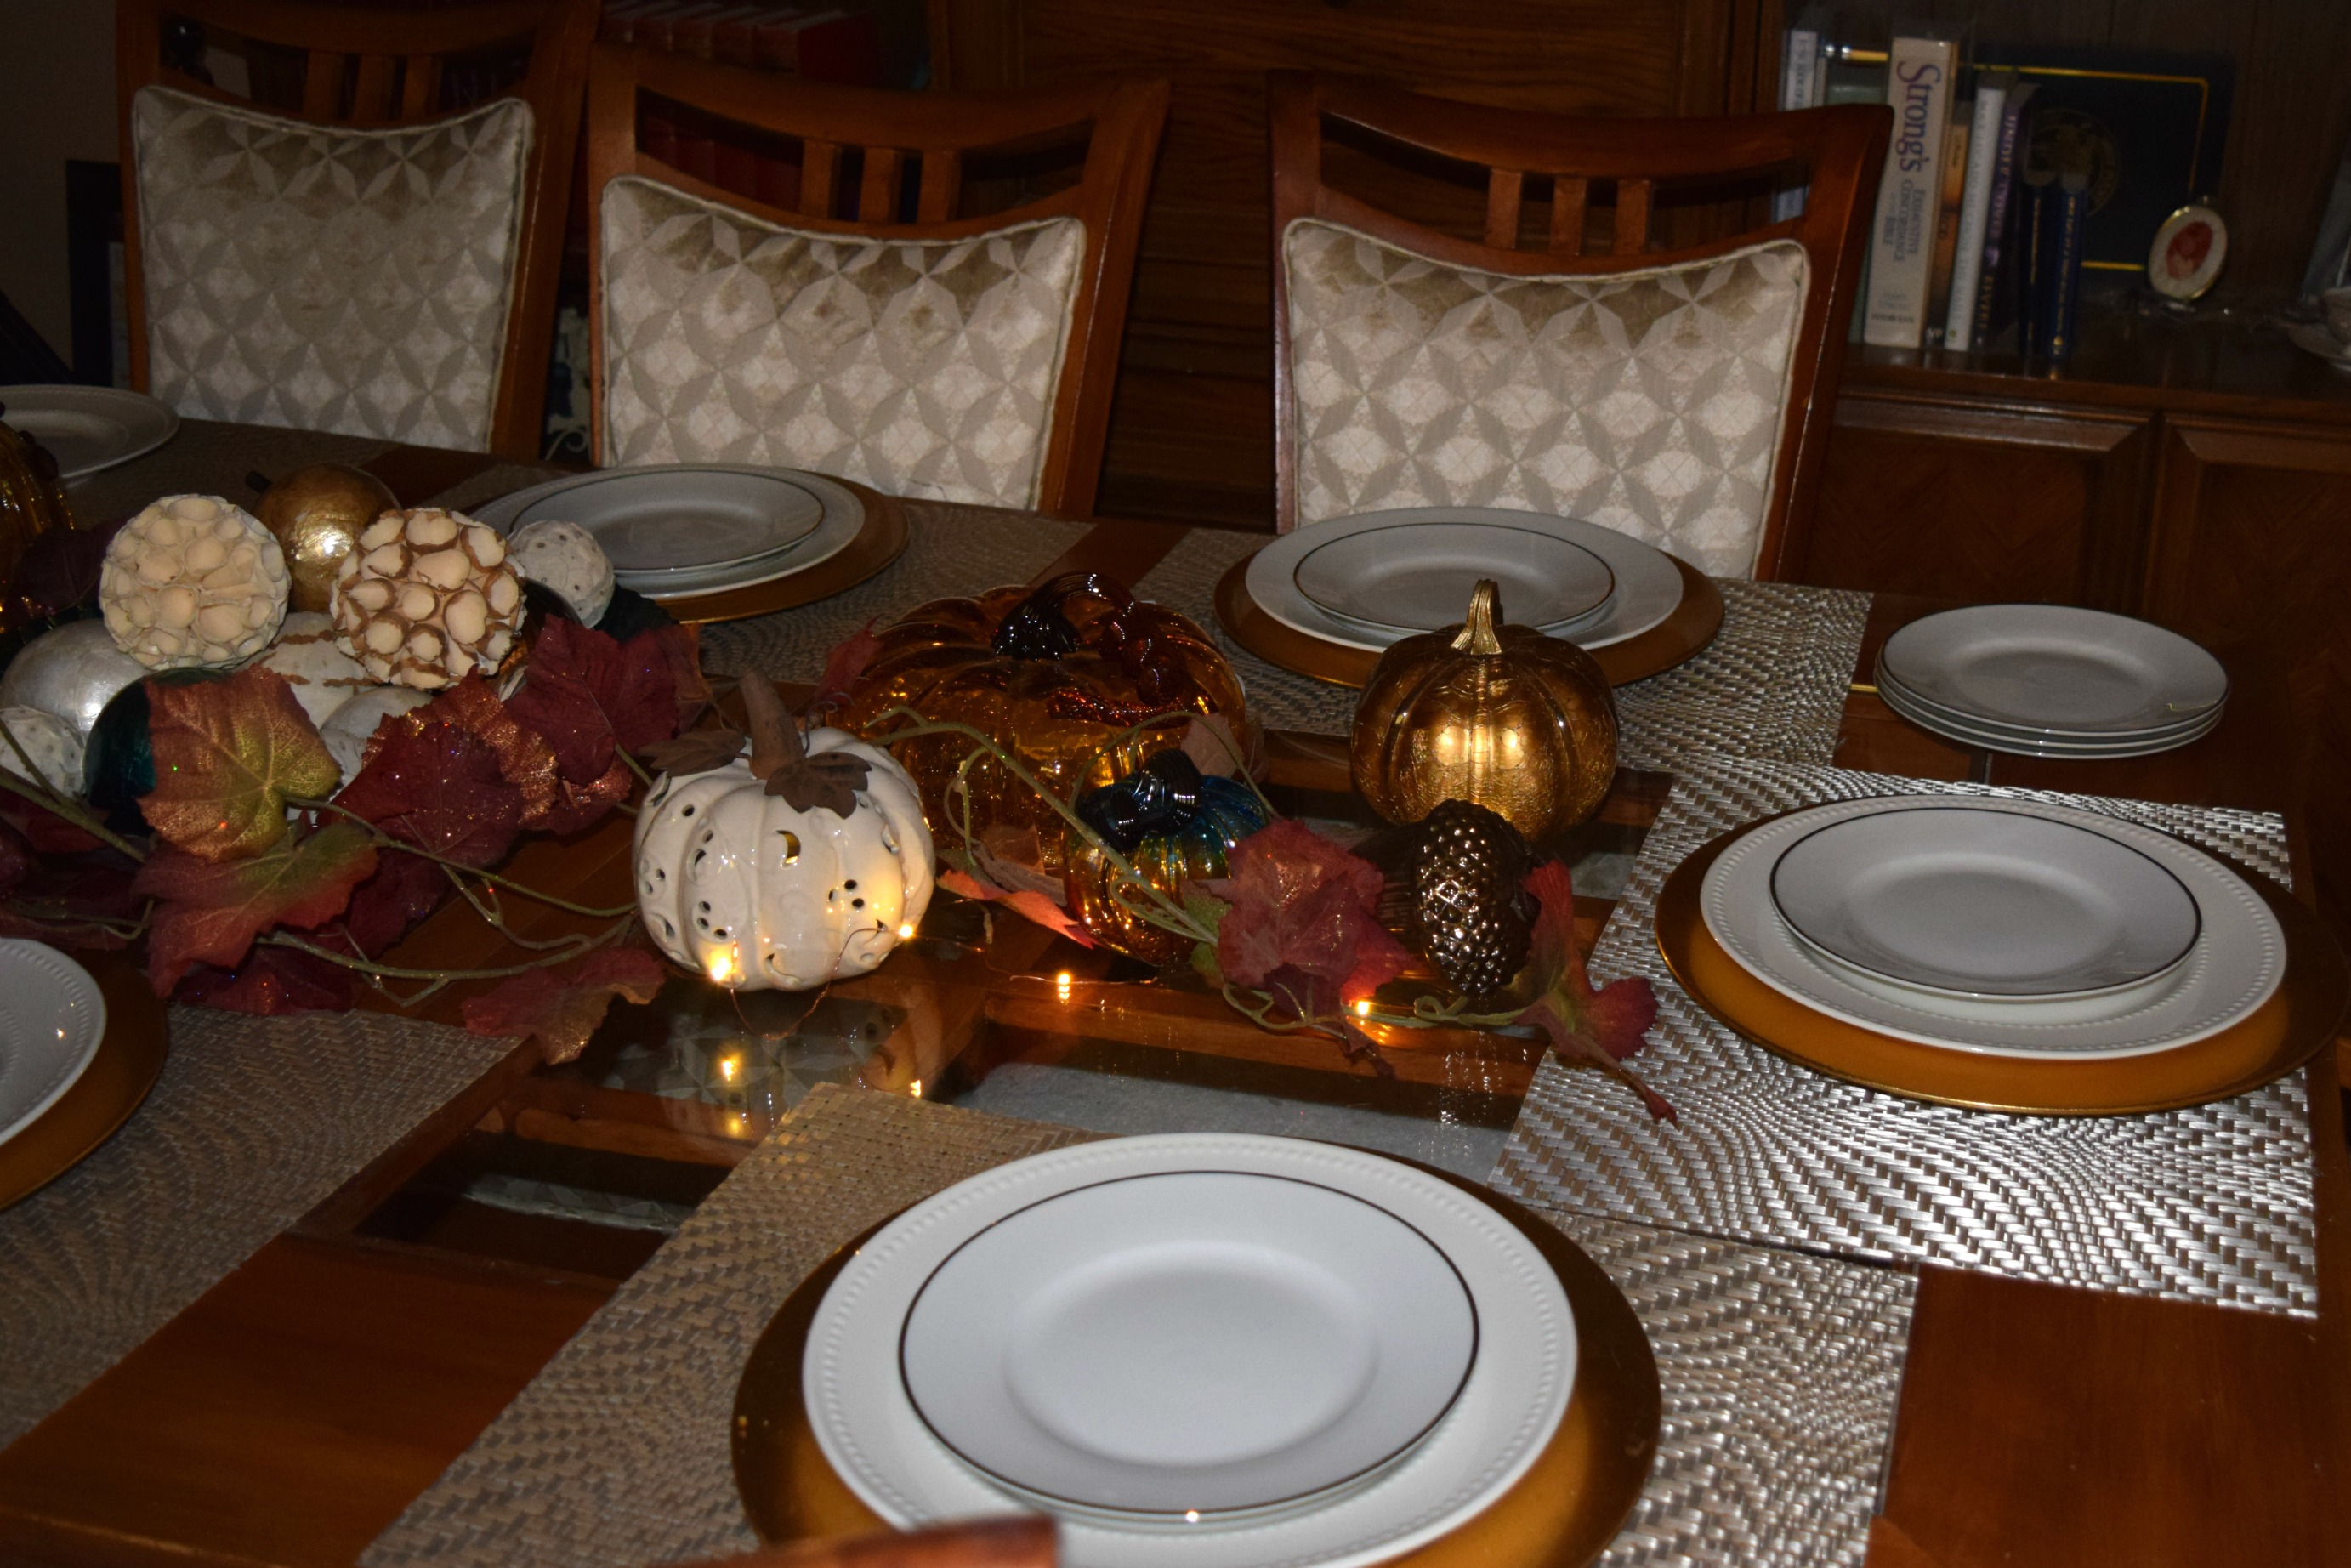
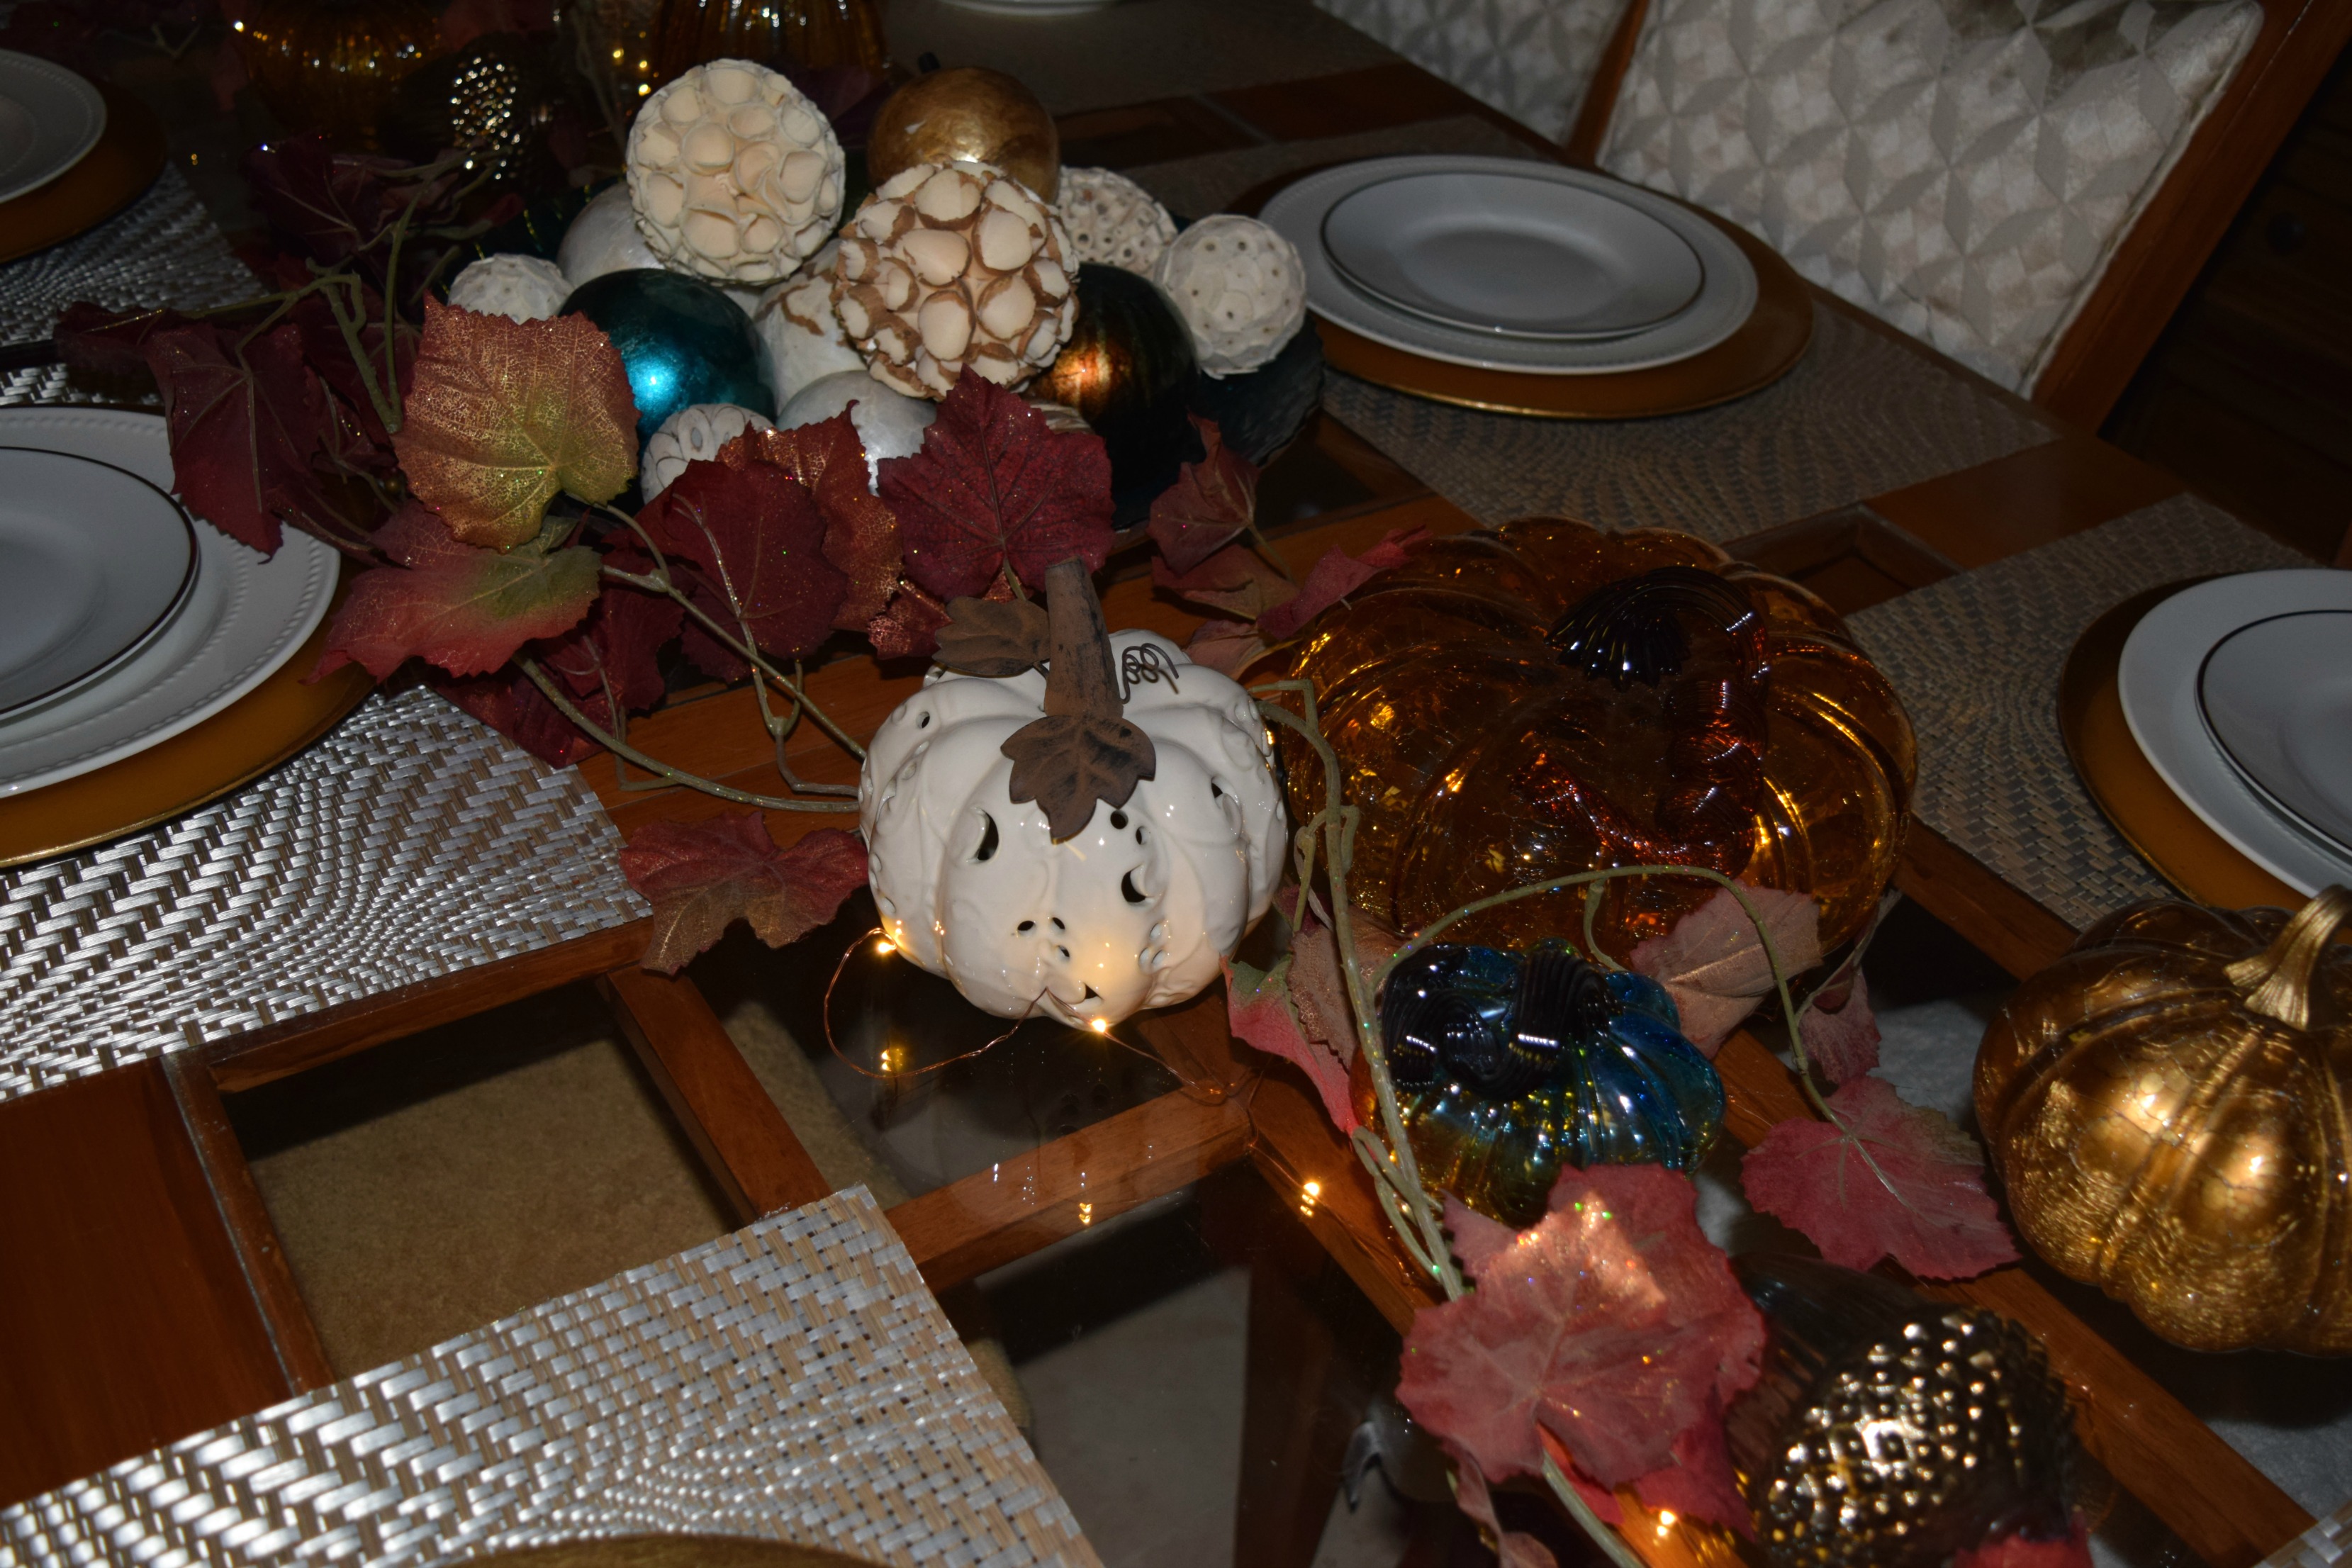
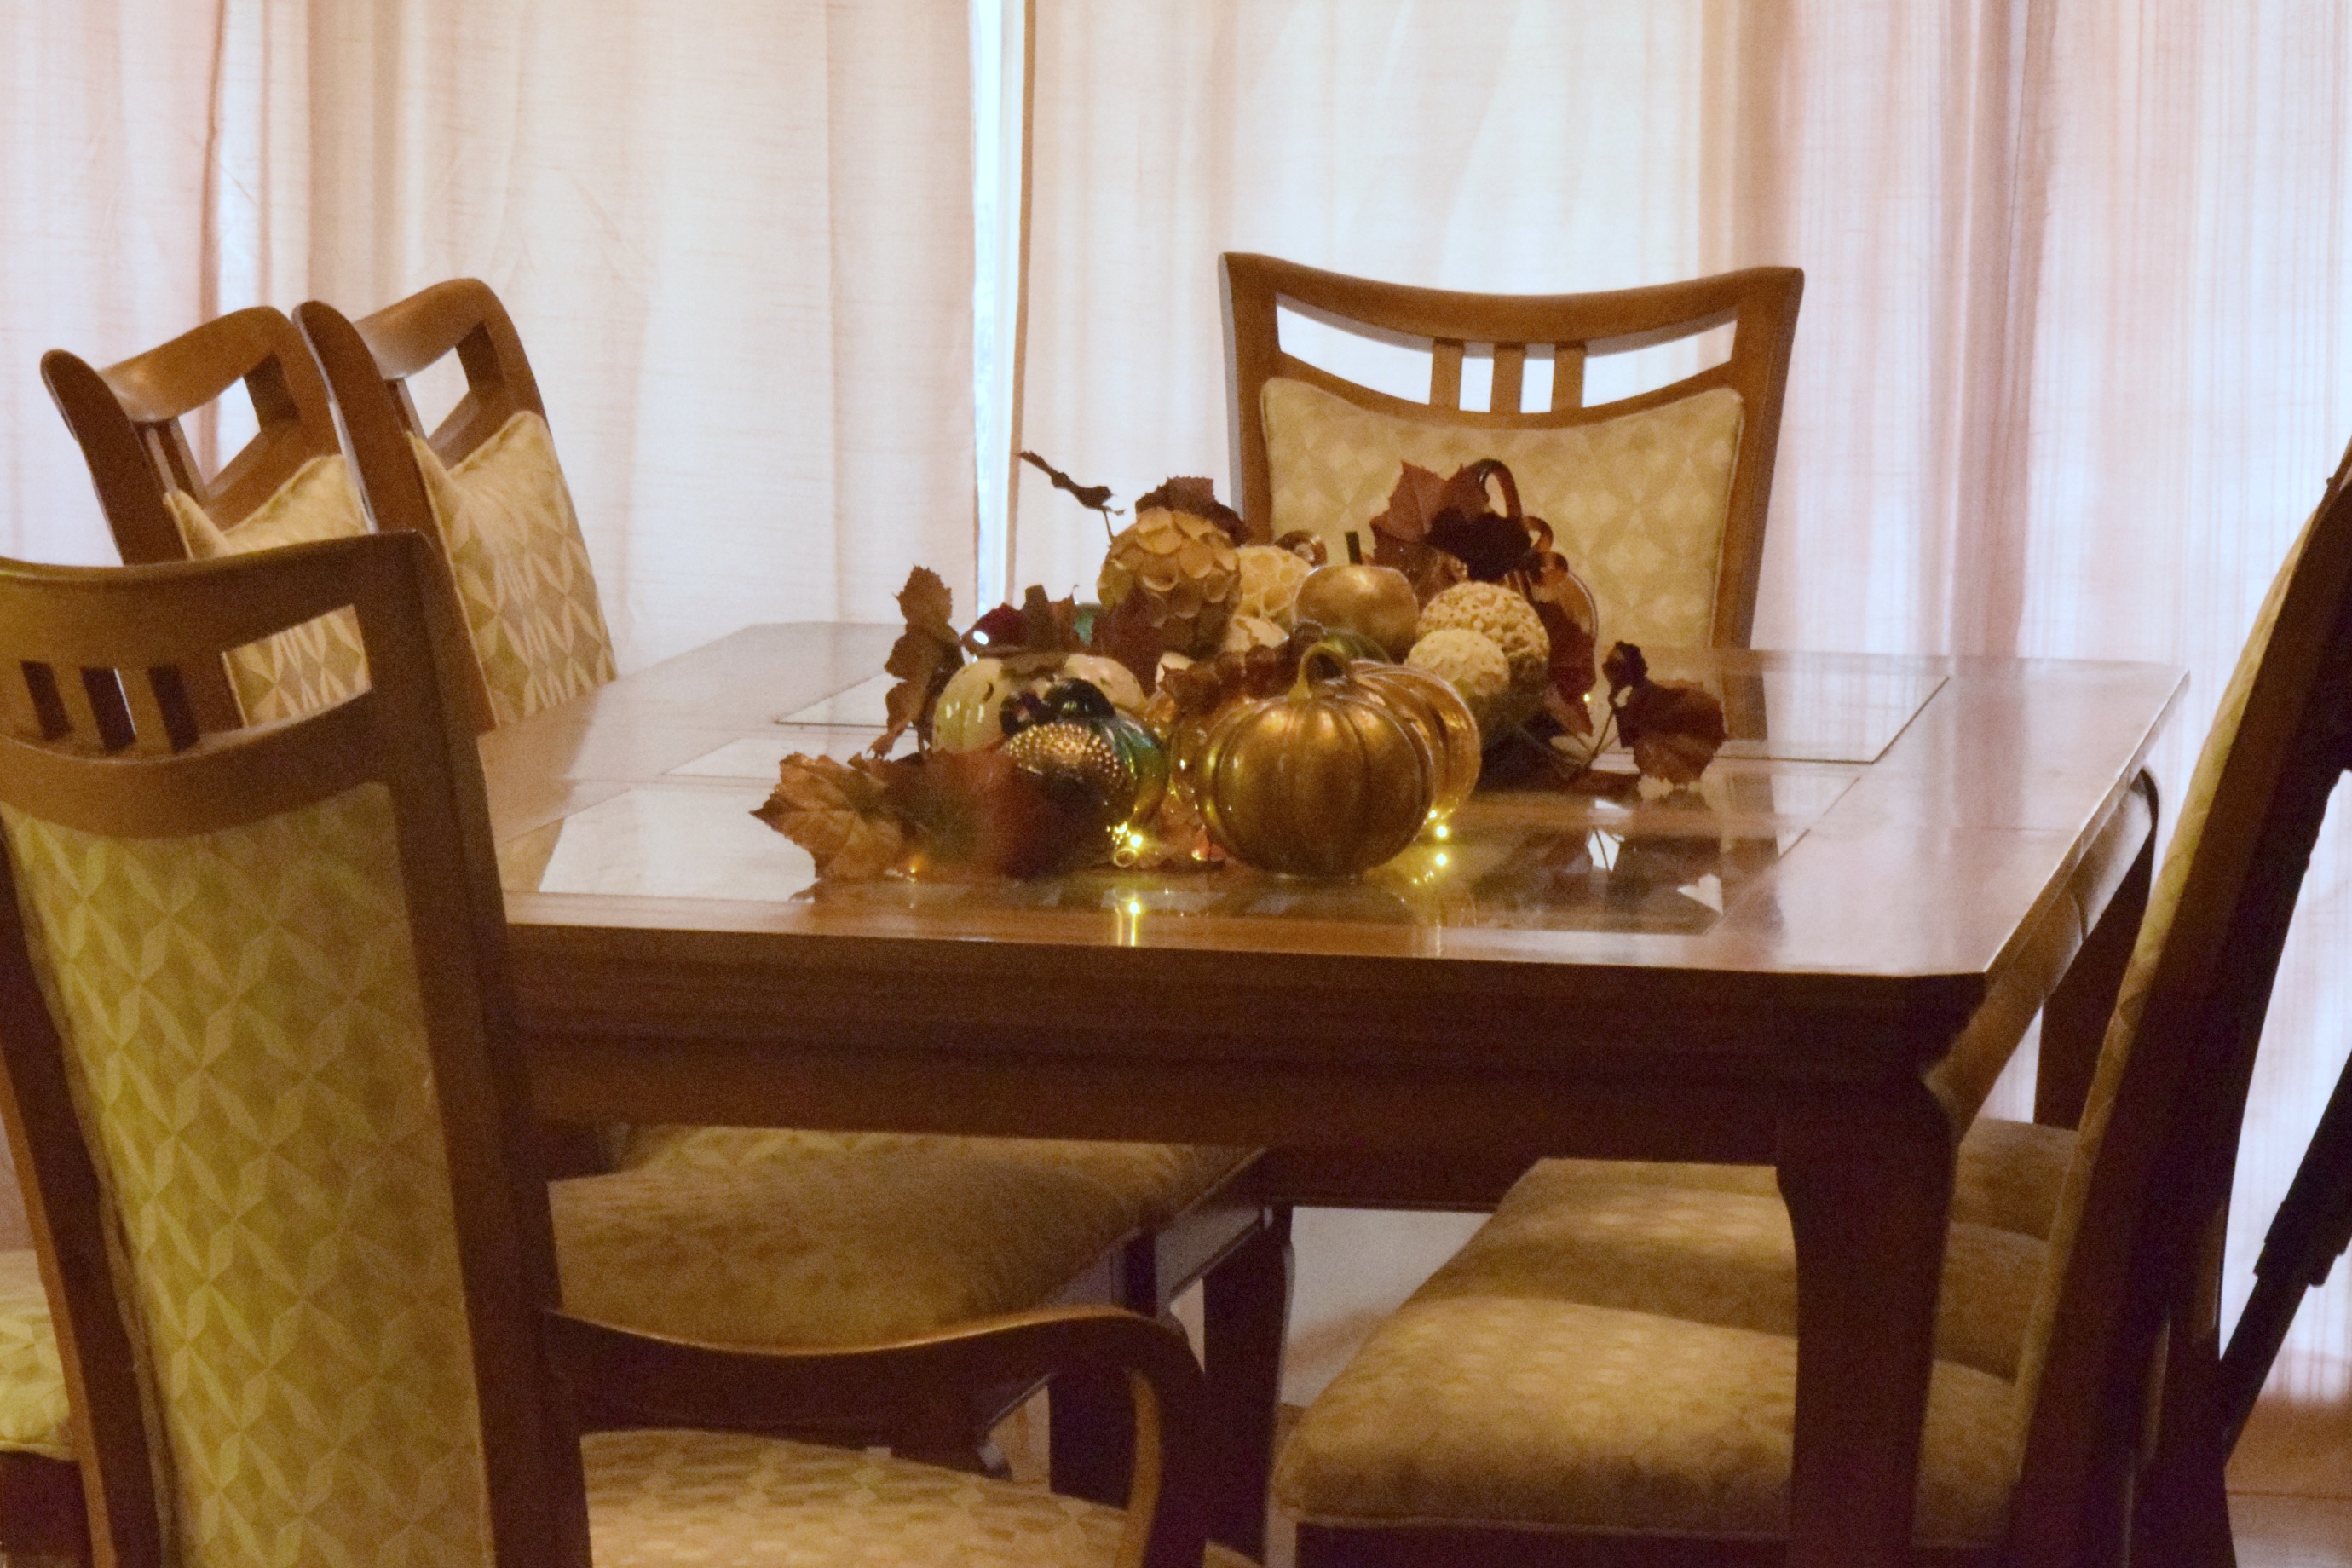
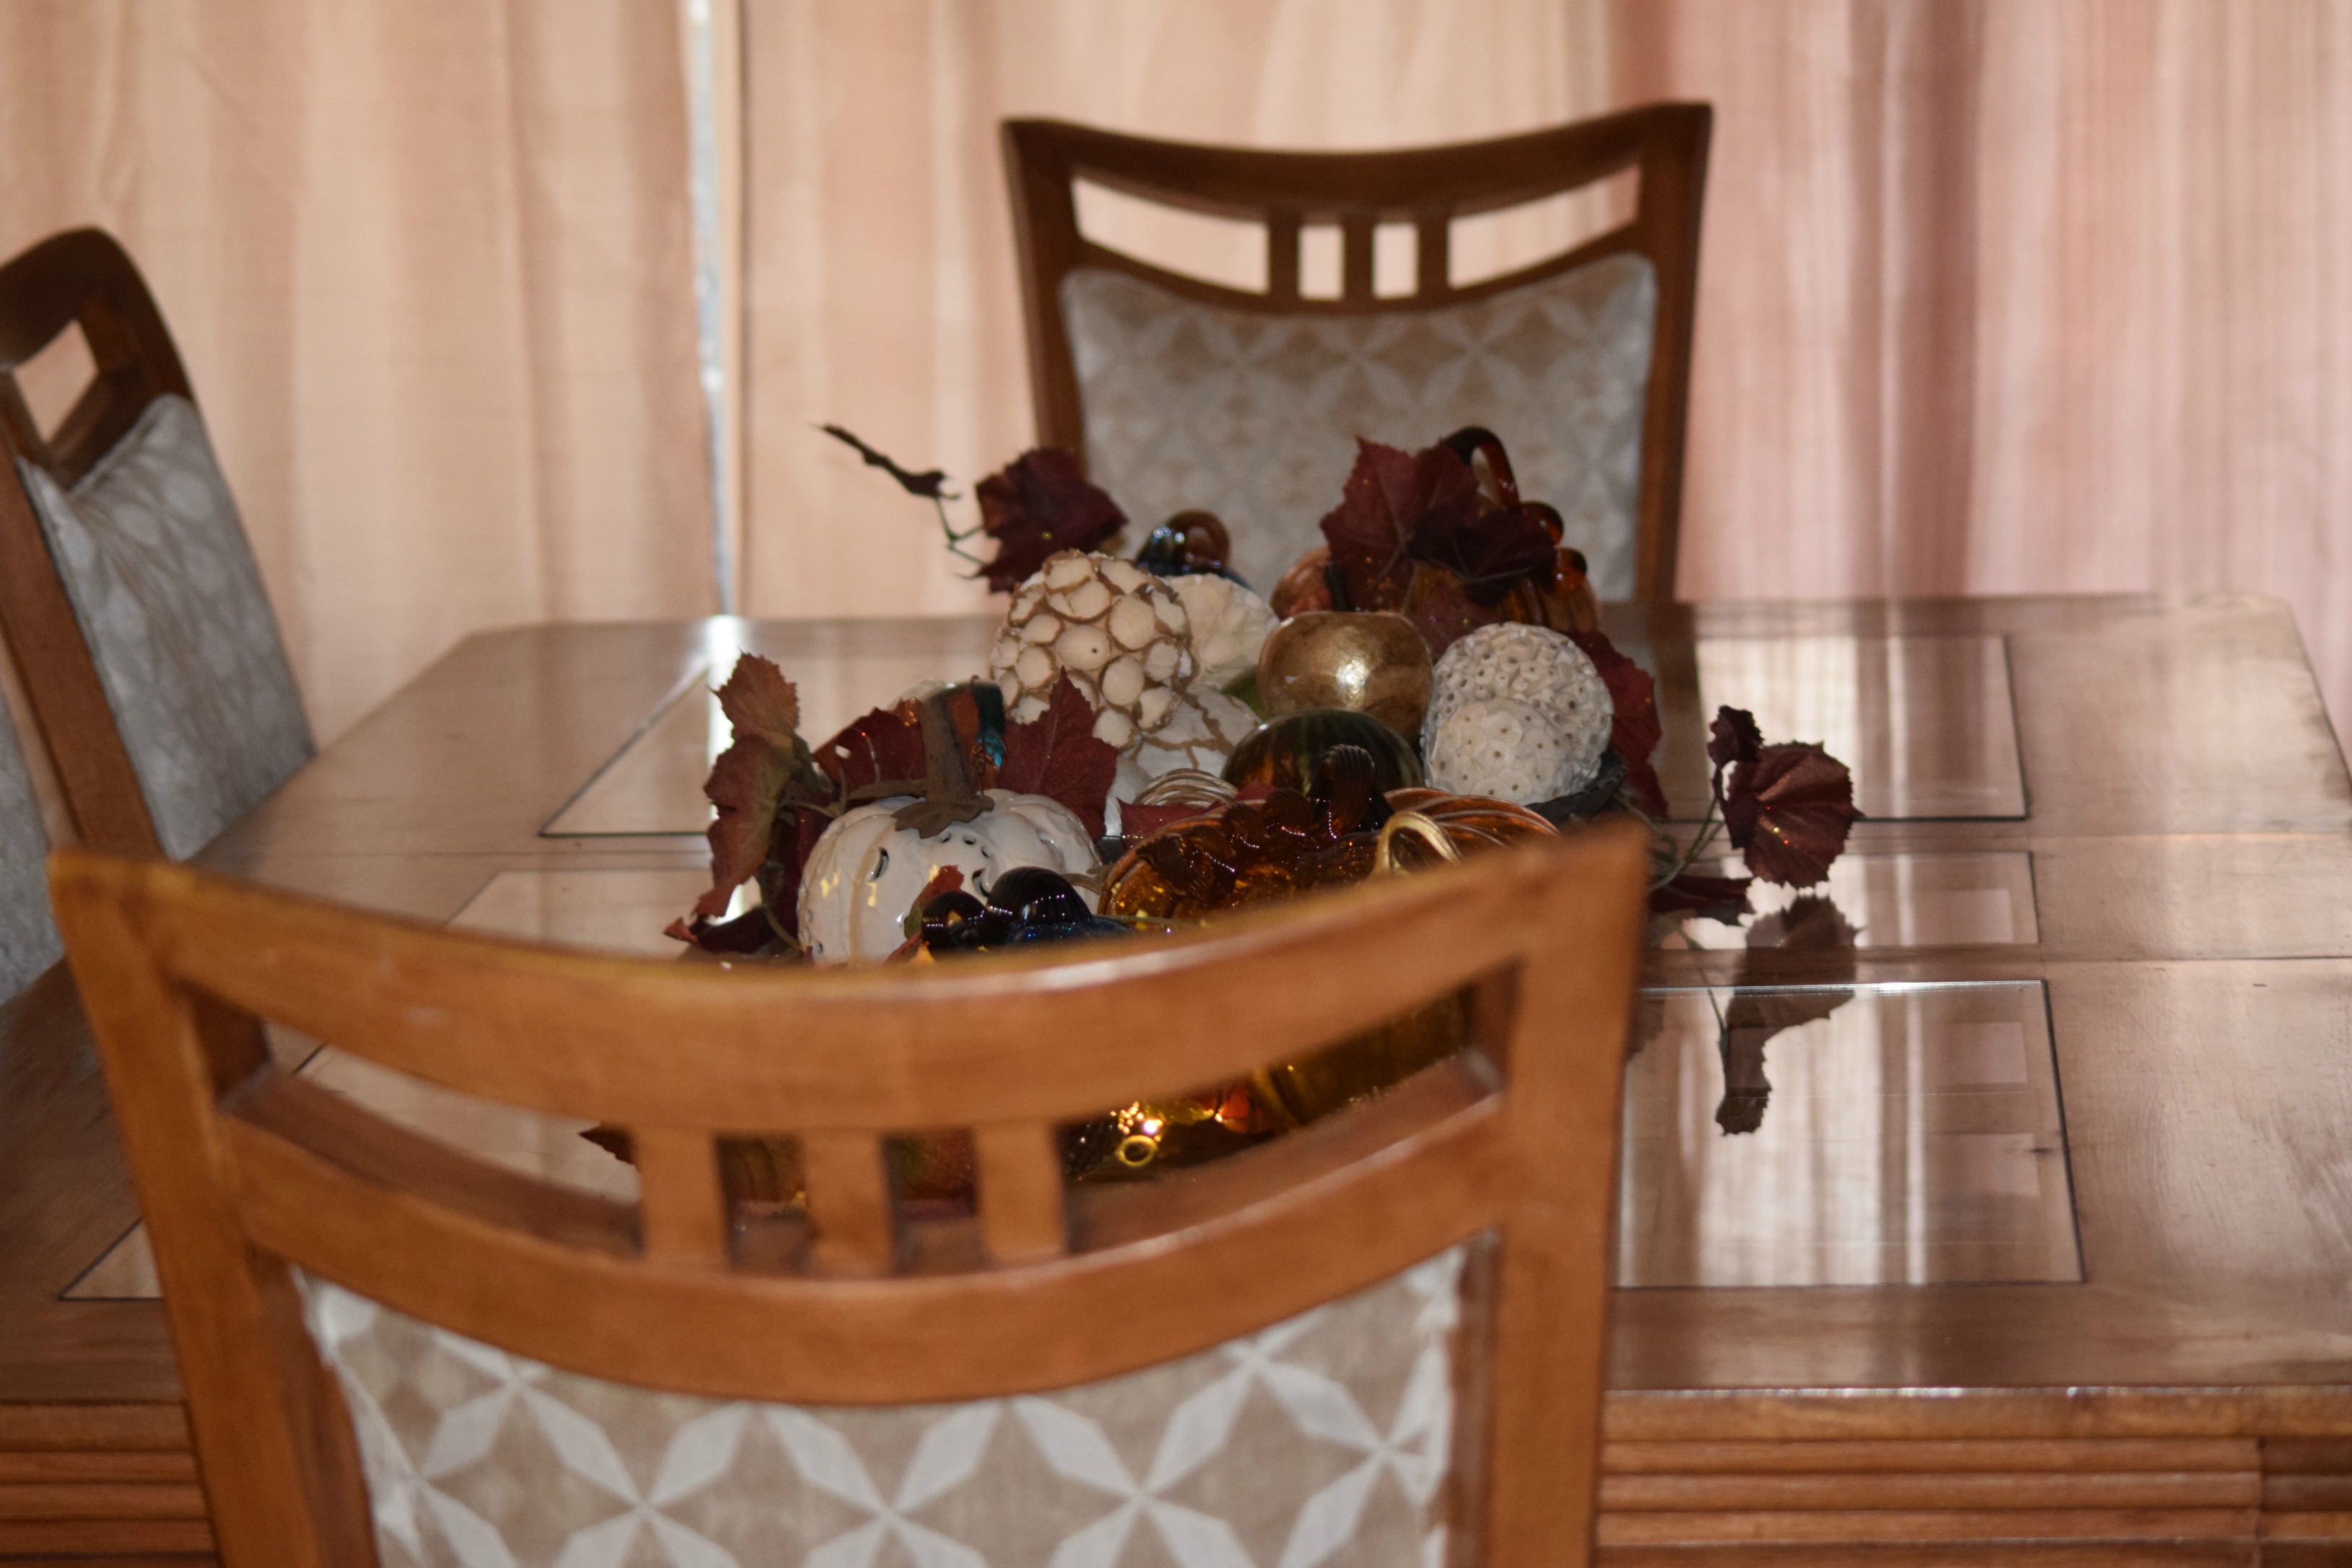
And finally it was time to set and decorate the table. I’ve added these beautiful glass pumpkins from Pier 1 and some small twinkle lights to give it a festive glow.
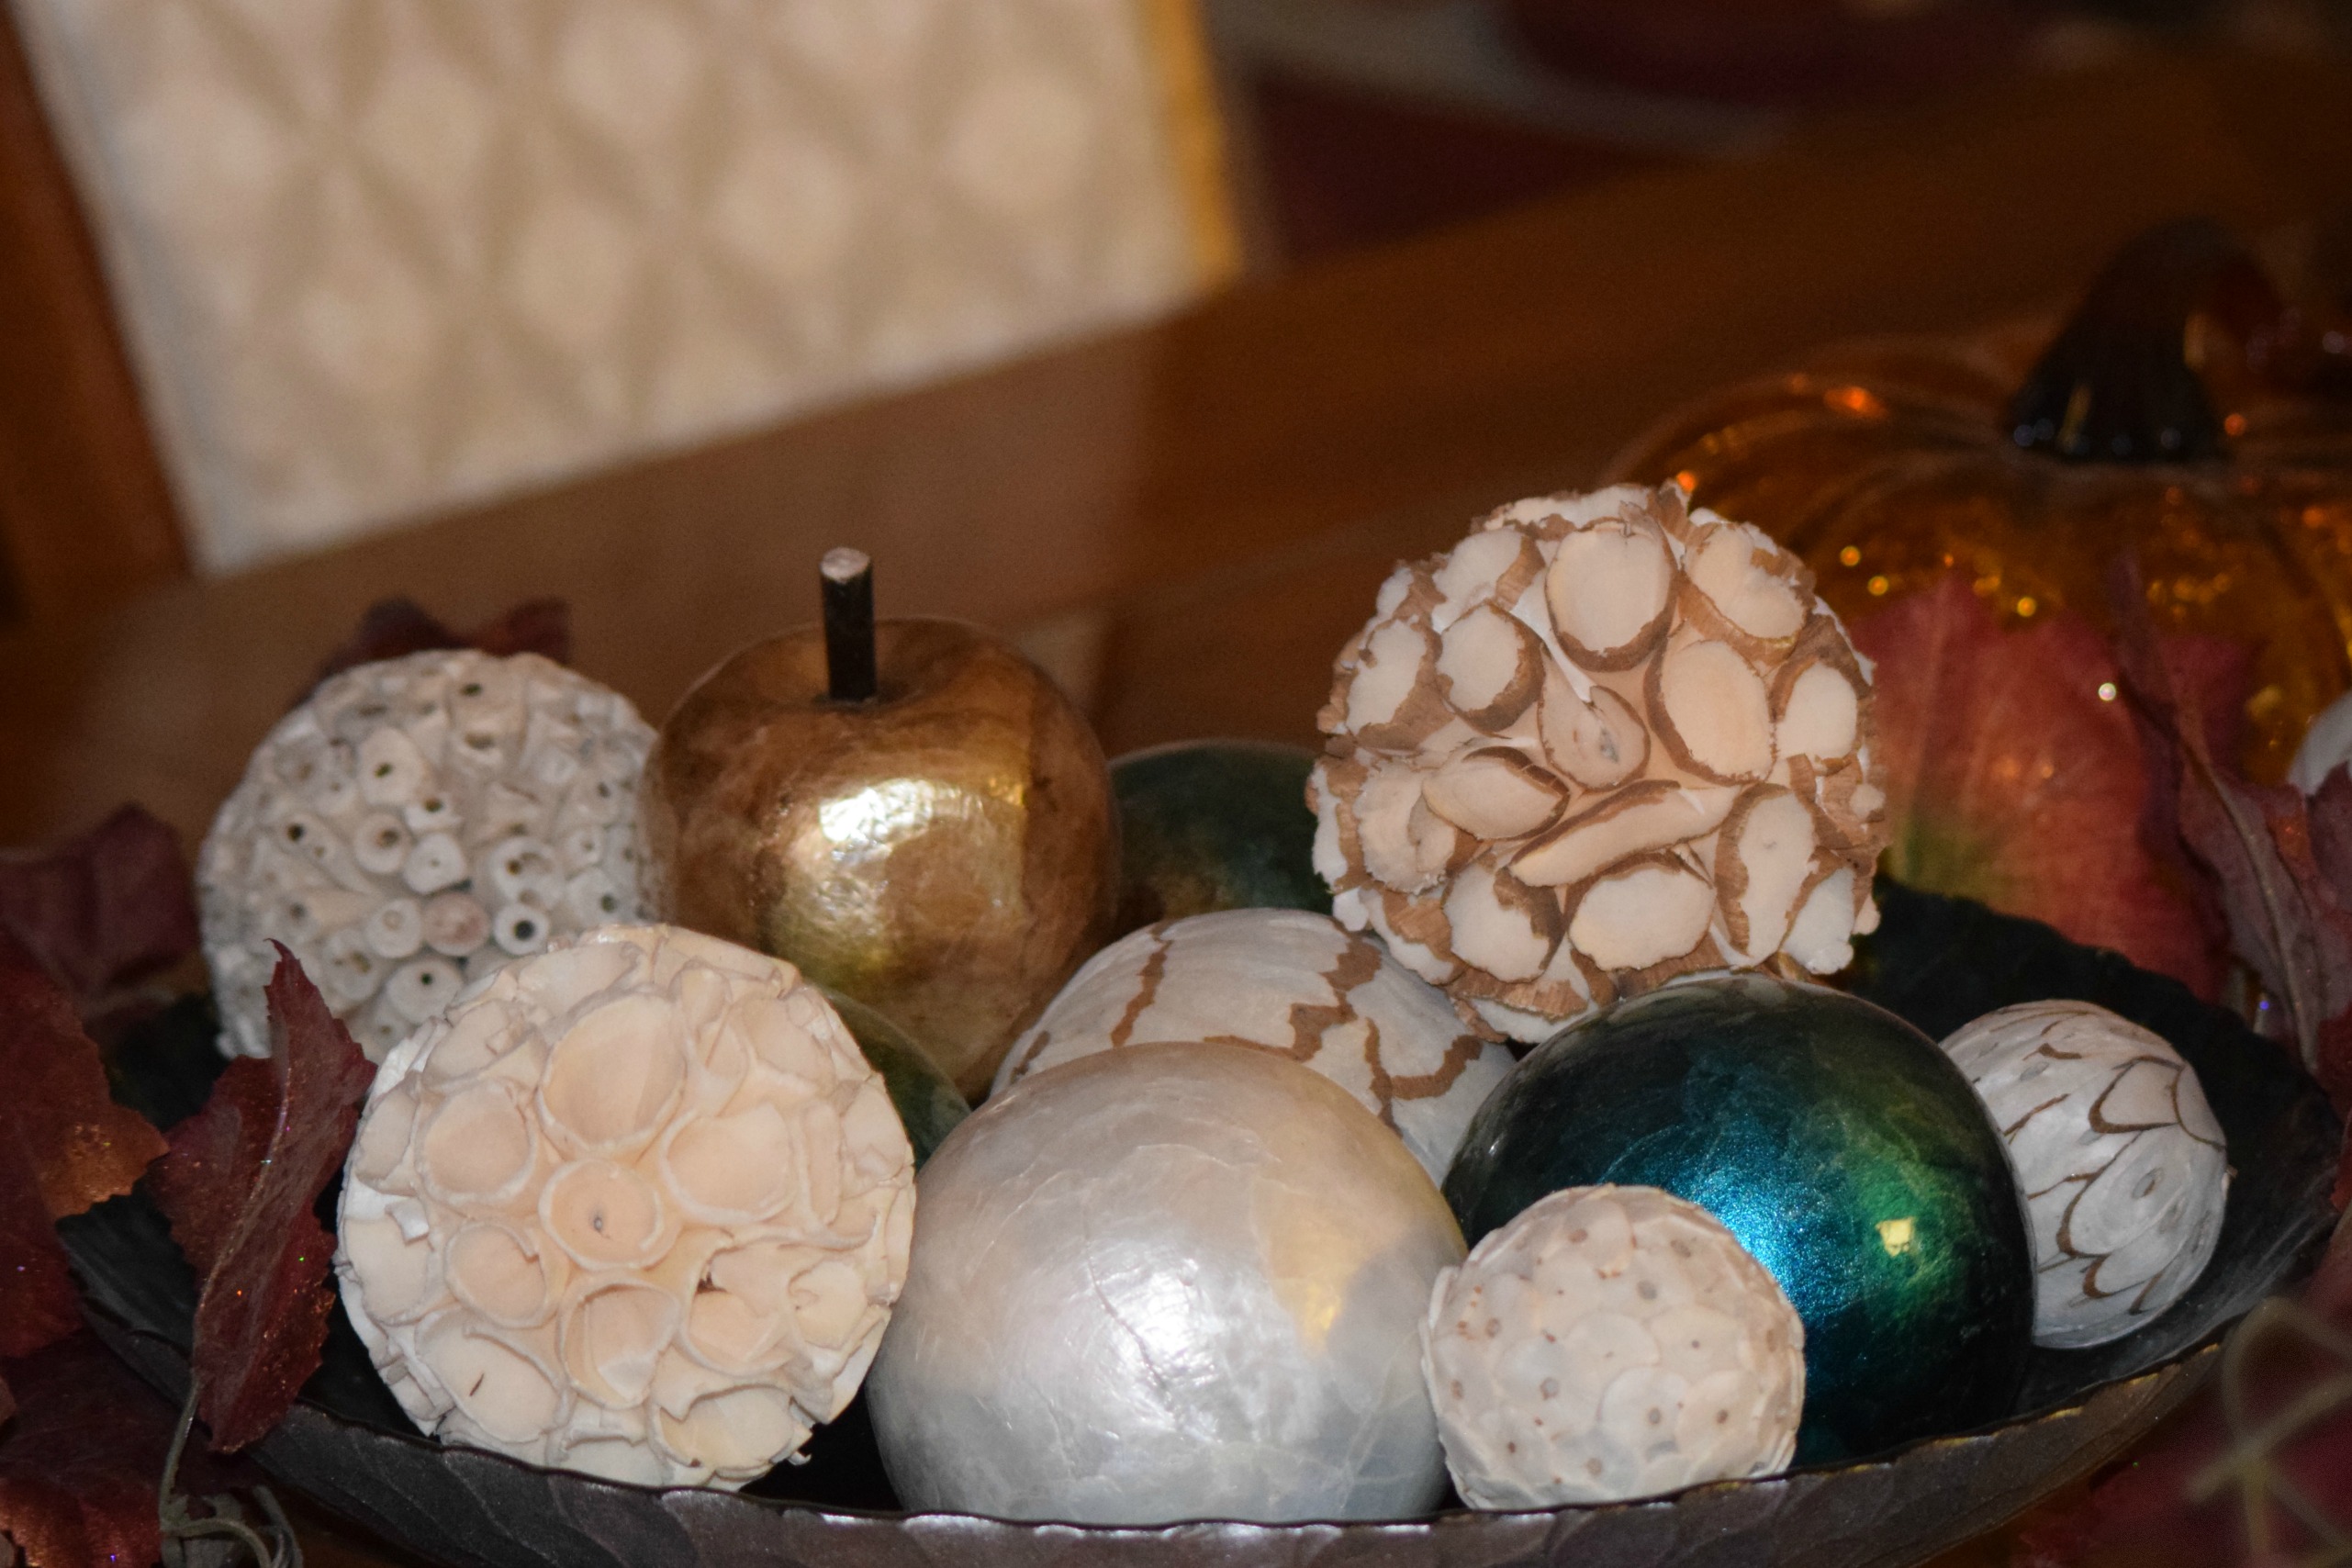
The bowl and spheres stay even after the harvest decor is put away. They may not make the December Christmas cut but they’ll be back in January. 🙂
So there you have it – the dining room so far. The next step will involve a bit of construction: The window in the back will be replaced by French doors and the bookshelf will be replaced by built-ins. All in due time. Meanwhile, I’m enjoying the change this new upholstery brings to the room. Recovering the chairs was a fun challenge. So far I love the change! You can shop my harvest decor at Pier 1 Imports below.
Large Brown LED Glass Pumpkin | Speckled Orange Petite Glass Pumpkin | Small Gold Aged Glass Pumpkin | Amber Crackle Glass Tall Pumpkin – Medium | Amber Crackle Glass Round Pumpkin – Large | Large Ceramic Ivory Pumpkin Tealight Candle Holder | Small Ceramic Ivory Pumpkin Tealight Candle Holder | Glass Burnished Acorn | Taupe & Turquoise Foil Decorative Sphere | Blue & Green Foil Decorative Sphere | Peacock Serving Bowl | Tabella Gold Wave Placemat | Threshold® 16 Piece Round Beaded Dinnerware Set – White – ThresholdTM | Oversized Golden Patina Fruit
I hope you enjoyed the process of my dining room redo. It took longer than I’d planned. Round 1 was much quicker for some reason – could it be my canine helper? Now I can finally spend time enjoying it. Thanks so much for visiting!

Blood Pressure Pills Online 100 Mg Viagra Preise Can I Purchase Clobetasol 30g buy levitra overnight Cialis And Viagra Sales