I’ve been sooo curious about vampire facials, or more specifically, Collagen Injection Therapy and Microneedling. After reading about the many women who have been pleased with the results I really wanted to try it. I made an appointment at my local source, Peach Skin Clinic, and worked with Maria. Maria was fabulous.
My biggest issue has been timing. I wasn’t sure how I would look immediately following the procedure and how long I’d deal with down time. With a full schedule of meetings during tax season it was a legitimate concern.
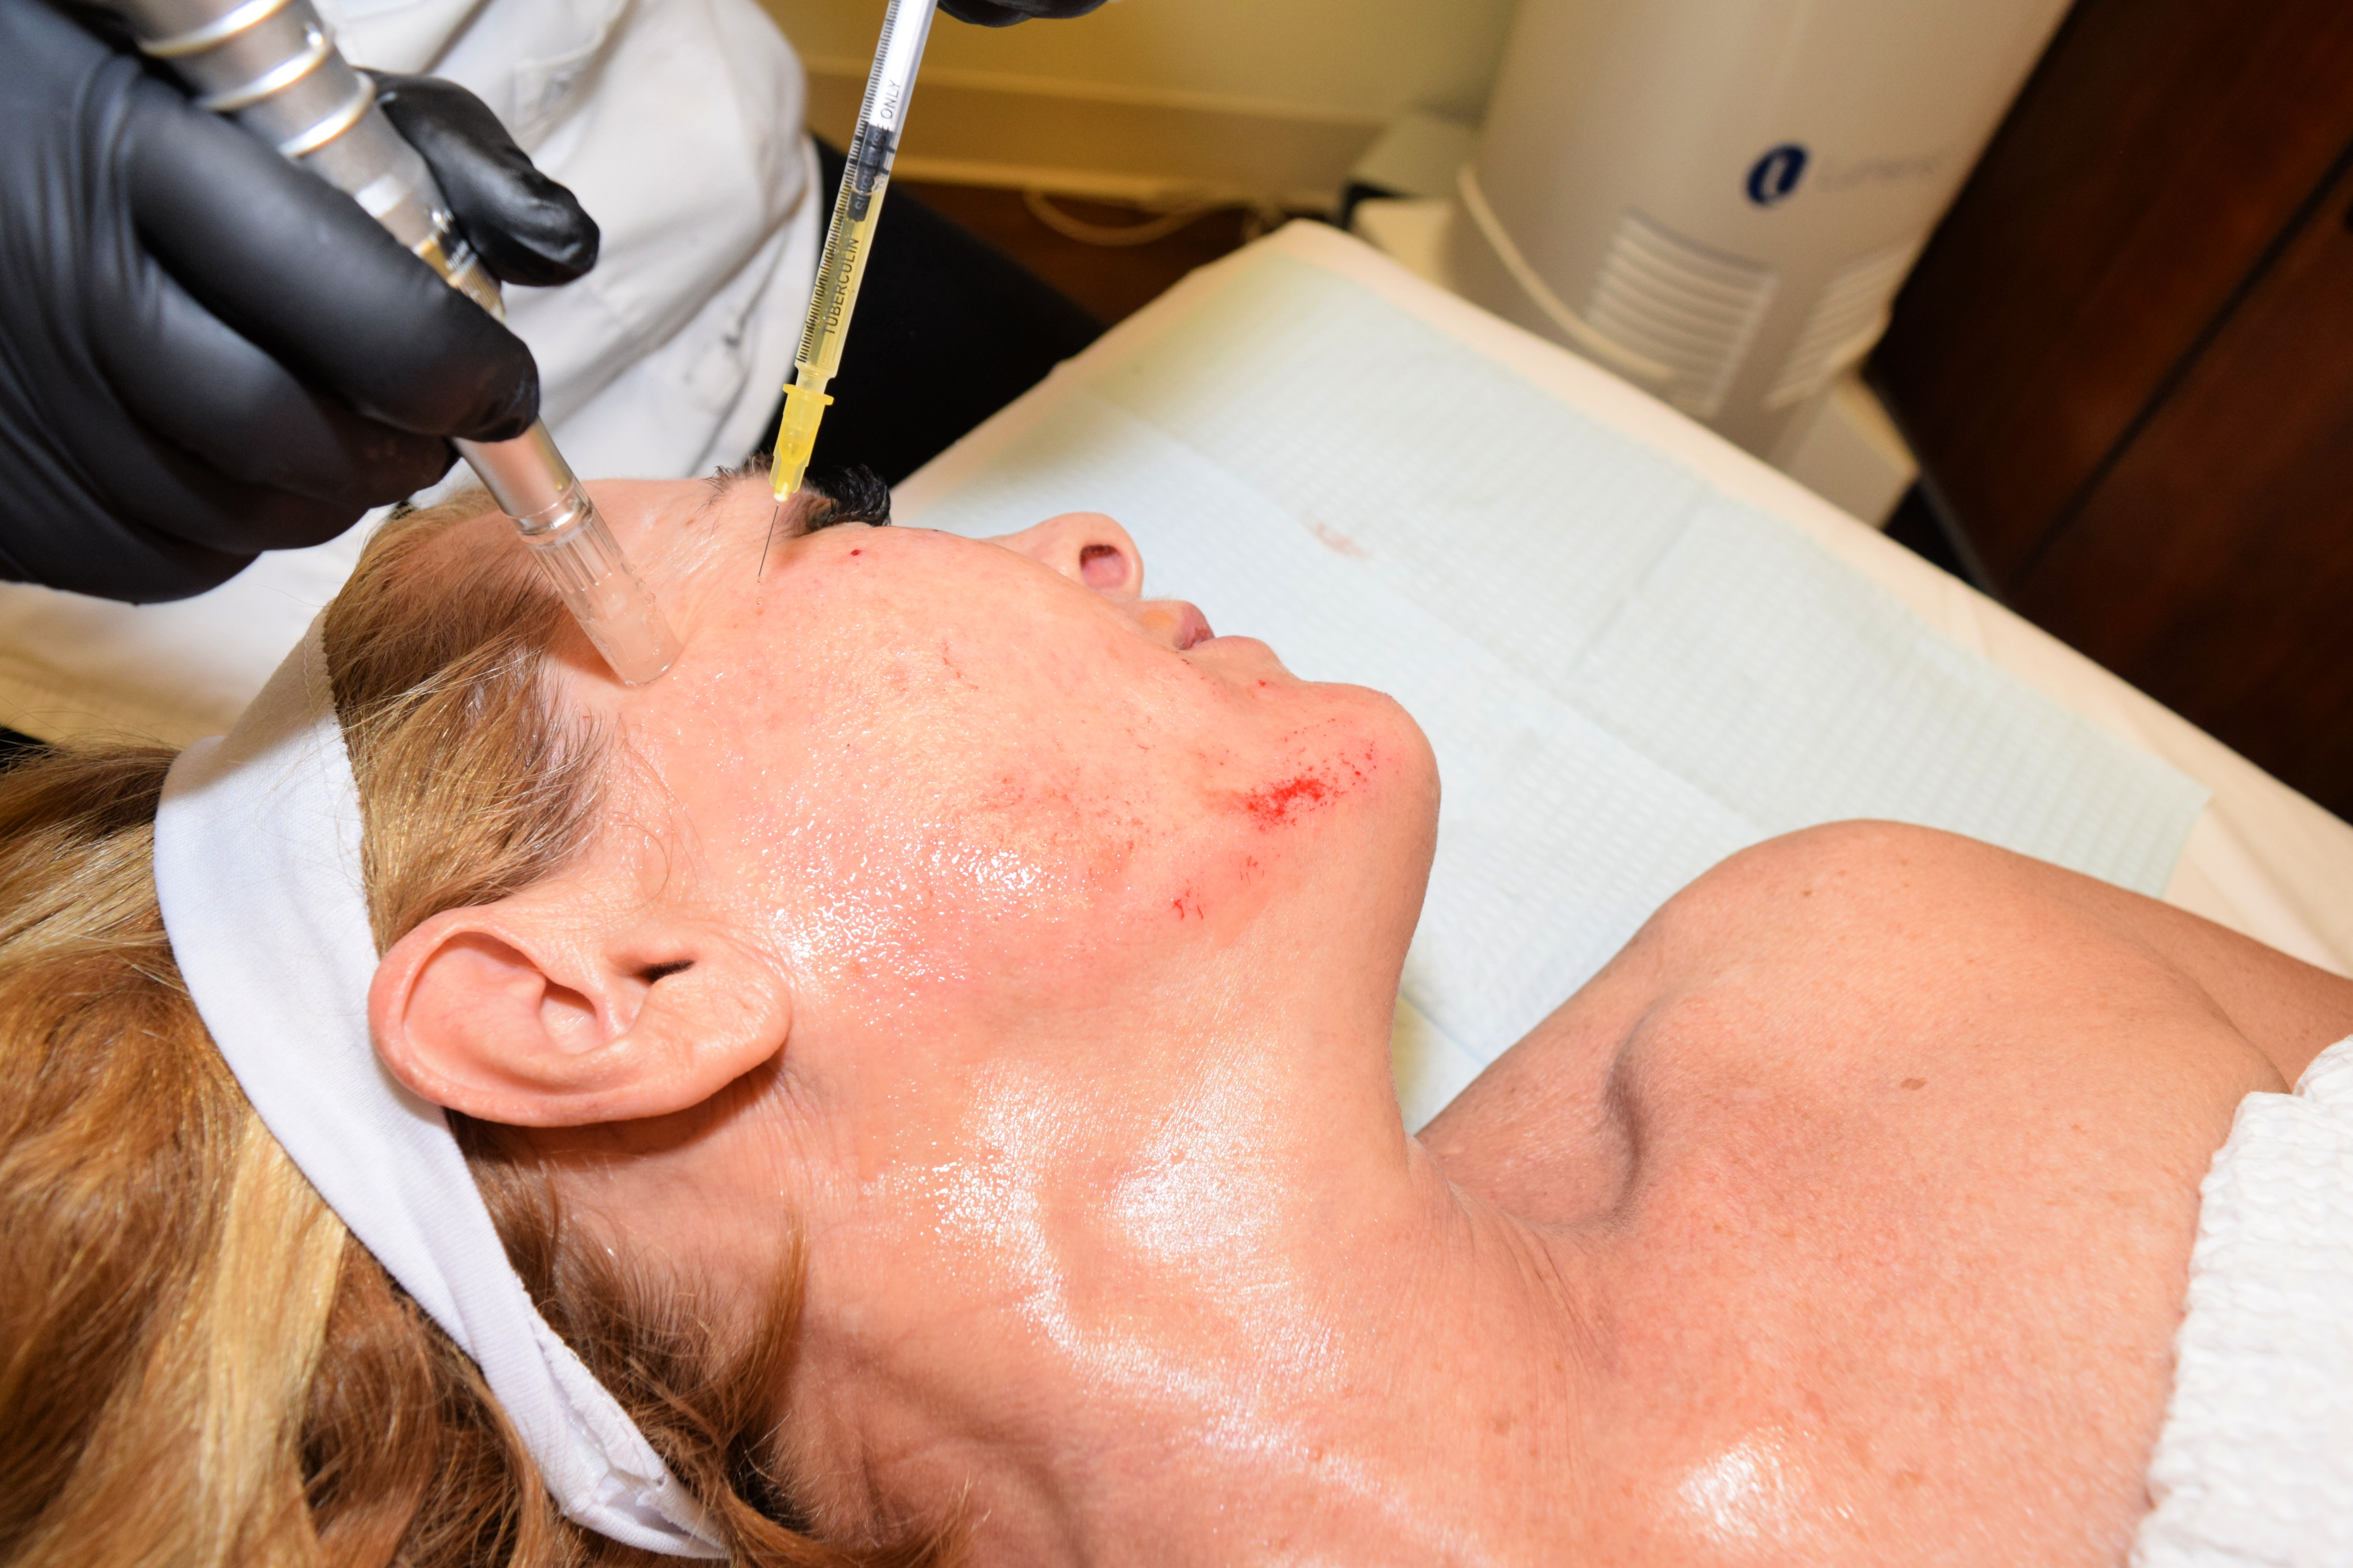
Cutting to the chase, expect some recovery time. Peach provided a little card with instructions and expectations which told me I might be red a swollen for a day or two and I was. It took a few days for a some especially irritated areas to disappear. My face is very vascular so I tend to bruise more easily than most women during procedures like Botox. One of the plasma injections gave me a nice little shiner under one eye which is still slightly visible ten days later. Just be aware you may not be putting your best face forward for a few days.
On to the procedure. . .
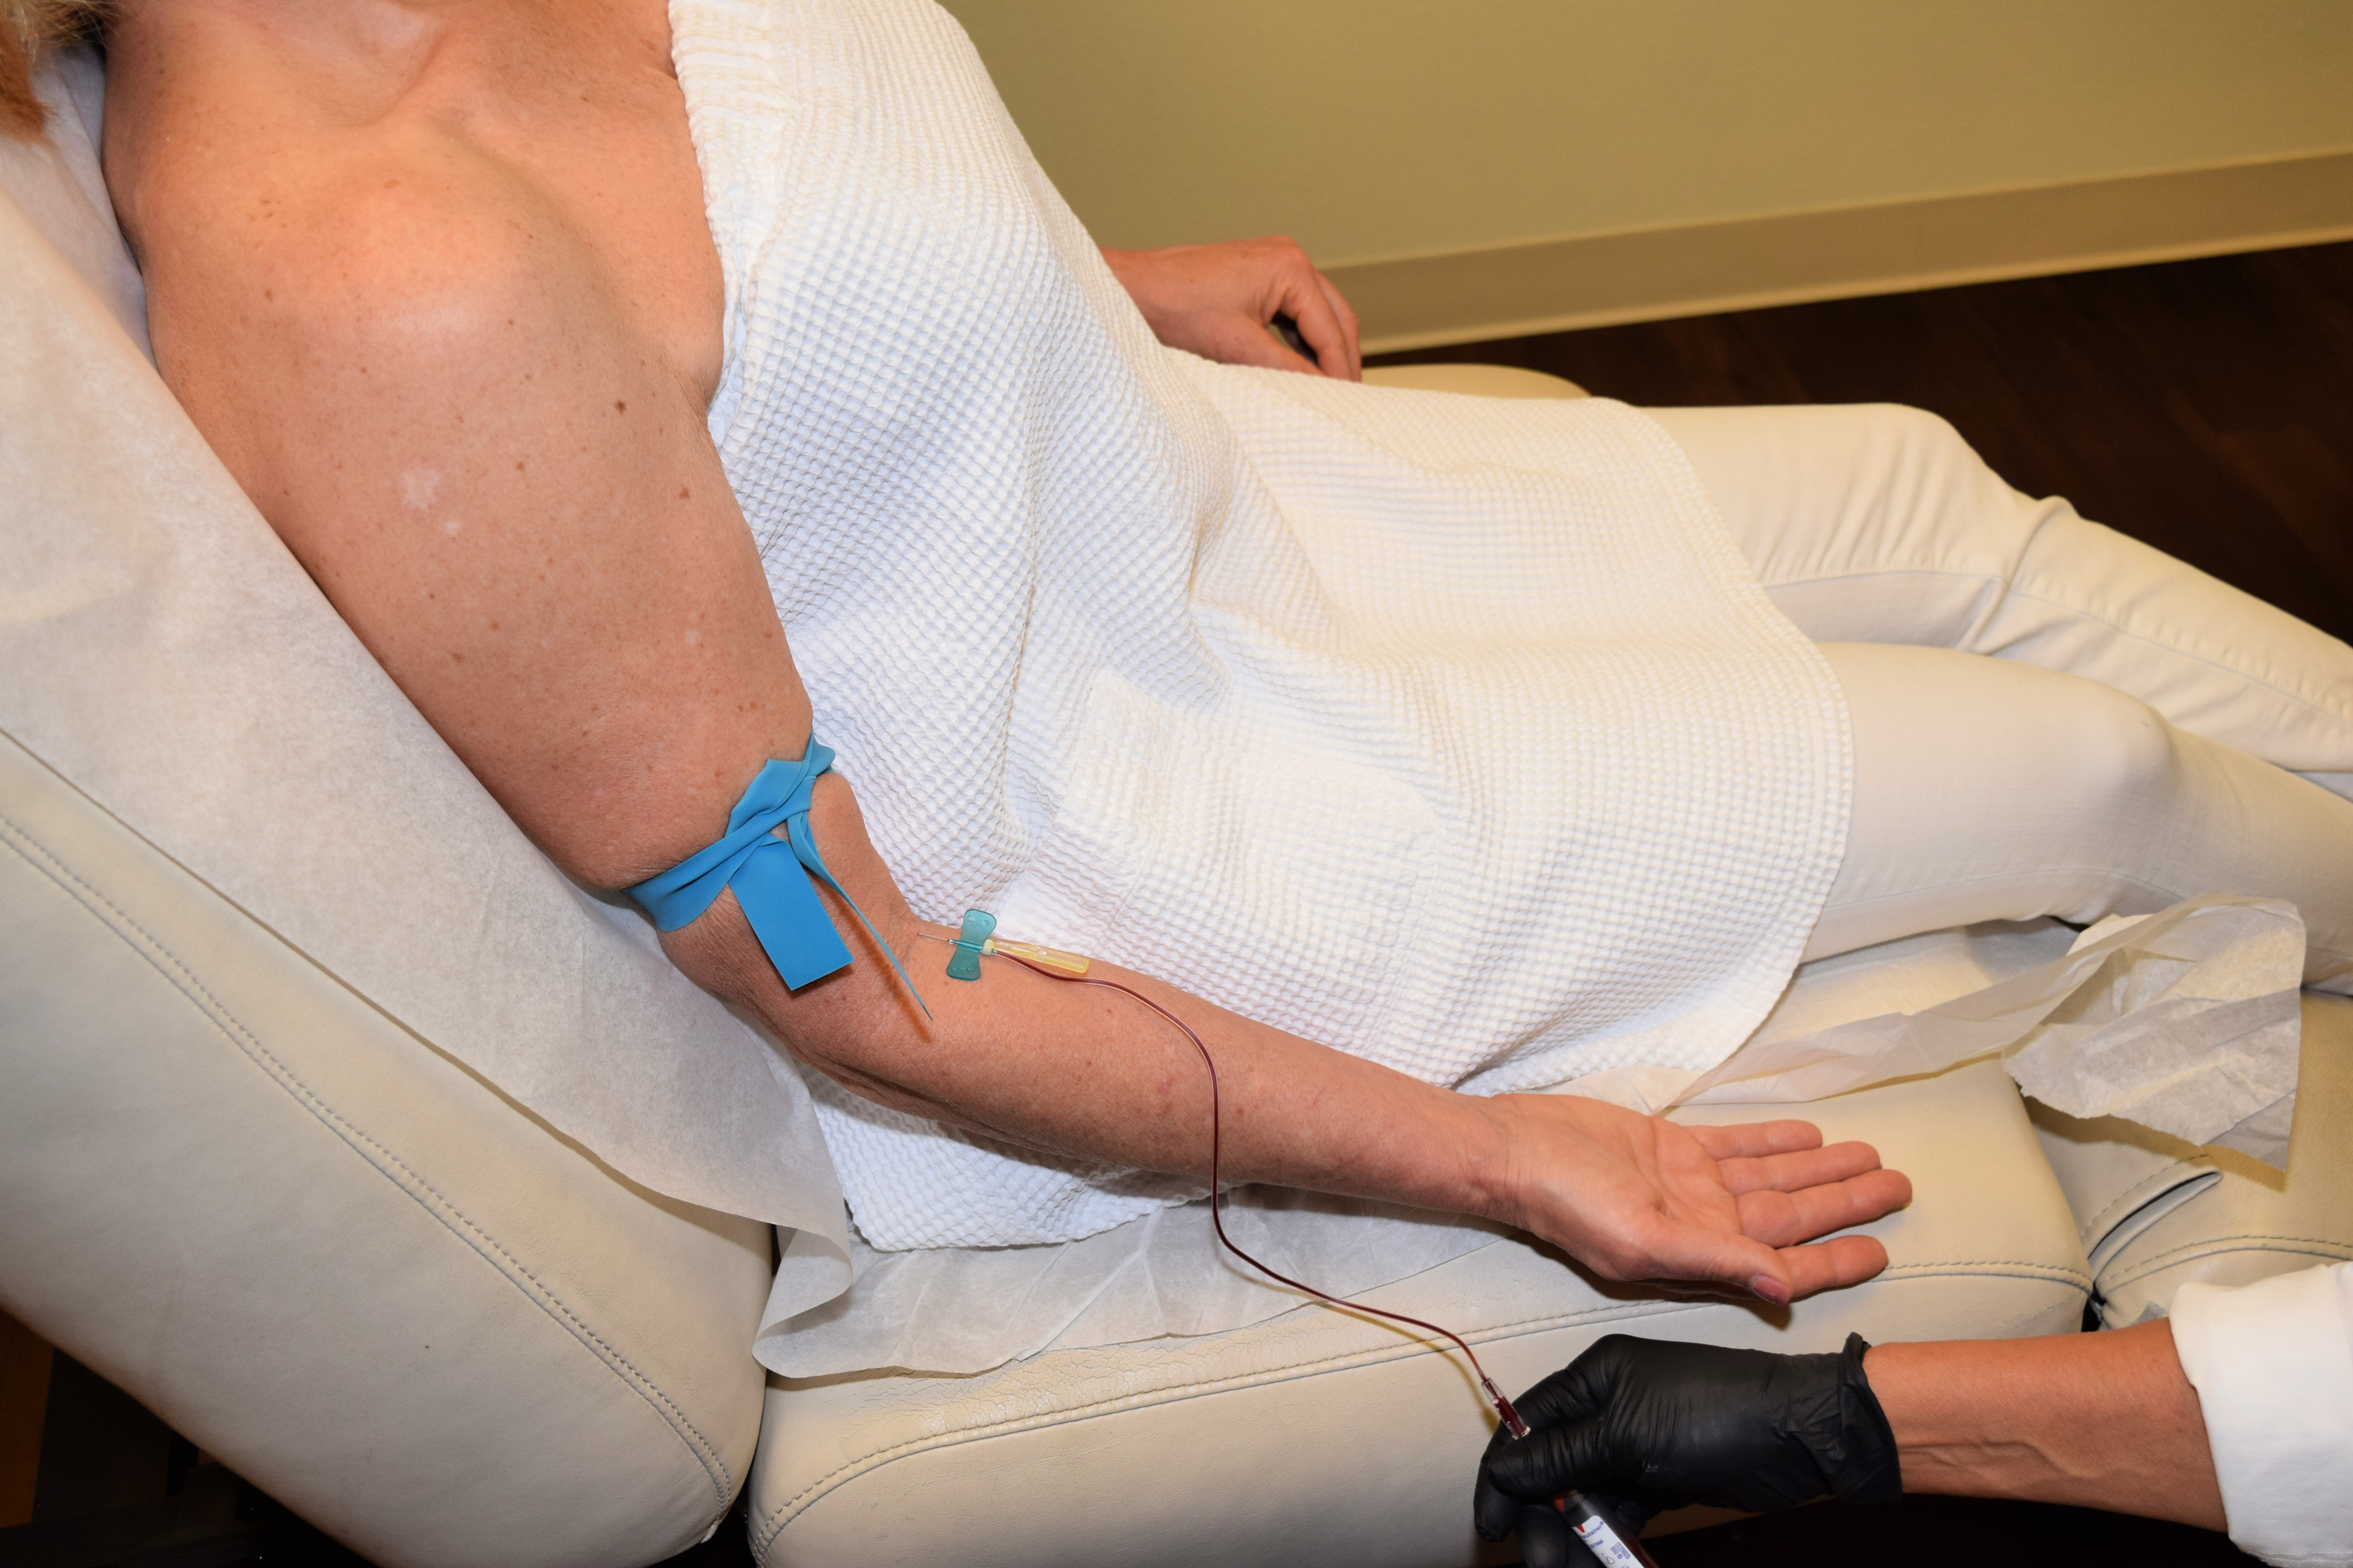
The difference between regular microneedling and CIT Microneedling is blood. Hence the Vampire nickname. My appointment started with an explanation of the procedure, an opportunity to ask questions and a blood draw. That part is over before you know it and easier than a blood draw for lab work.
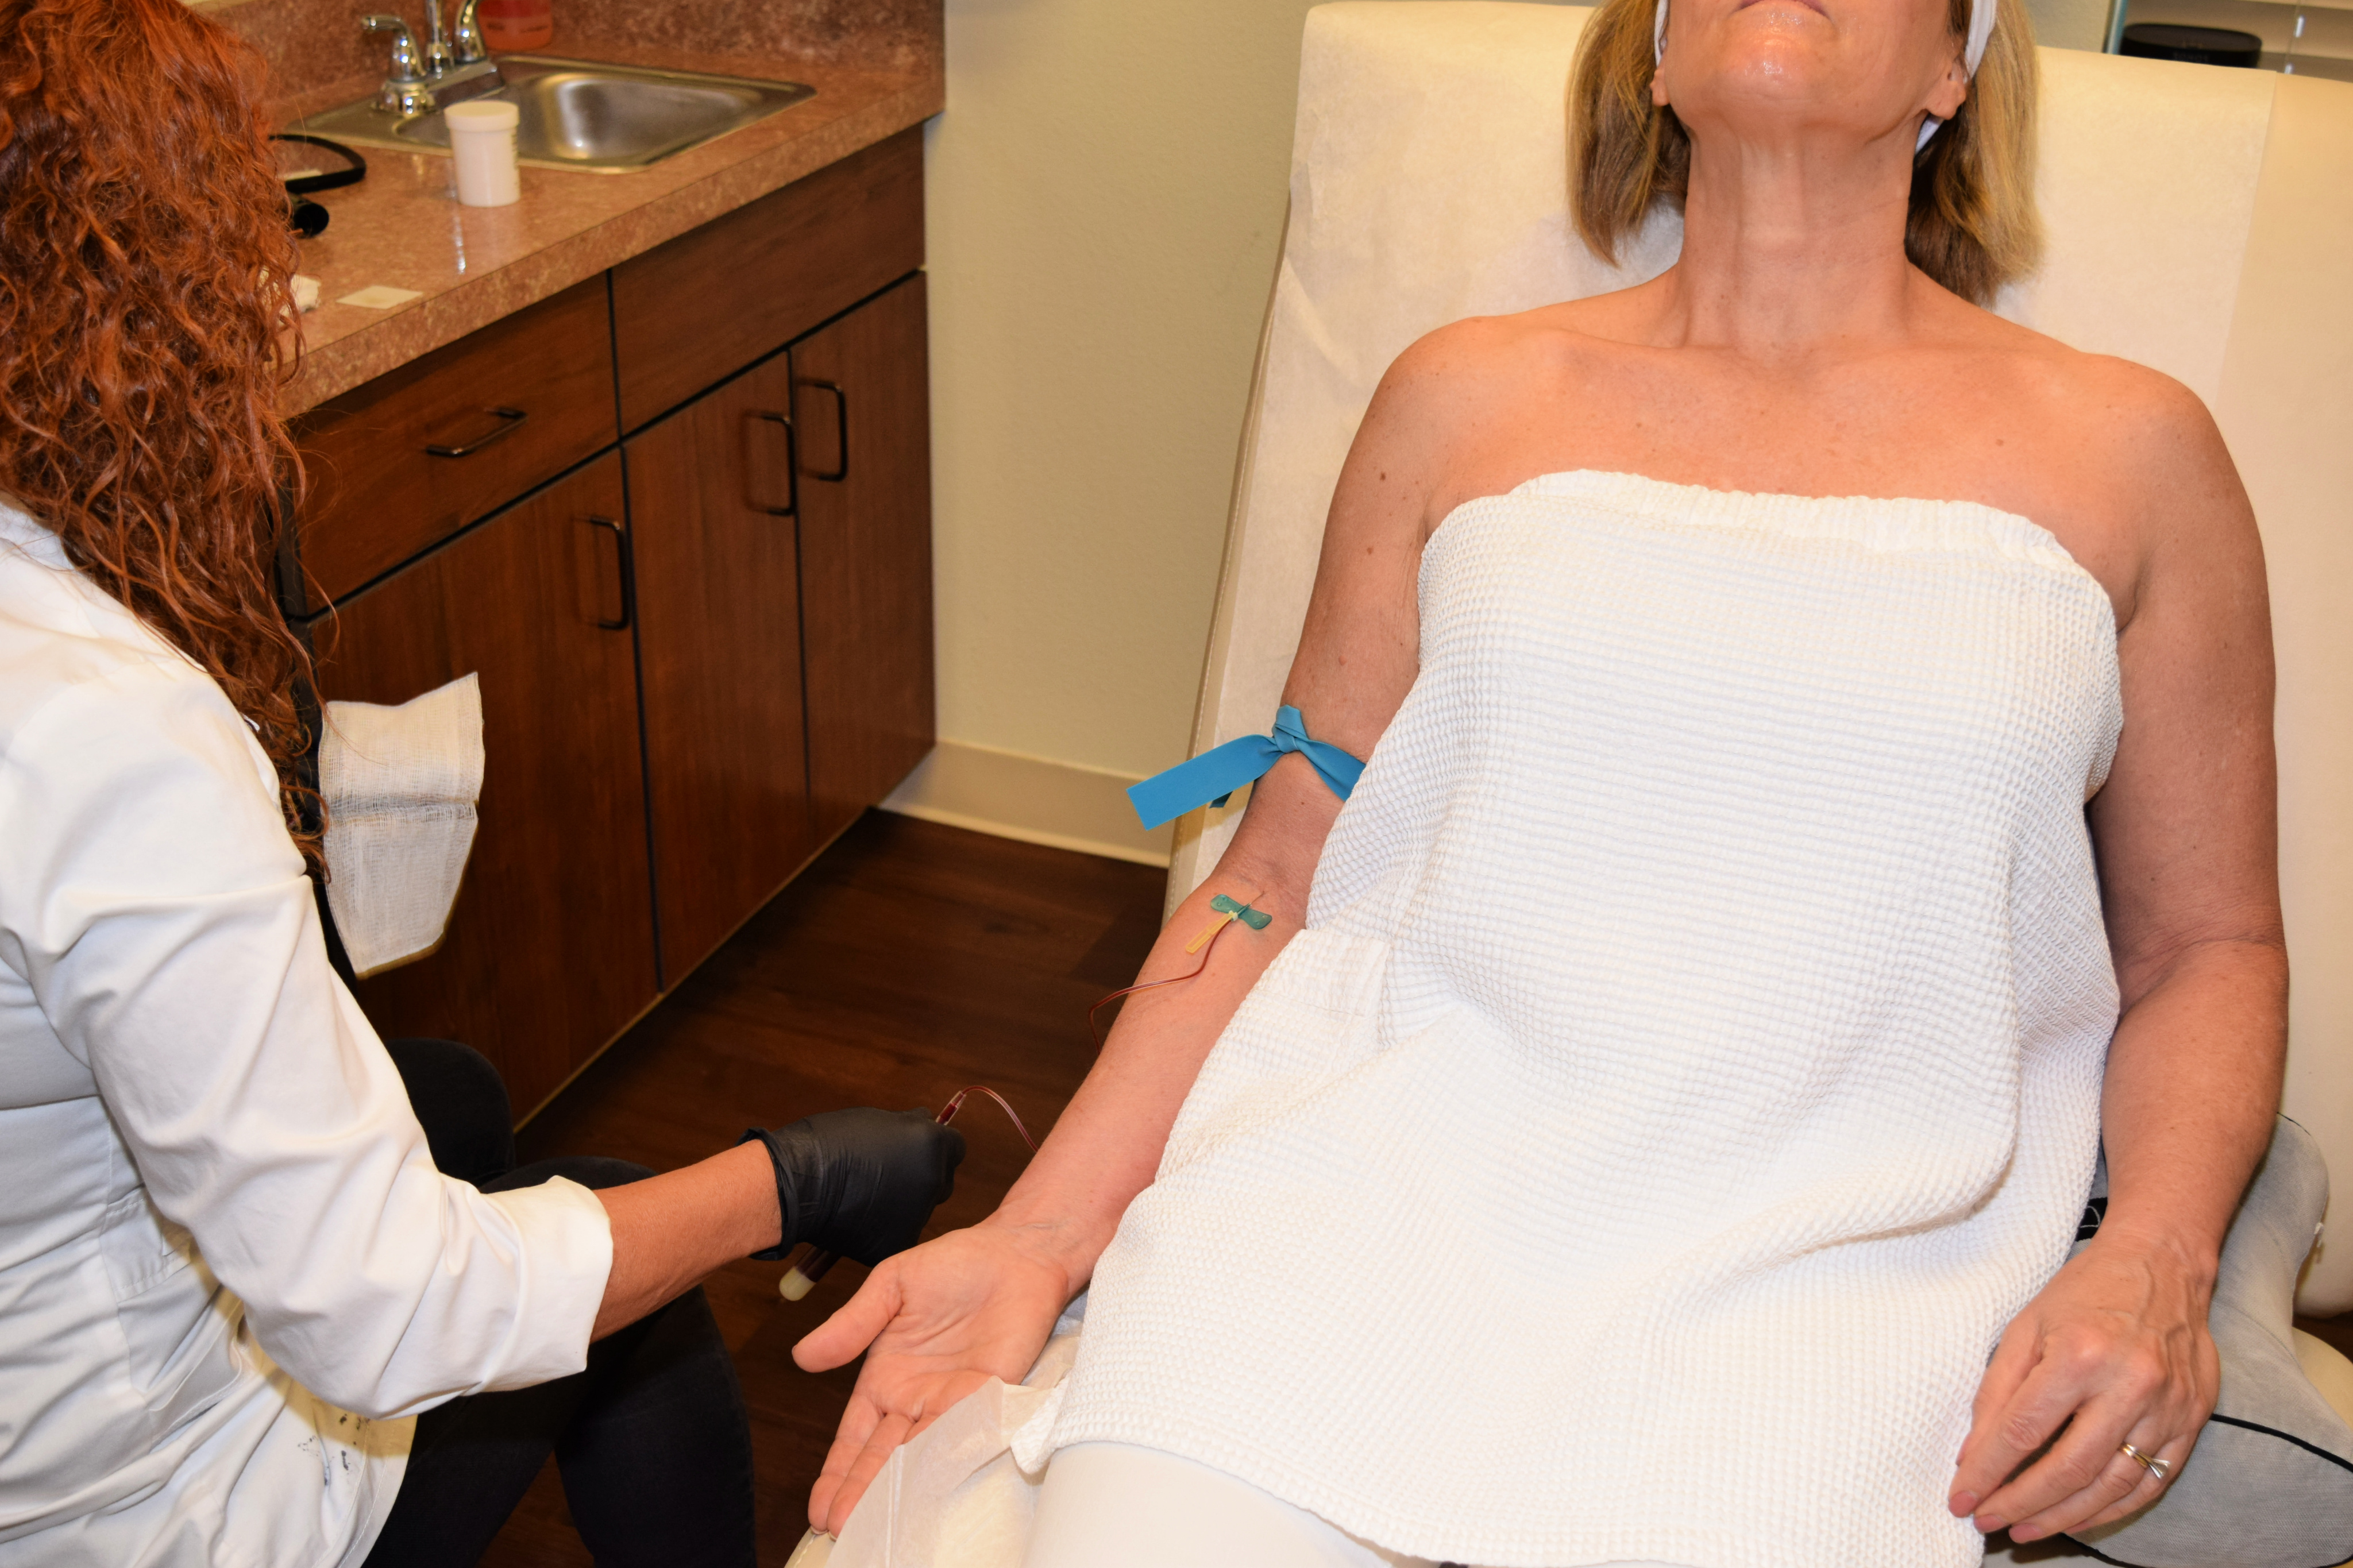
Your blood is spun in a centrifuge to separate the plasma, the substance injected into your face as part of the procedure. You shouldn’t have a reaction to a foreign substance as a result of the facial because it’s your own blood.
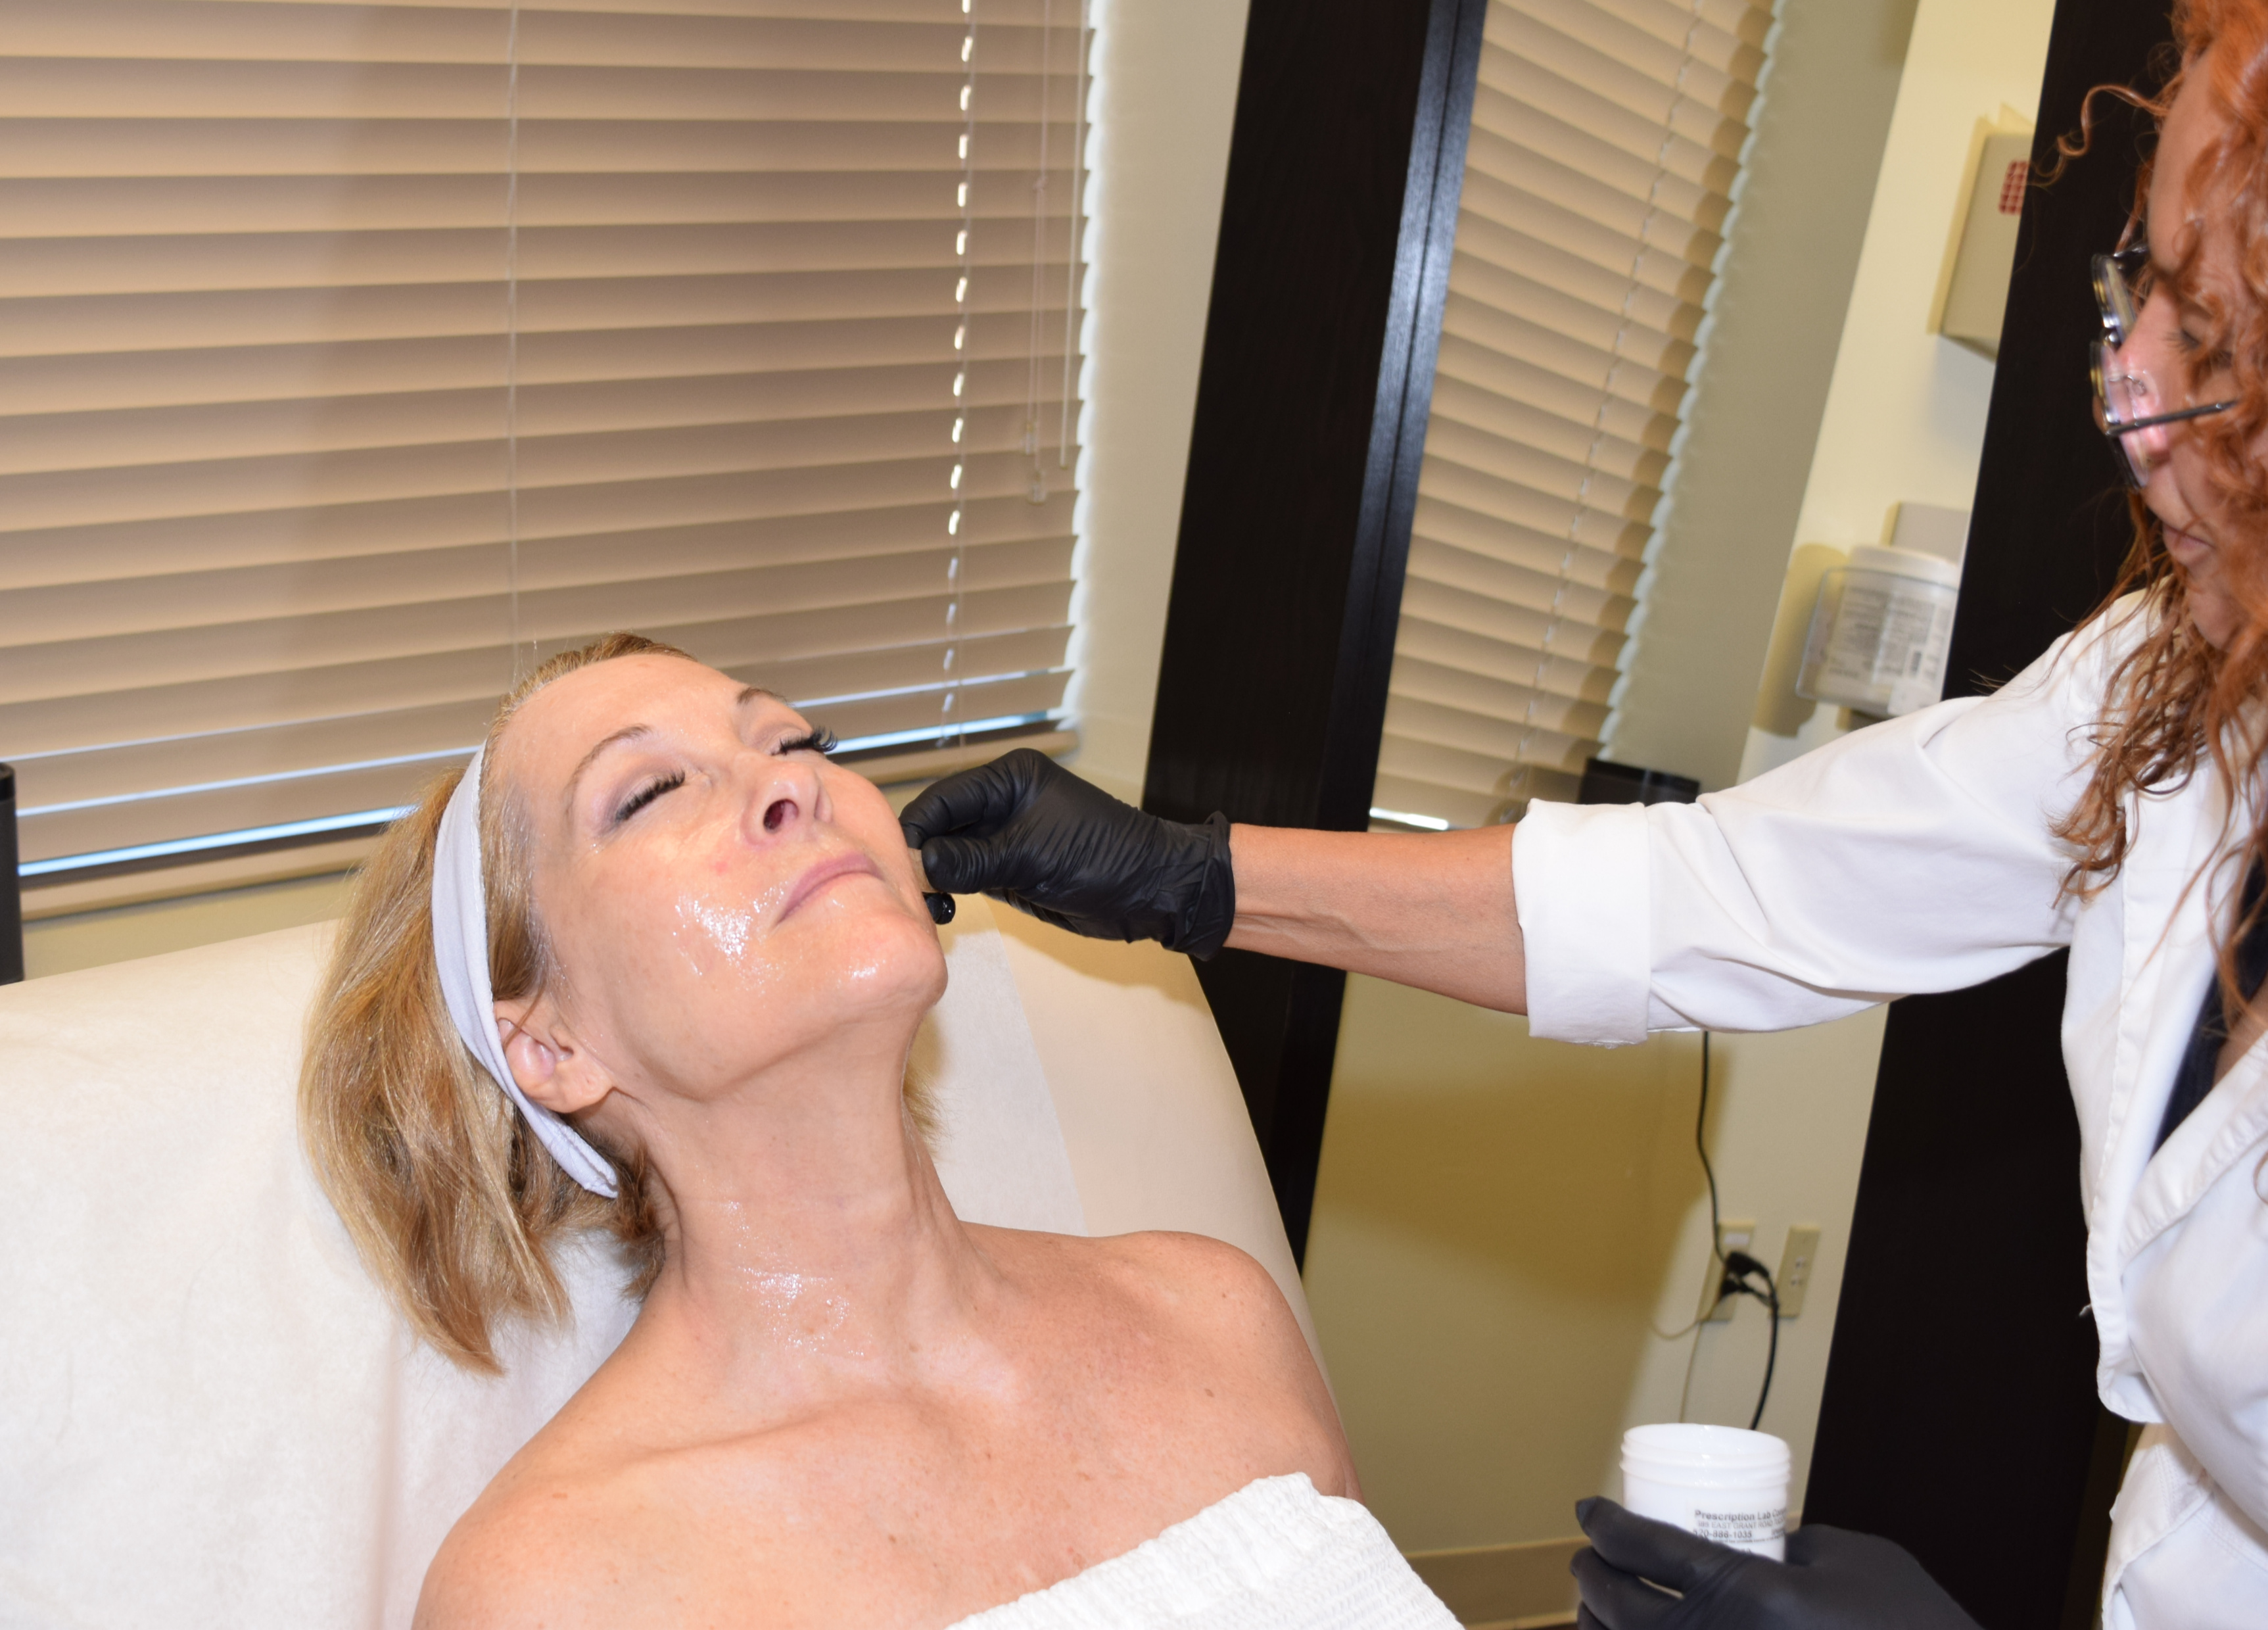
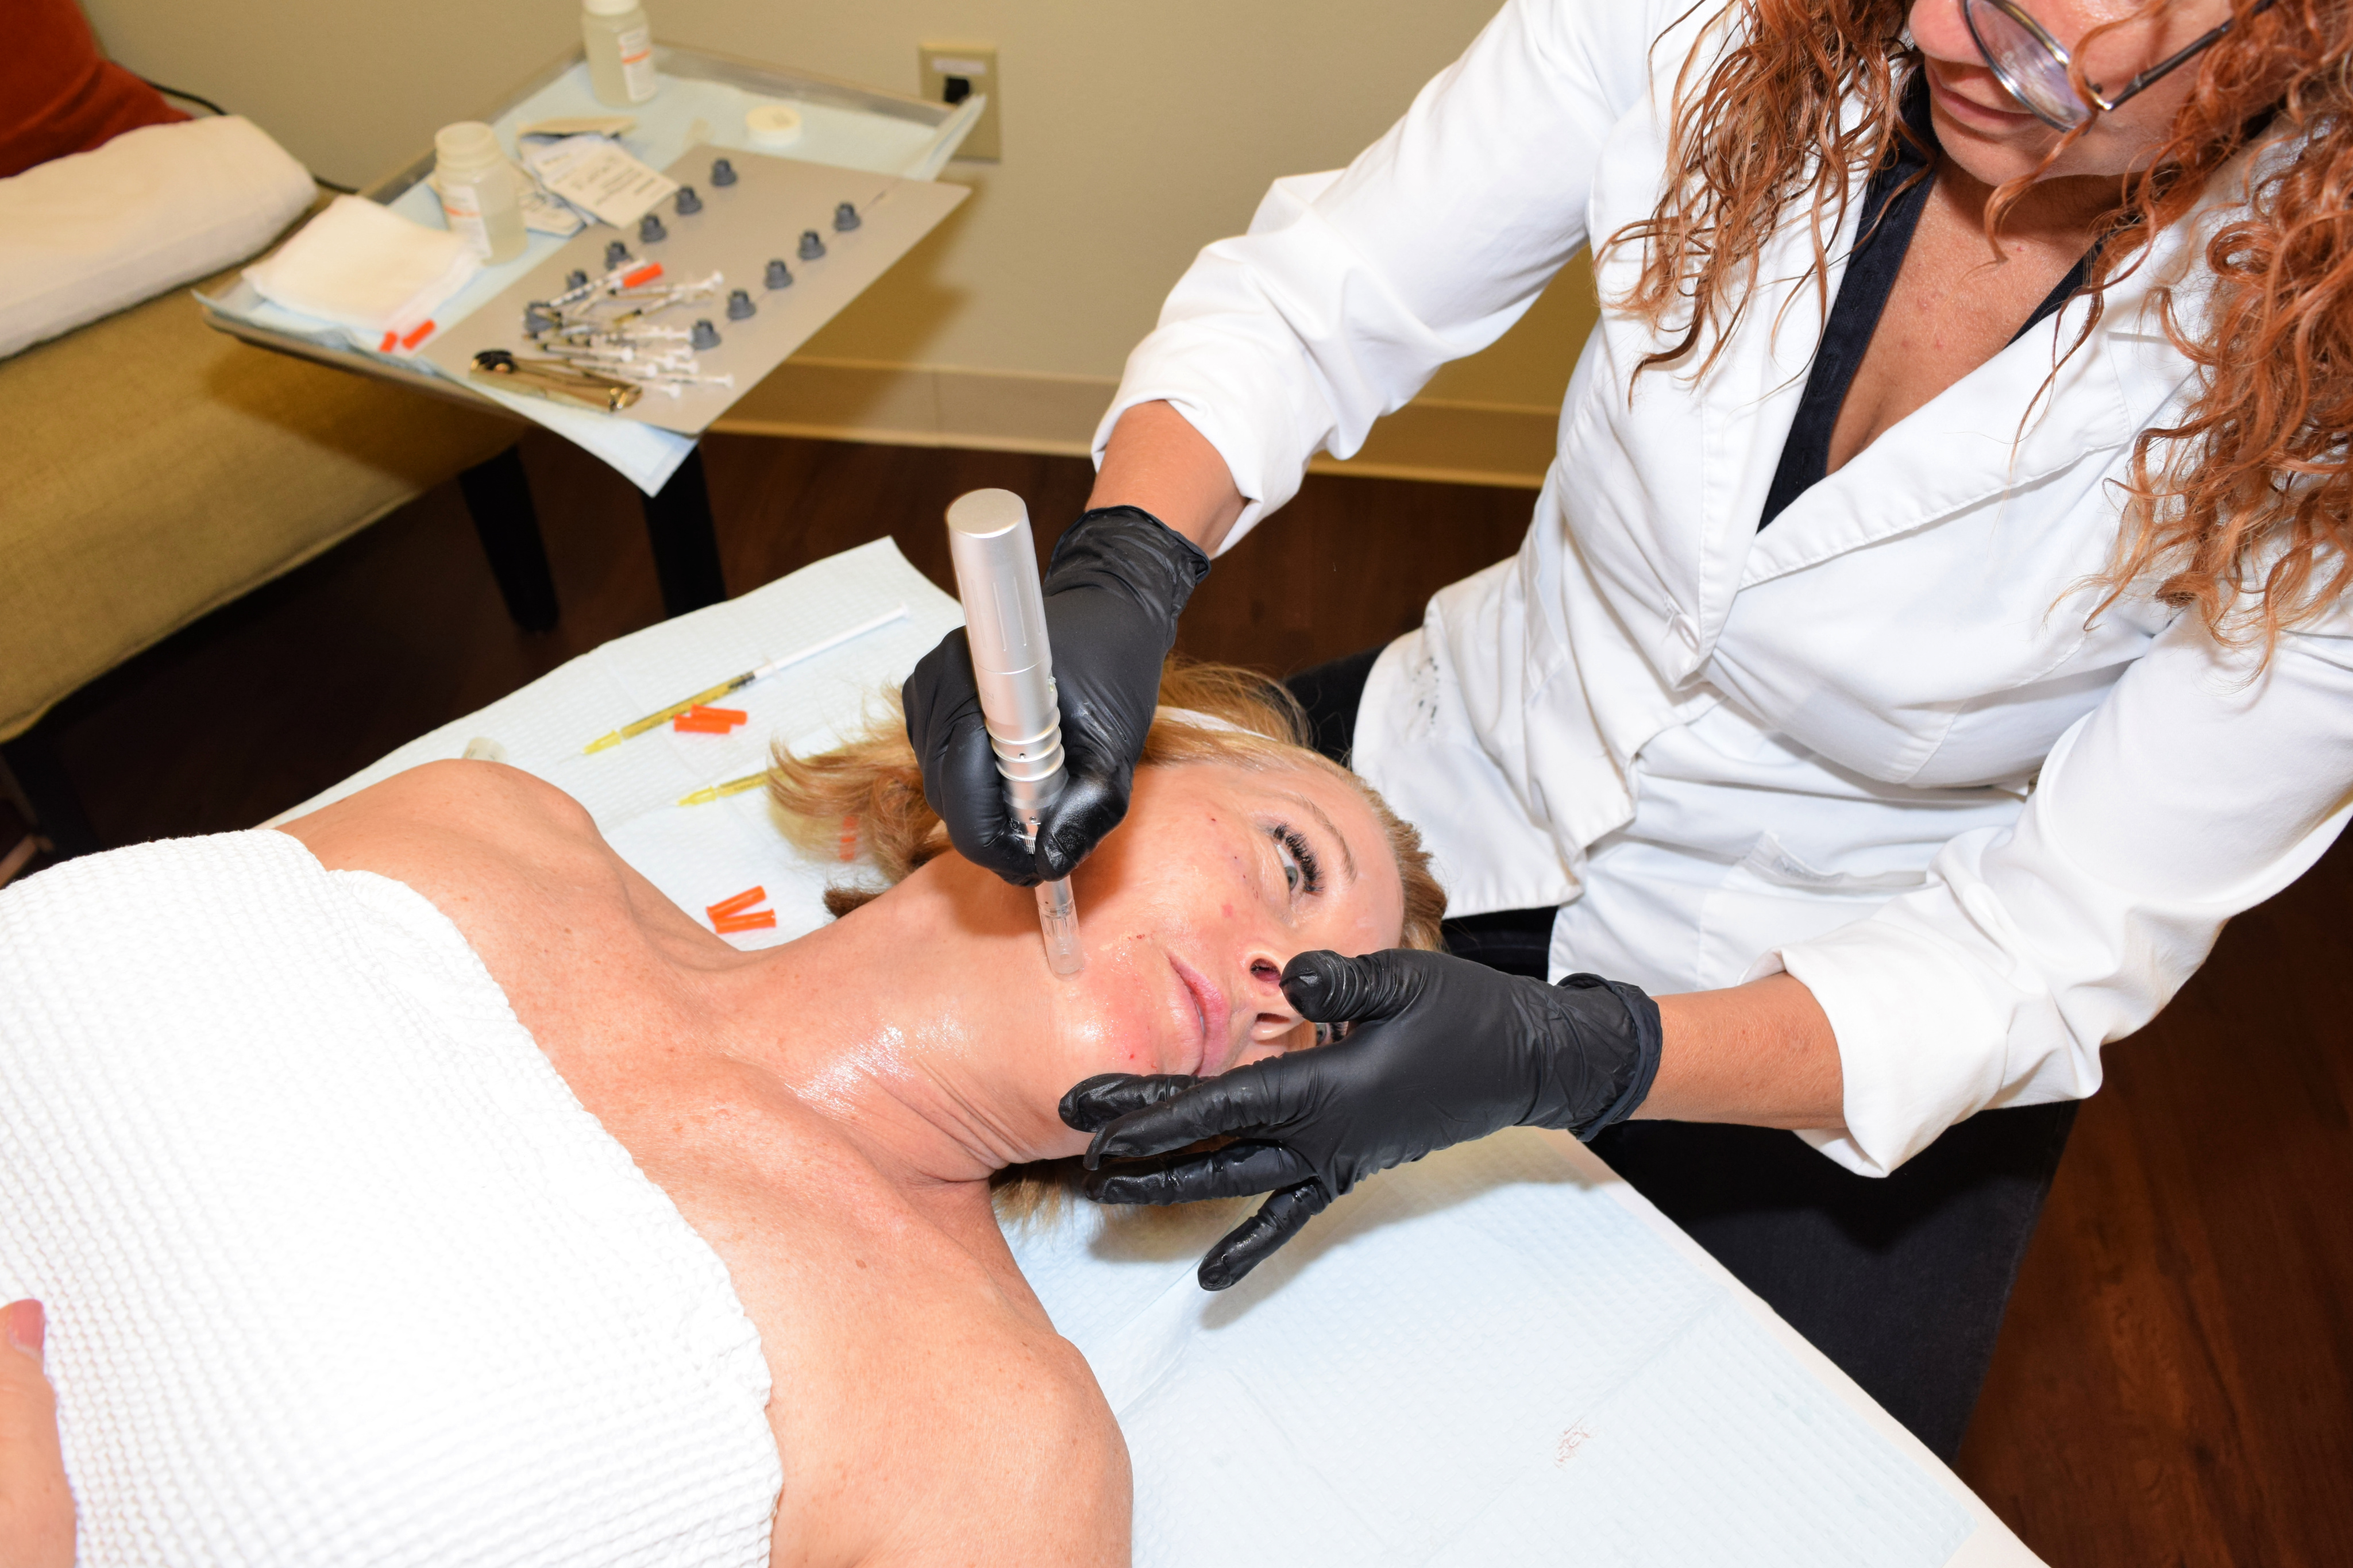
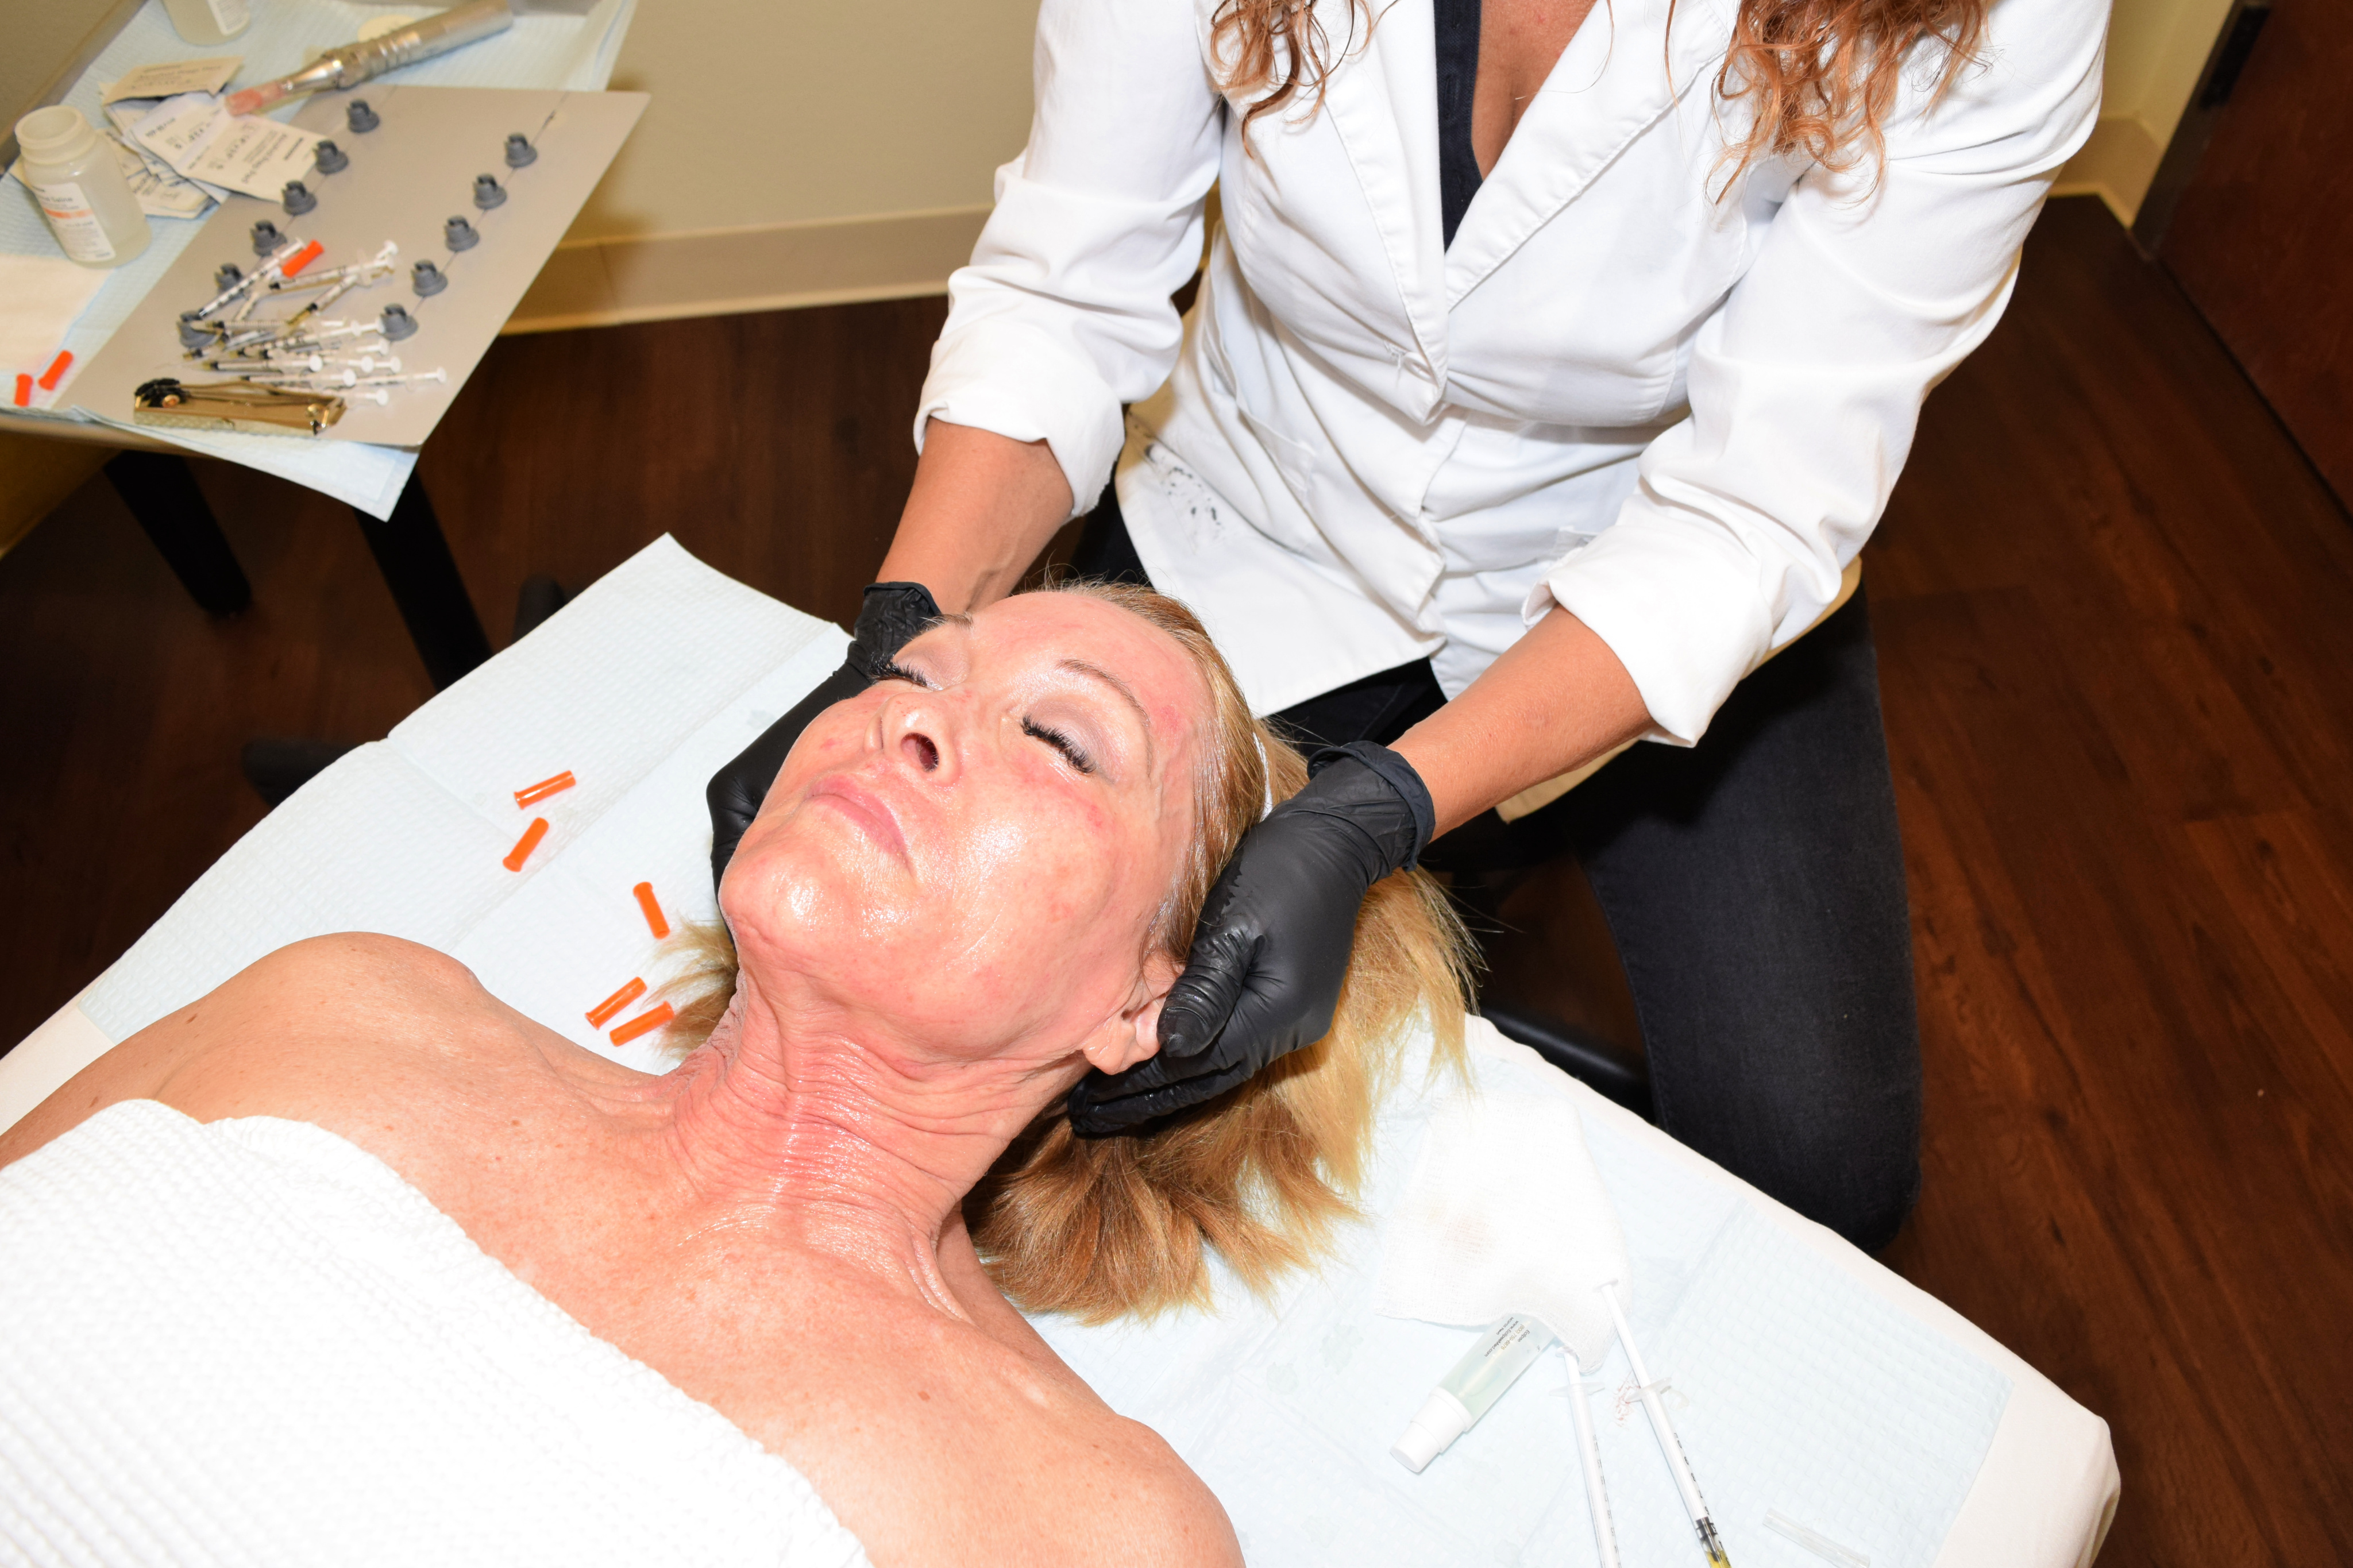
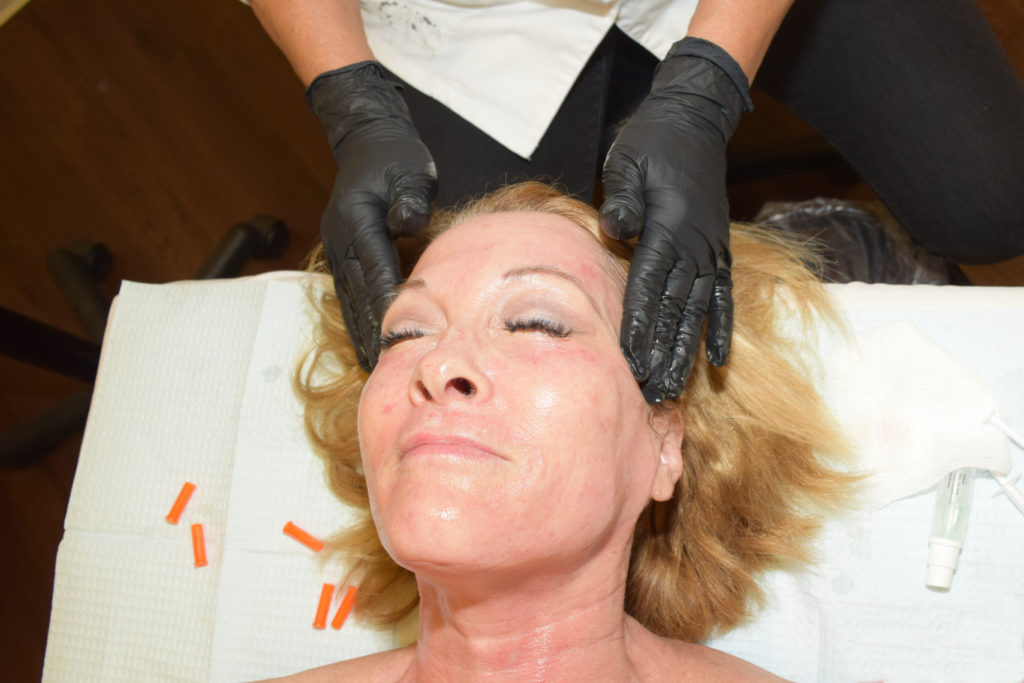
While the plasma is being separated Maria applied a topical numbing cream to my face and neck because the process is pretty intense. Did I mention you can also have your neck microneedled? As the appointment progressed I was thankful for the fabulous person who determined numbing was a necessary step. It would have been rough to take it on at full bore.
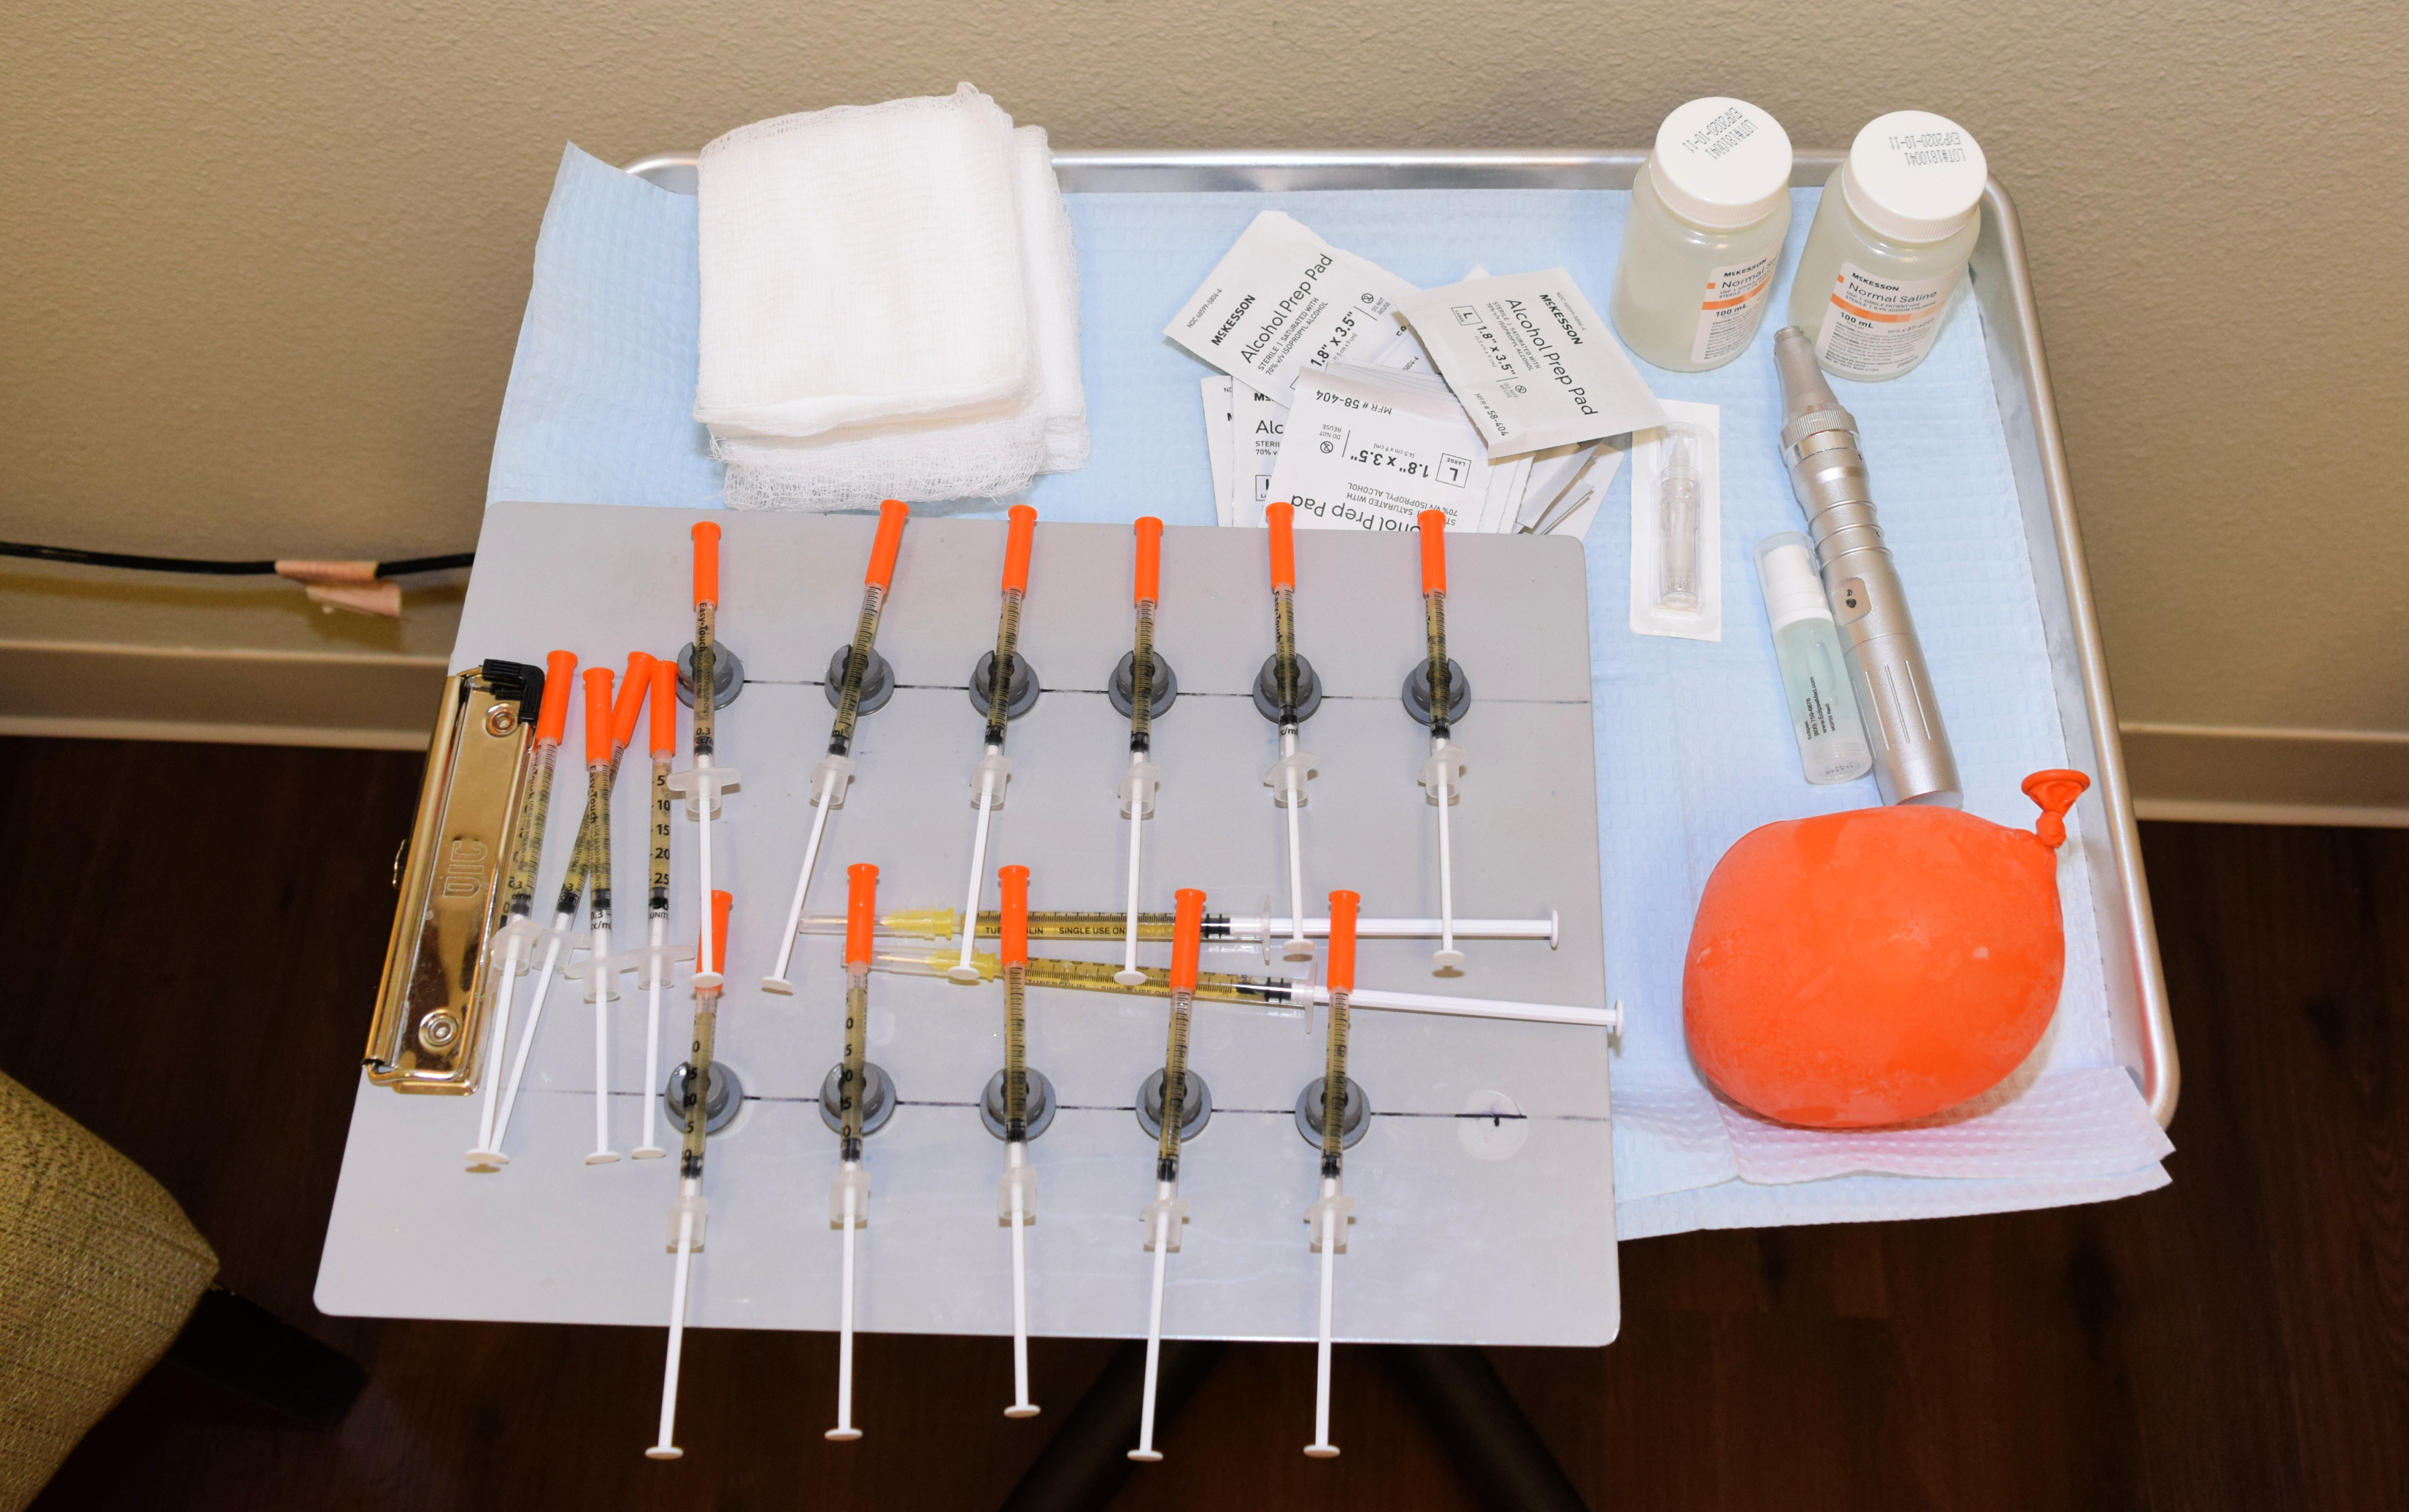
The plasma is separated from the rest of the blood and is put into several syringes. In the photo, they’re the orange-capped syringes. This is the part that surprised me. I expected a microneedling tool that injected the plasma. Instead, the plasma is injected all around the face using the syringes then the face is microneedled.

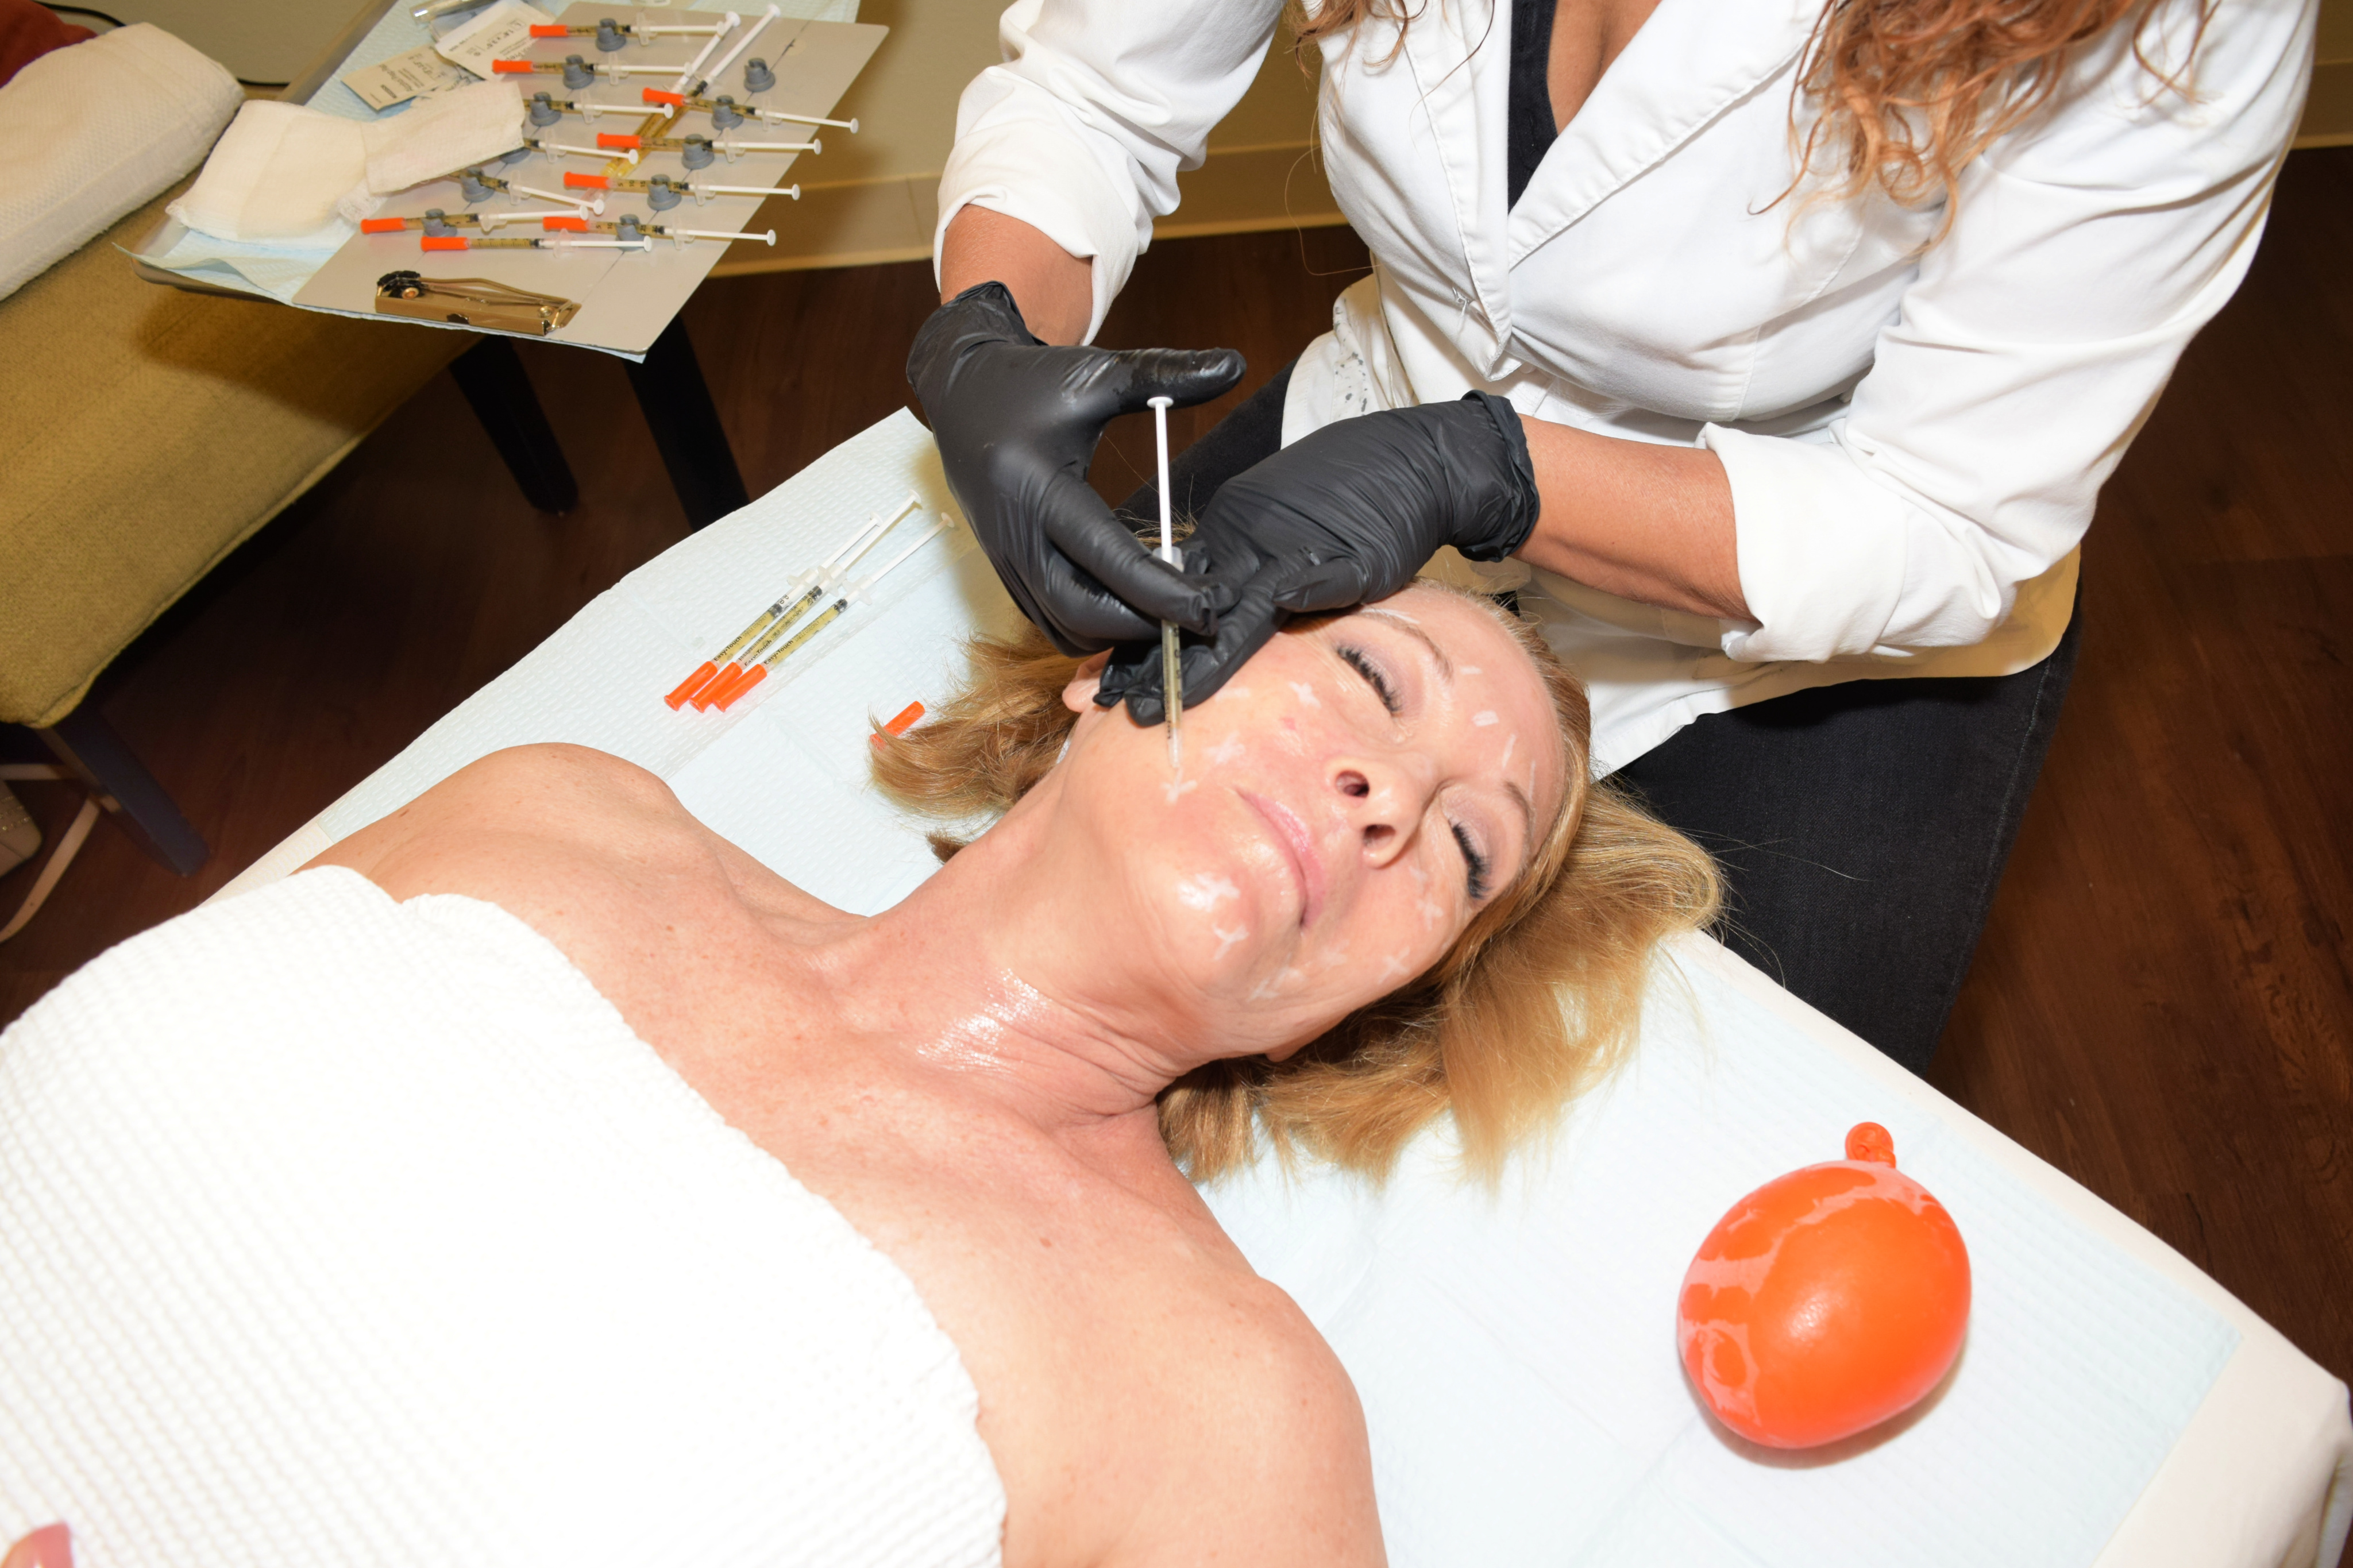
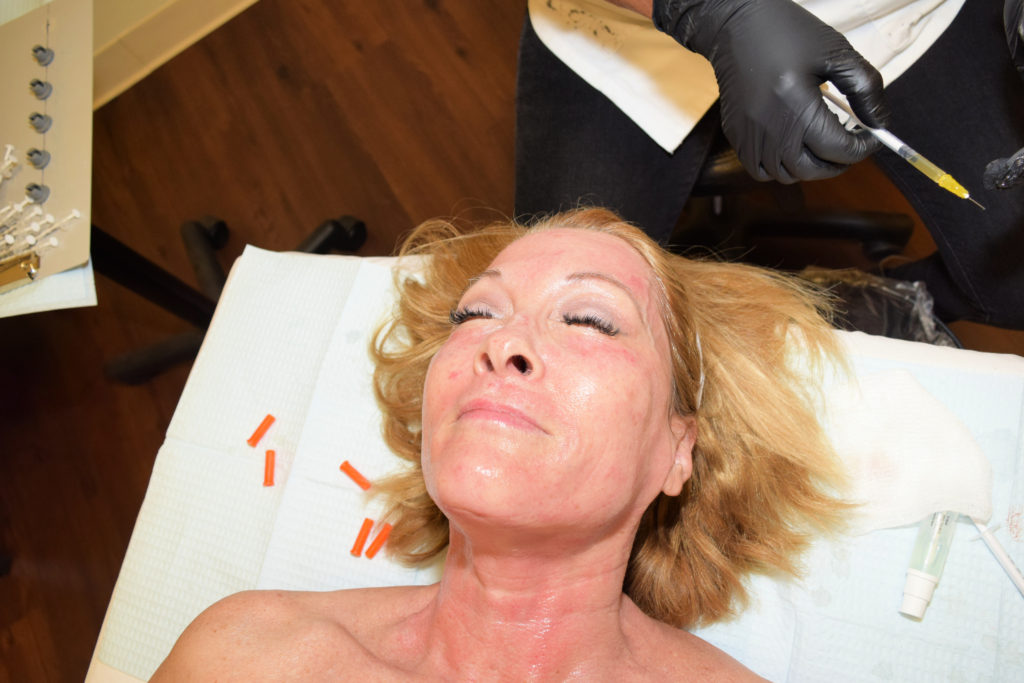
Maria marked my face with white guidepoints for the plasma injection.
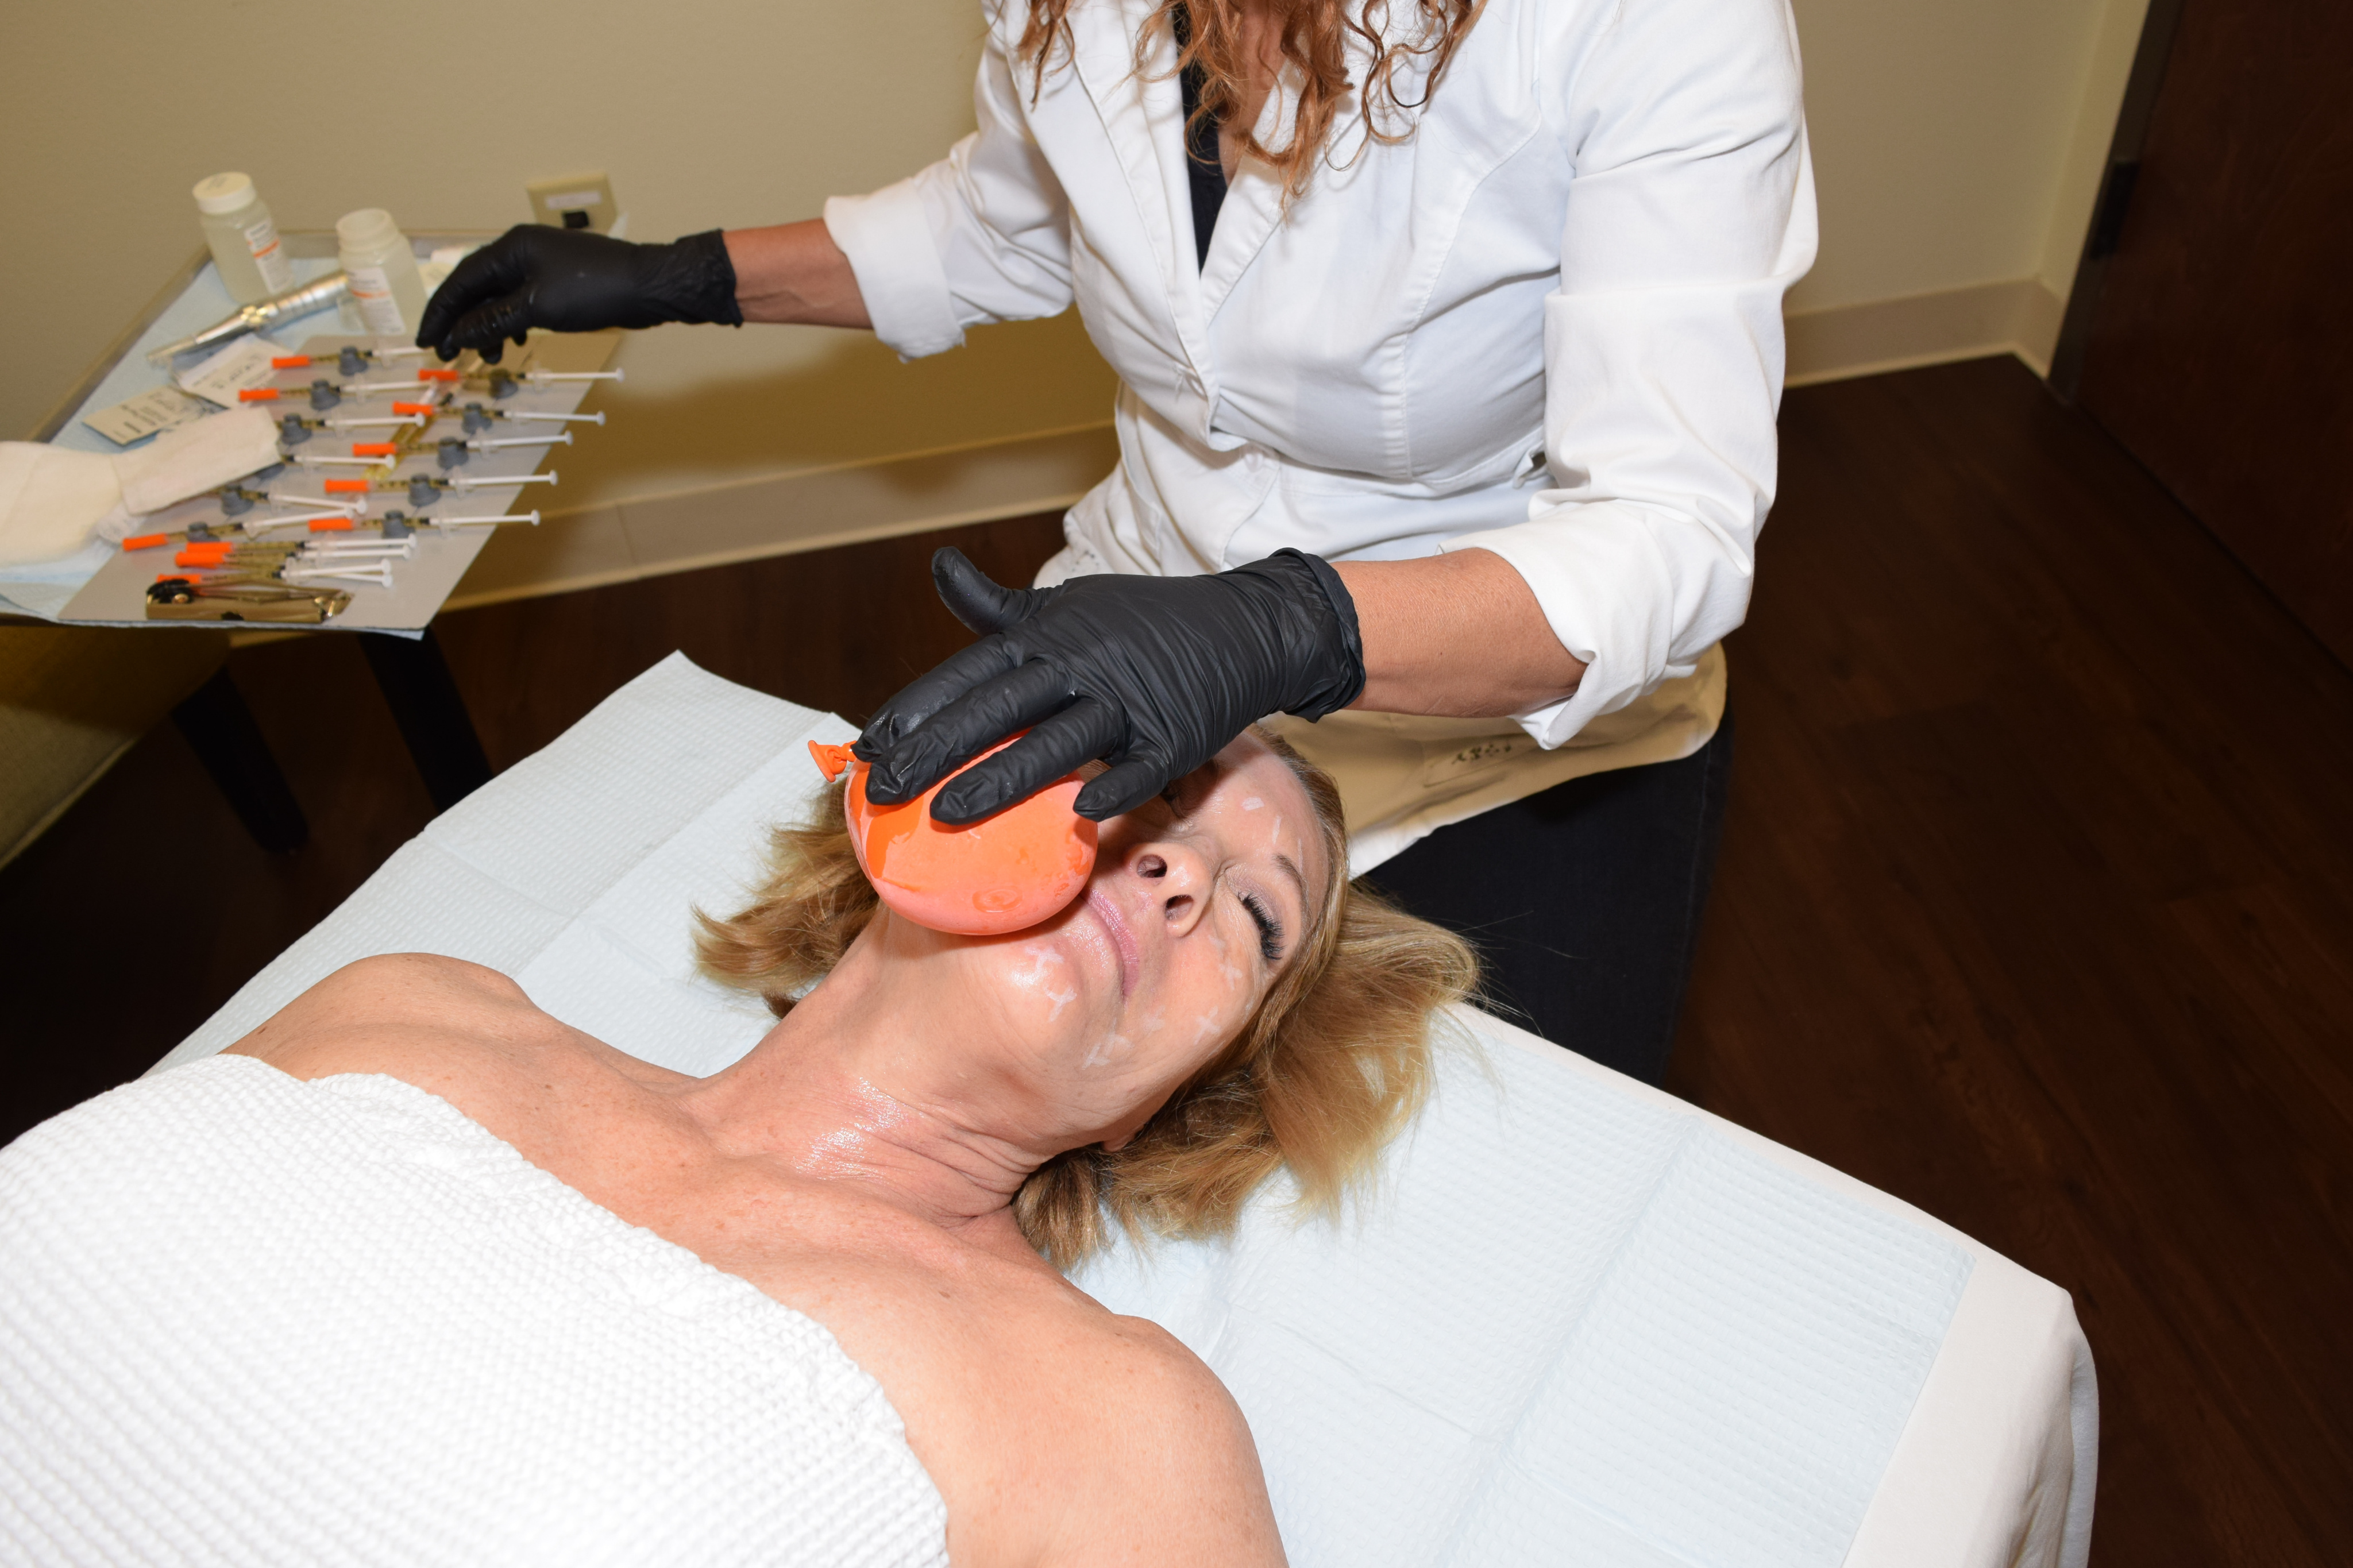
I was pretty numbed at this point by the cream, but Maria also iced each area as she was ready to inject to further reduce discomfort. I could hardly feel the injections, but the plasma itself did sting a little.
Unfortunately I didn’t get a photo, but Maria also injected some plasma into my lips, similar to filler, to reduce the fine lip lines. That was a nice little bonus!
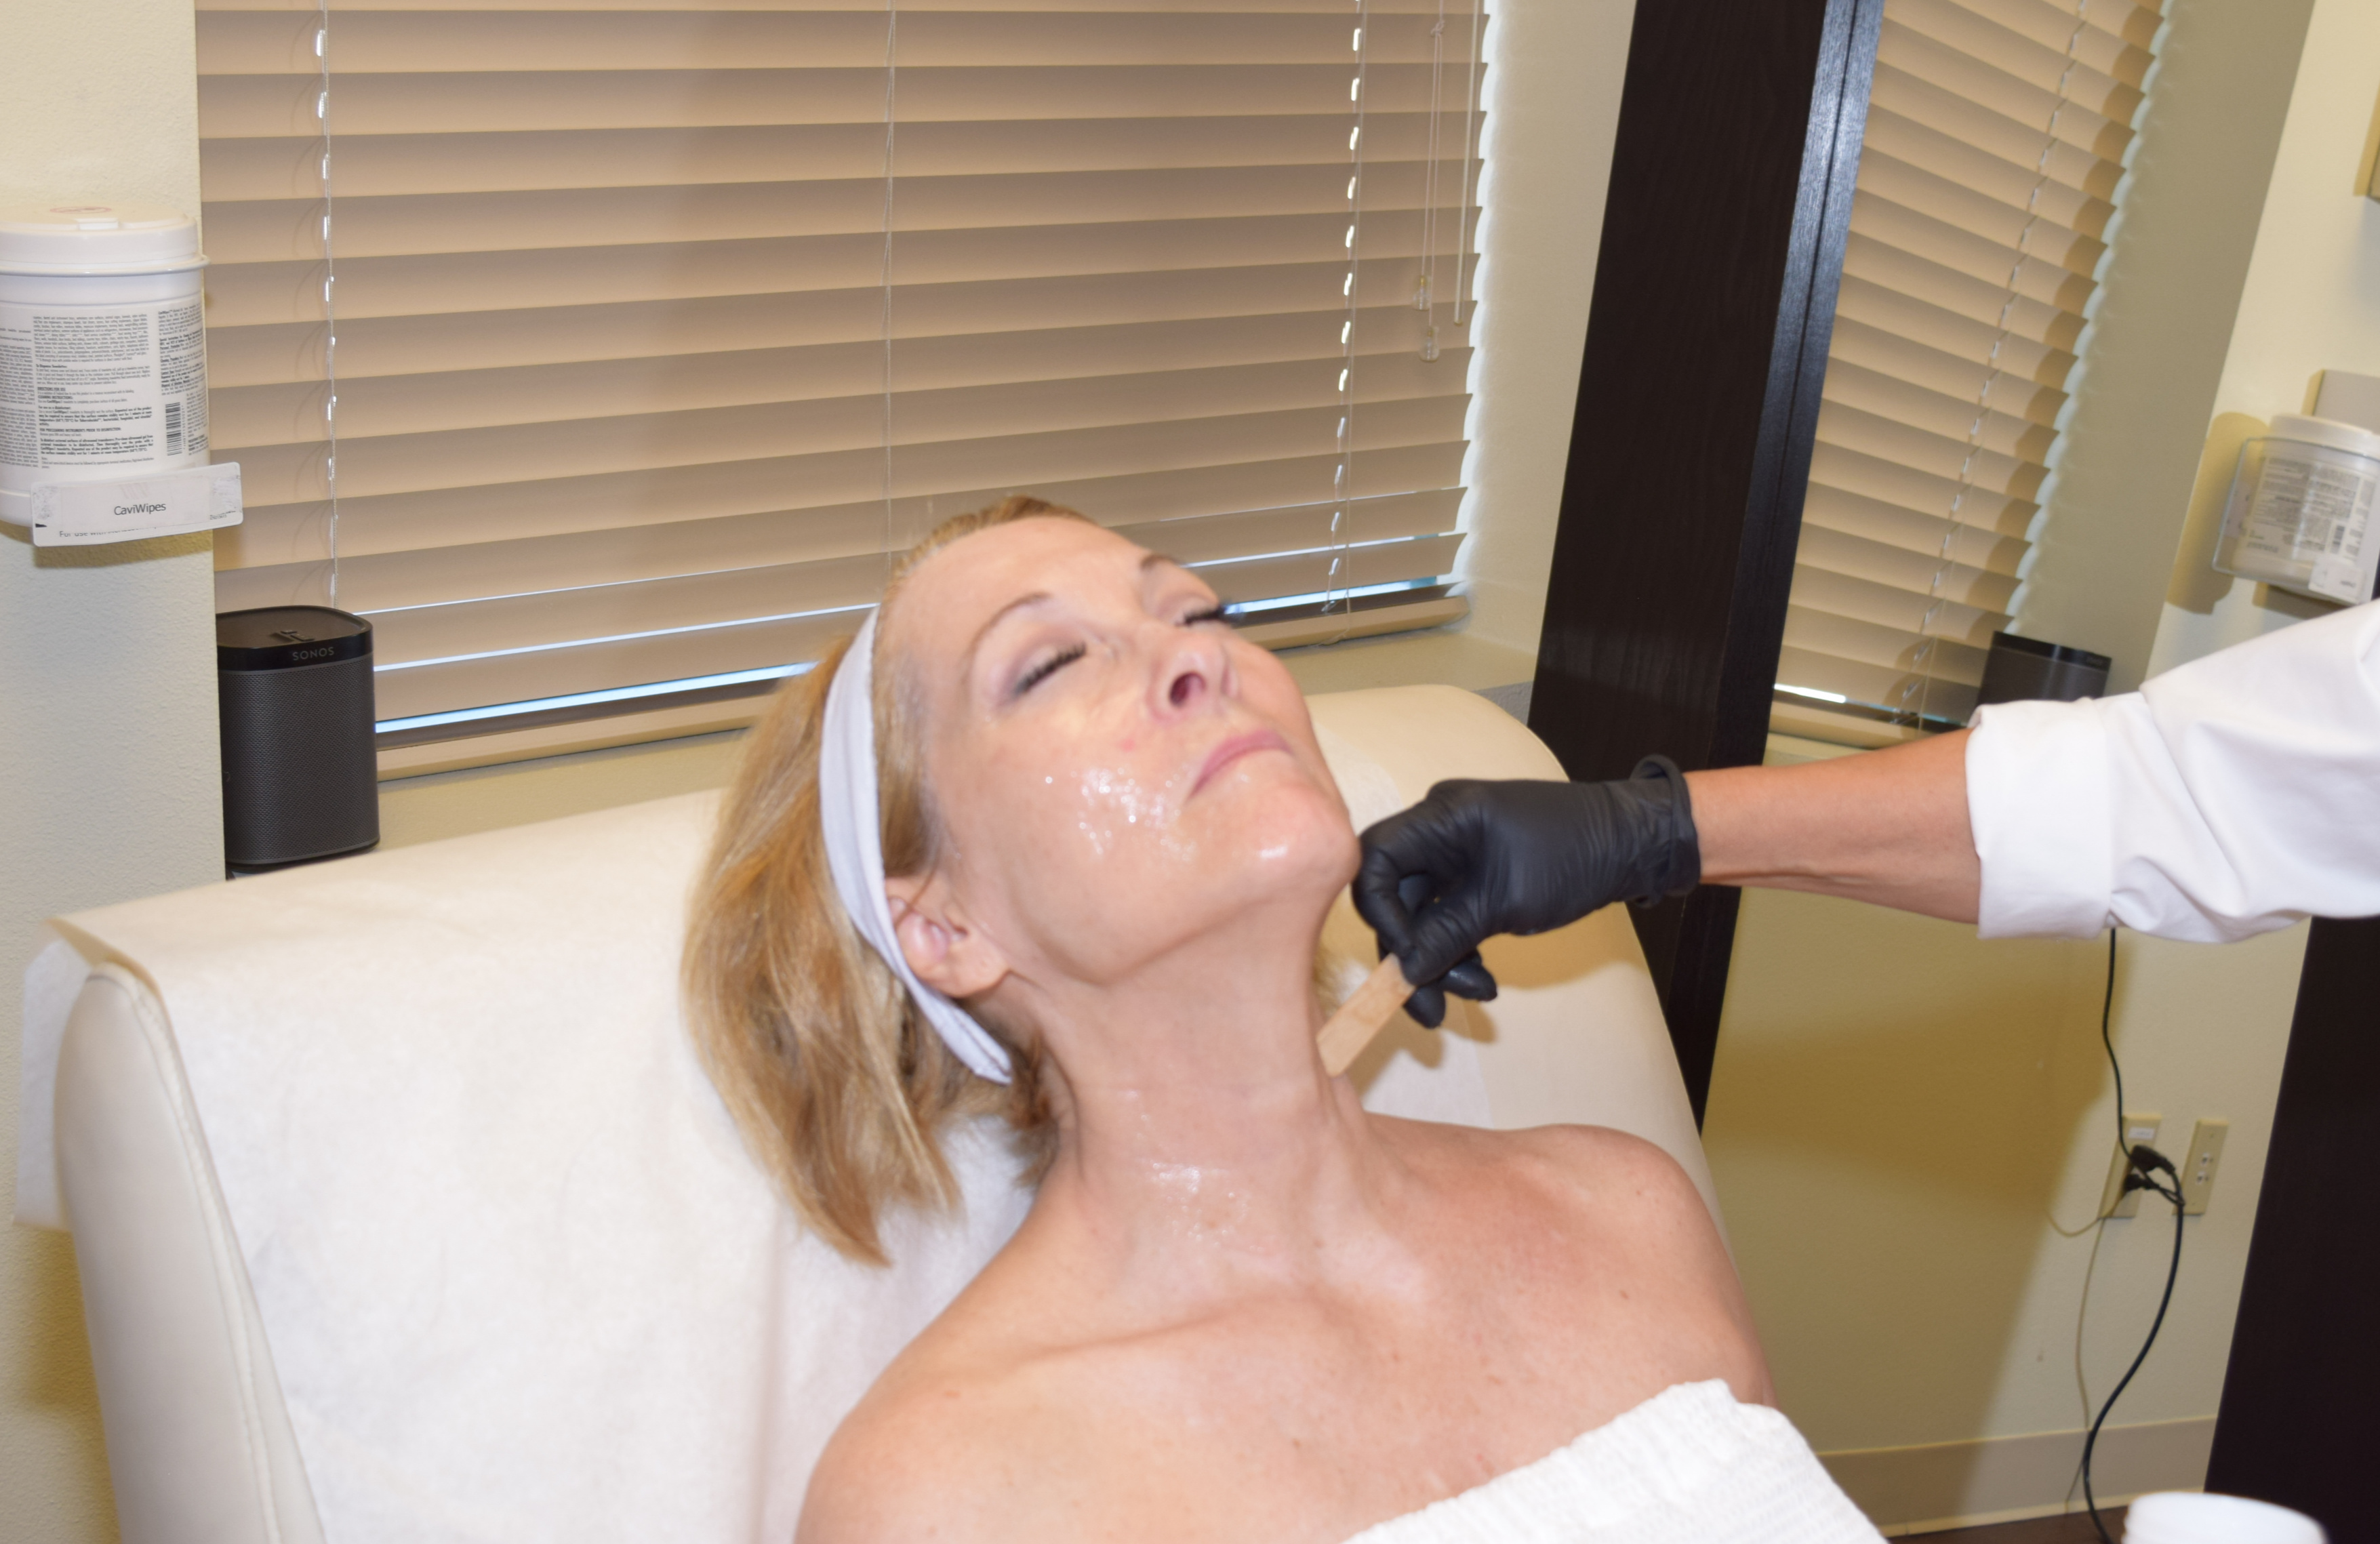
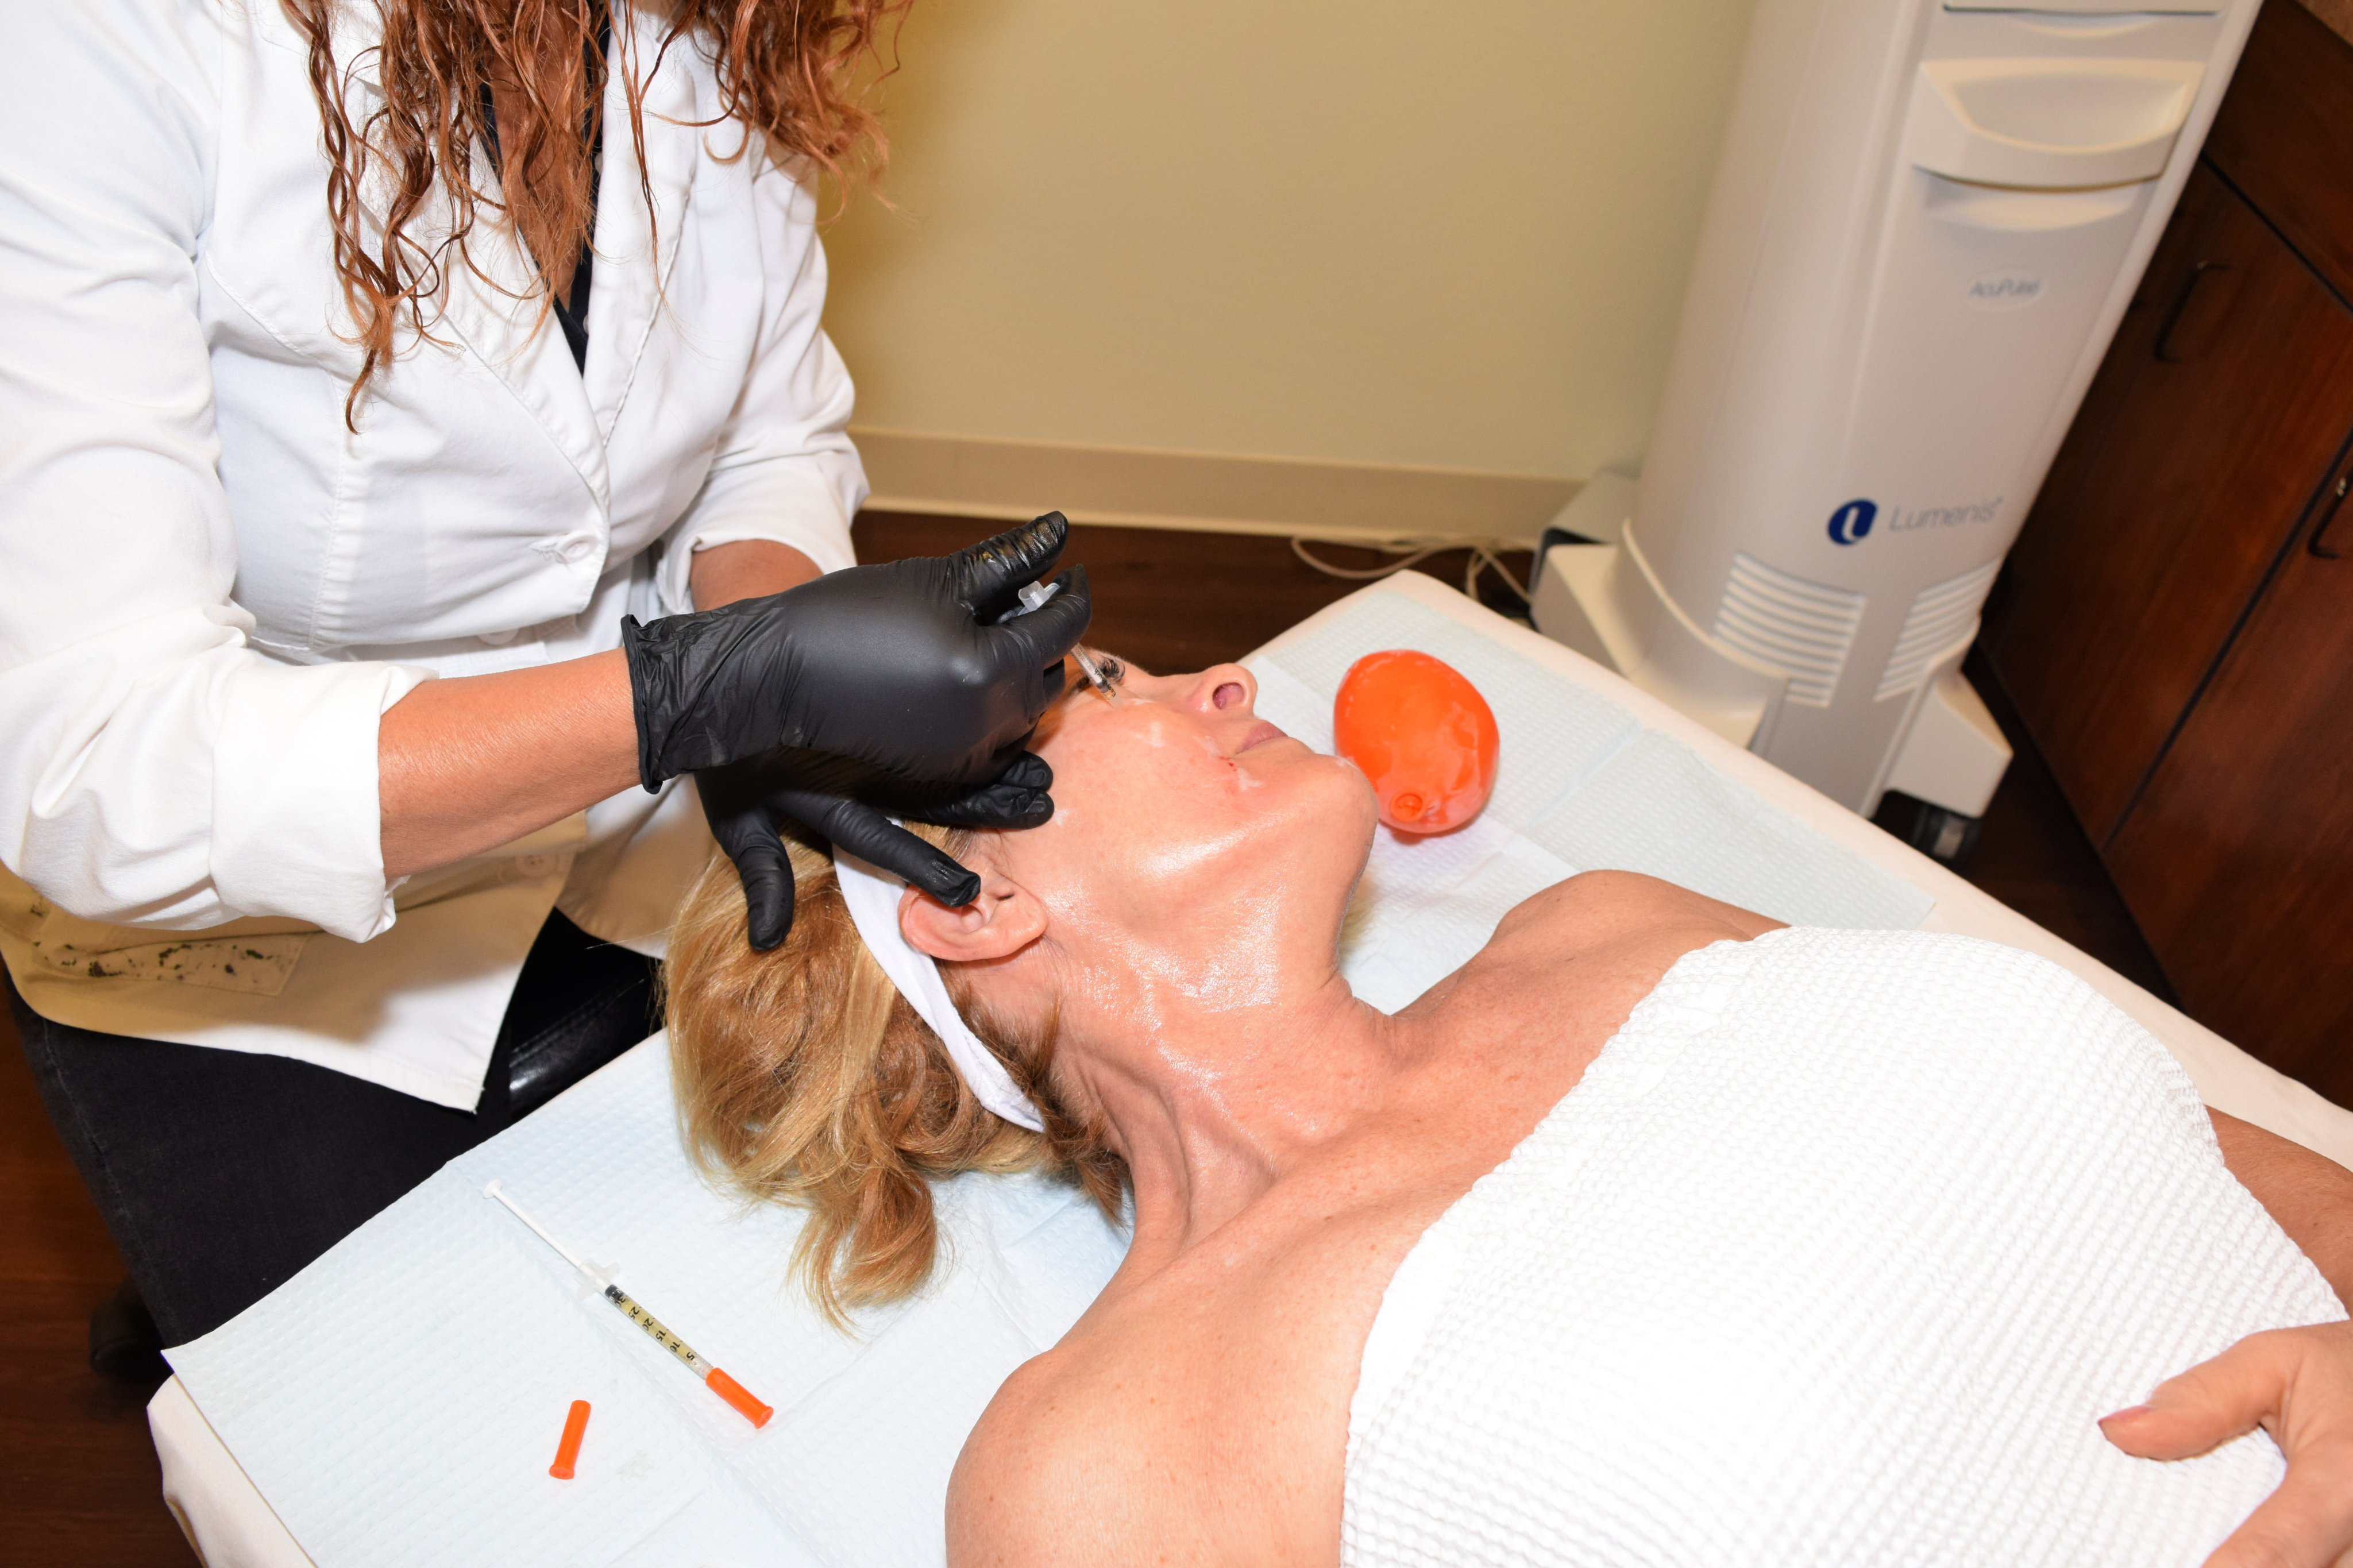
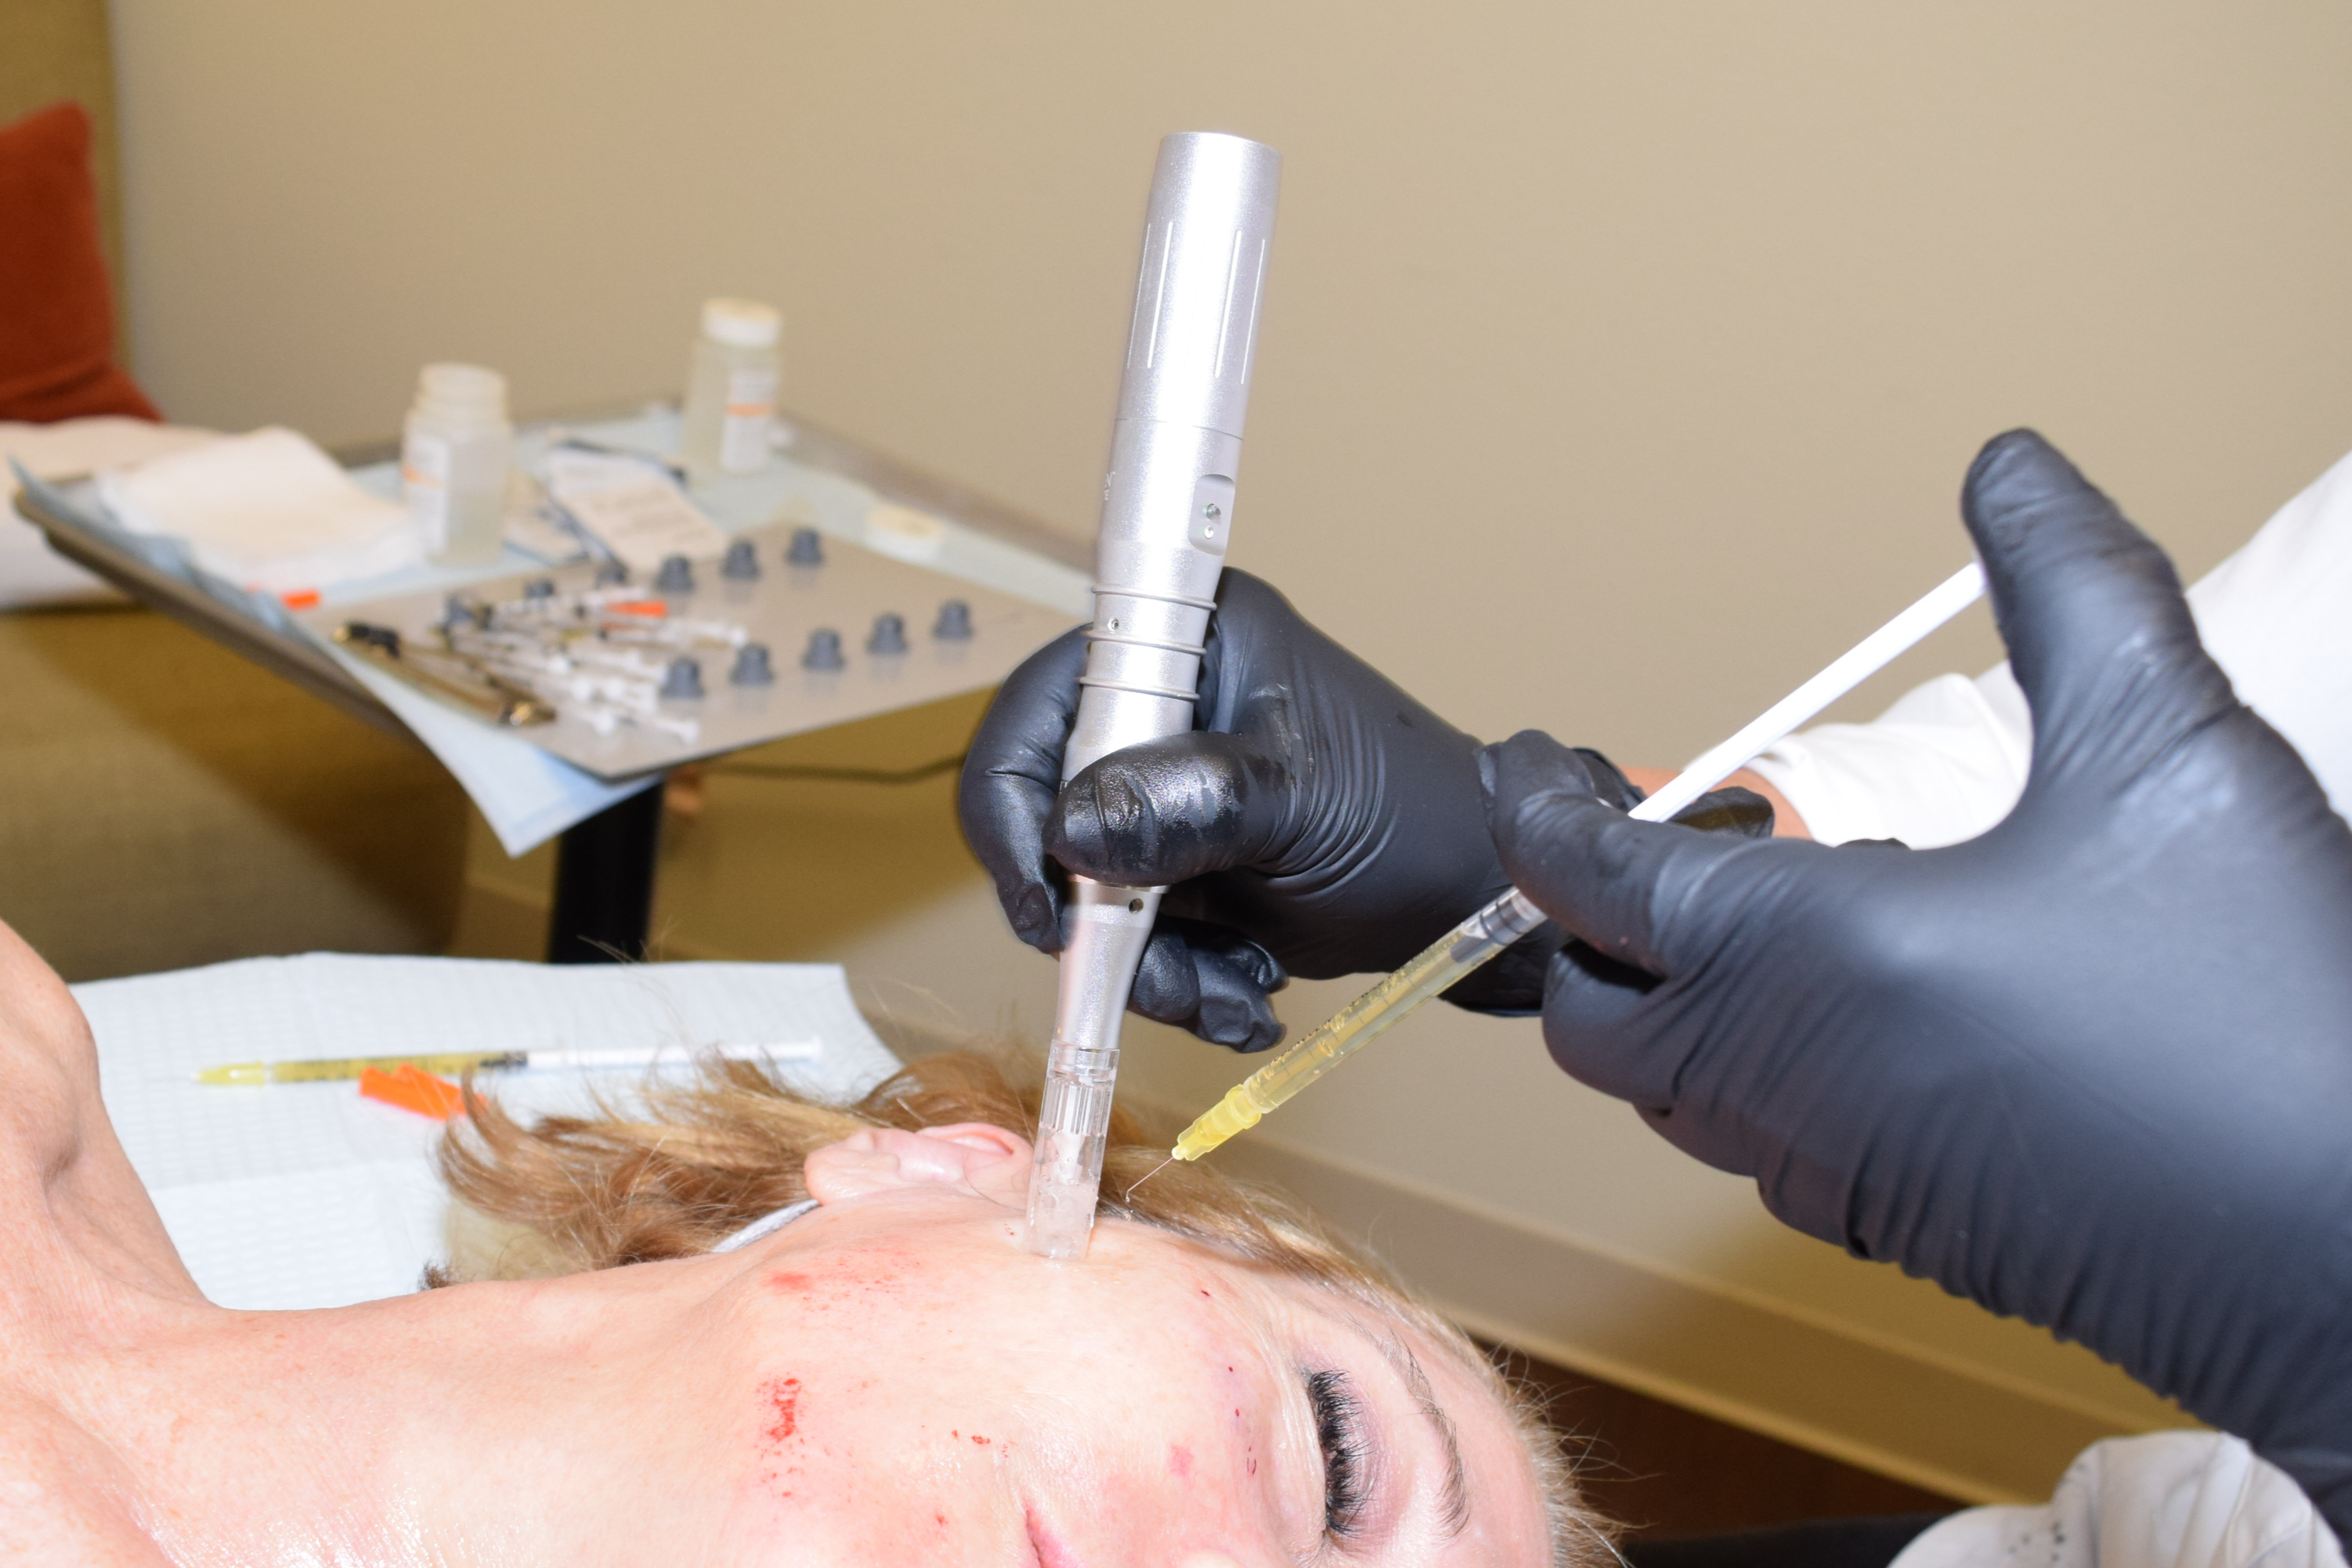
Once the plasma is injected the microneedling begins. Vitamin K serum is applied to my face using those two syringes filling with yellow fluid. This allows the microneedling tool to glide more easily on the skin.
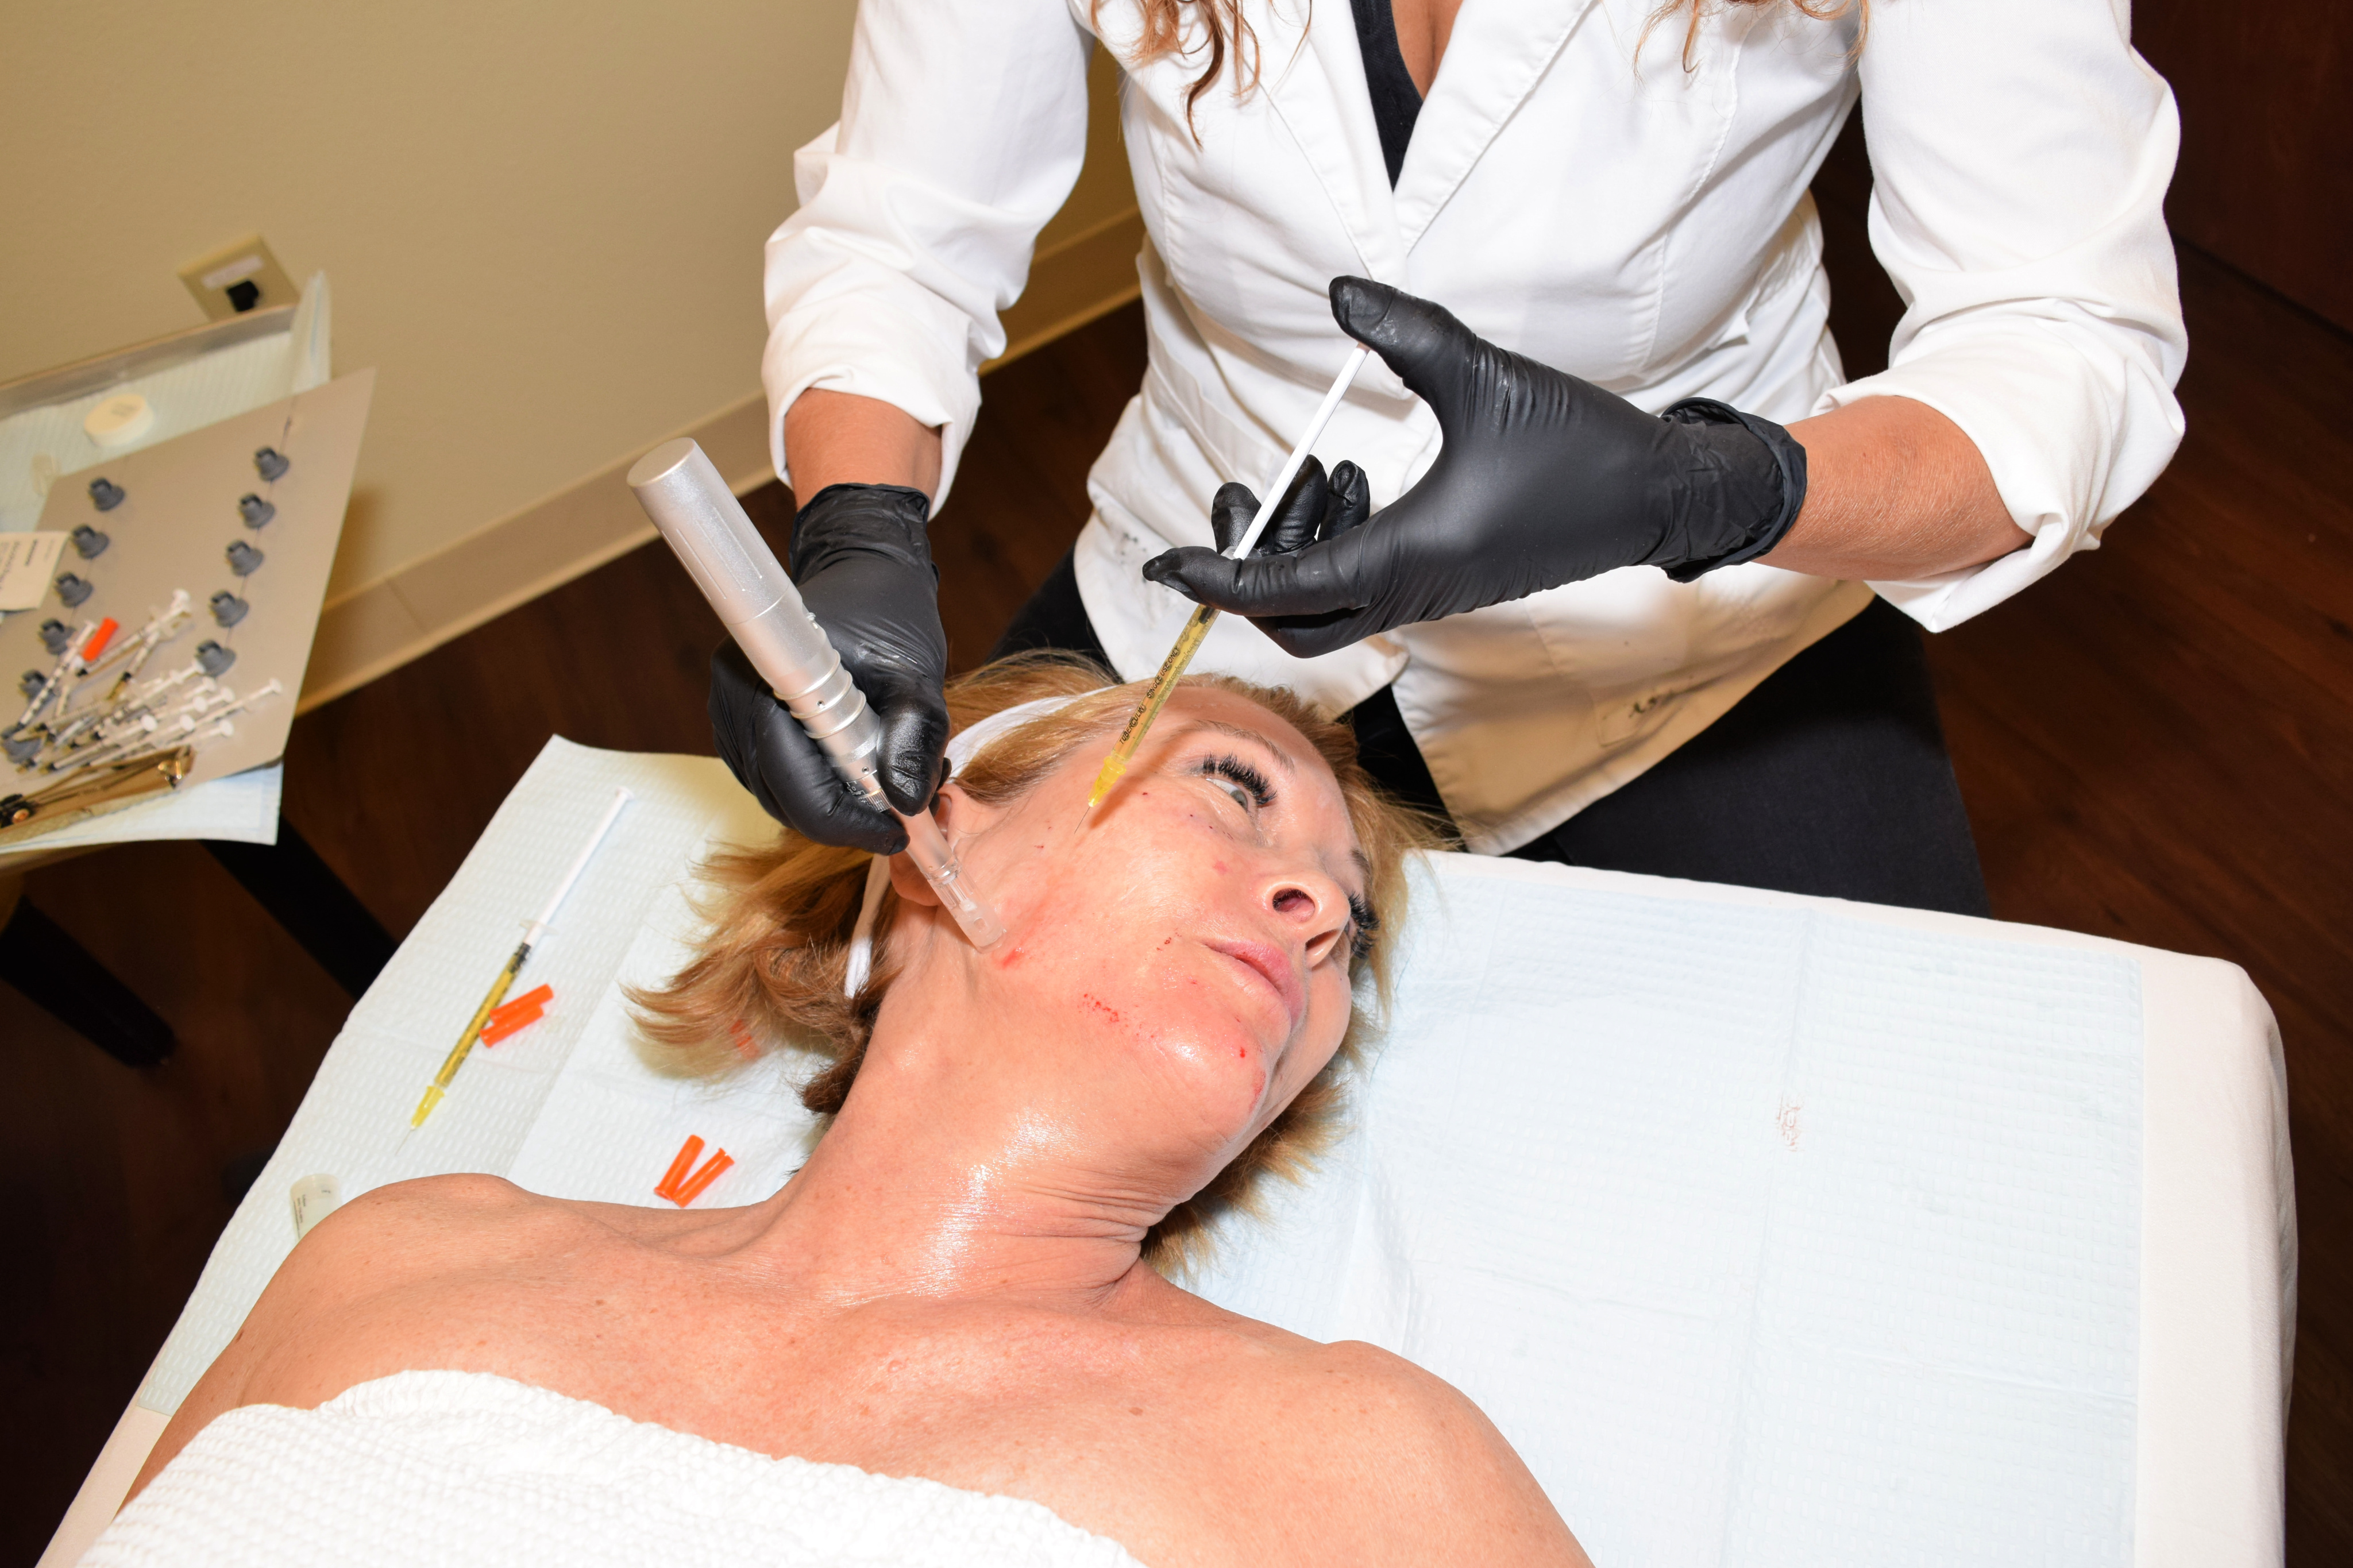
The process is a bit noisy. Although I was fine as the tool passed over my checks, it was pretty uncomfortable when it hit those areas where padding is minimal, like cheeckbones, the eye socket and the jawline. It’s tolerable, but not pleasant.
More serum is applied at the end of the process , which is soothing. I was ready for that!
So there you have it. The appointment took about two hours, a lot of which was waiting for the plasma separation. You might want to bring a book. Post-procedure care included avoiding direct sunlight for 48 hours (shouldn’t we adhere to that anyway?), tepid water and natural soap for gentle cleansing (also 48 hours), and no make-up or lotions and cleansers for at least 12 hours. If you’re going to be exposed to indirect sunlight a high SPF sunscreen is advised, but again, nothing on the face for 12 hours.
You can resume normal activities, including exercise, immediately. As noted earlier, redness and swelling will subside in the following 24-48 hours. Expect to have some exfoliation and dryness over the next week of so.
This is not a quick fix procedure. Most results won’t be seen for 6 weeks or more. As that time period passes I’ll post pictures taken at weekly intervals so you can see the results over time. I’ll do CIT Microneedling again, but you only do this procedure two to three times a year.
And there’s my deep dive into the procedure. Please feel free to ask questions. I wasn’t sure what to expect going in and if I can provide some information to you, I’m all for it!

Wow…that would be quite the experience. It’ll be interesting to see the results down the line,
XOOX
Jodie
http://www.jtouchofstyle.com
I was told it takes a good six weeks or more to start seeing results. In a culture of instant gratification it’s a good lesson in patience. 🙂 I’m taking weekly photos to share the progression in 6-8 weeks’ time.
Helen
I’ll right away grasp your rss feed as I can’t to find your e-mail subscription link or e-newsletter service. Do you’ve any? Please let me recognise in order that I may just subscribe. Thanks.